Stikkord: home decor

CROCHET PUMPKIN – Free crochet pattern (UK terms)

CROCHET PUMPKIN – Free crochet pattern (UK terms)


DESIGN AND PATTERN:  Hege Espeland Lygrewww.HELdesign.com
Please read the Terms of use for my crochet patterns.


CROCHET PUMPKIN- big, medium and small

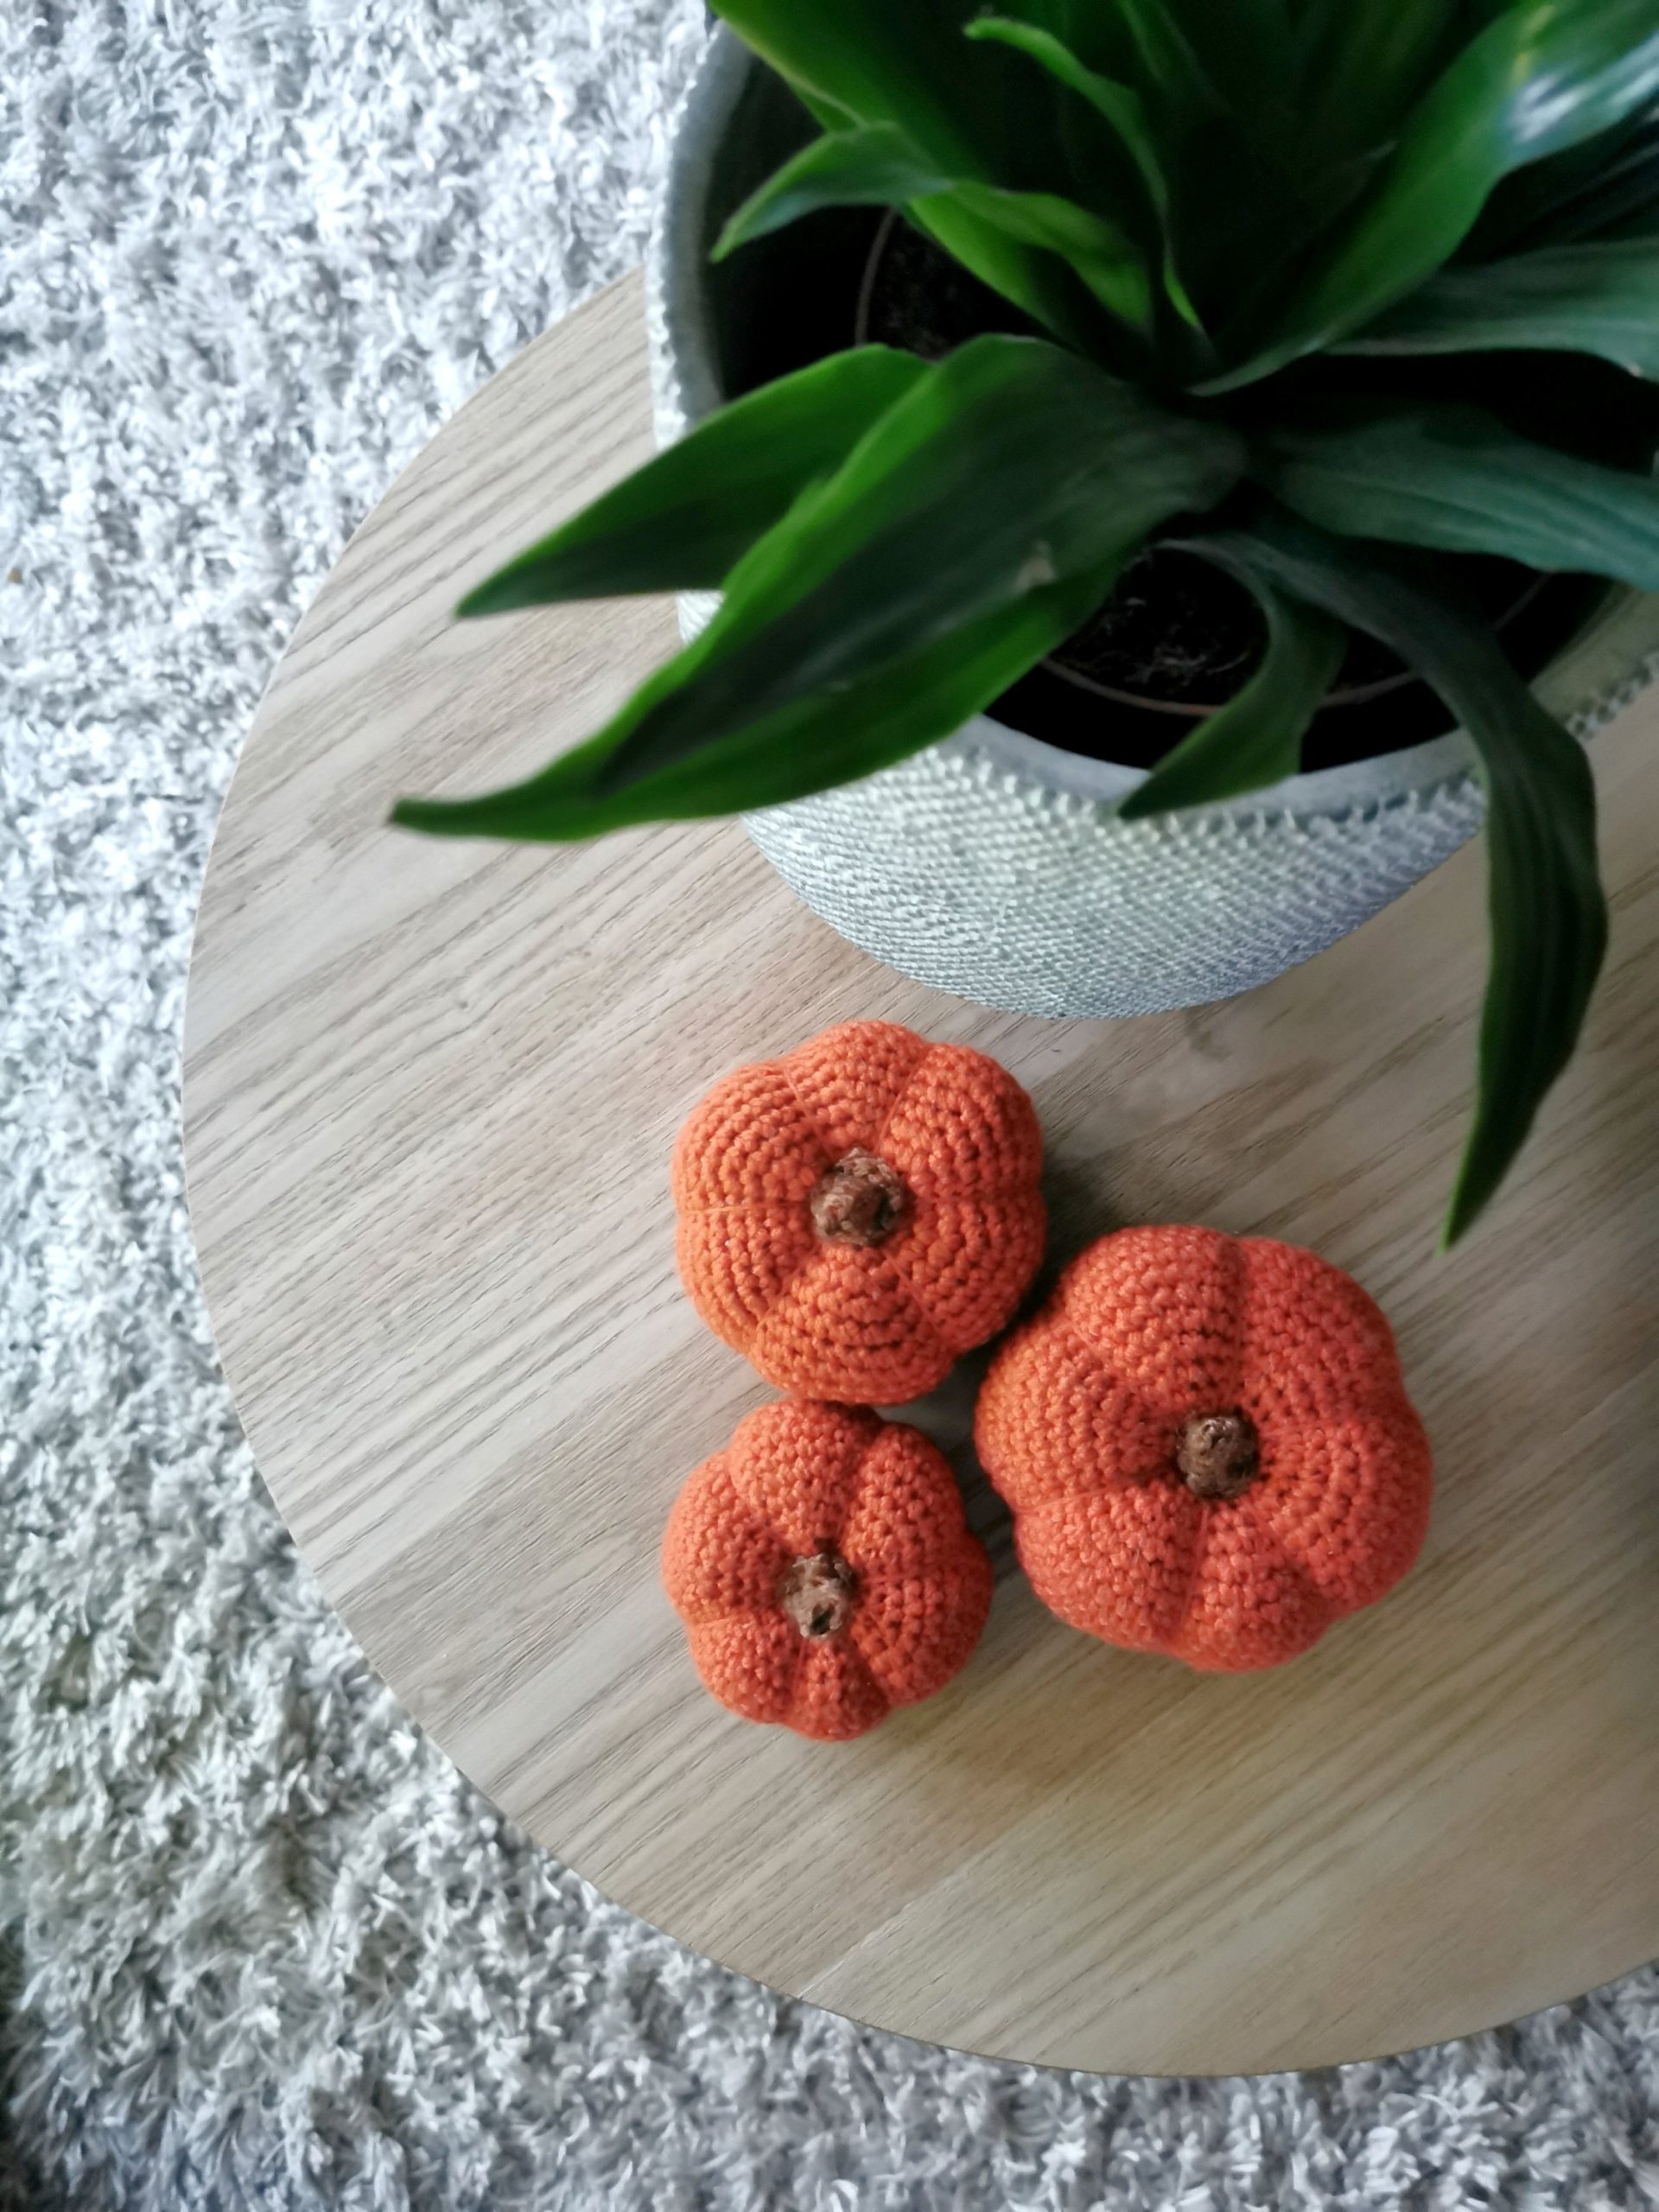
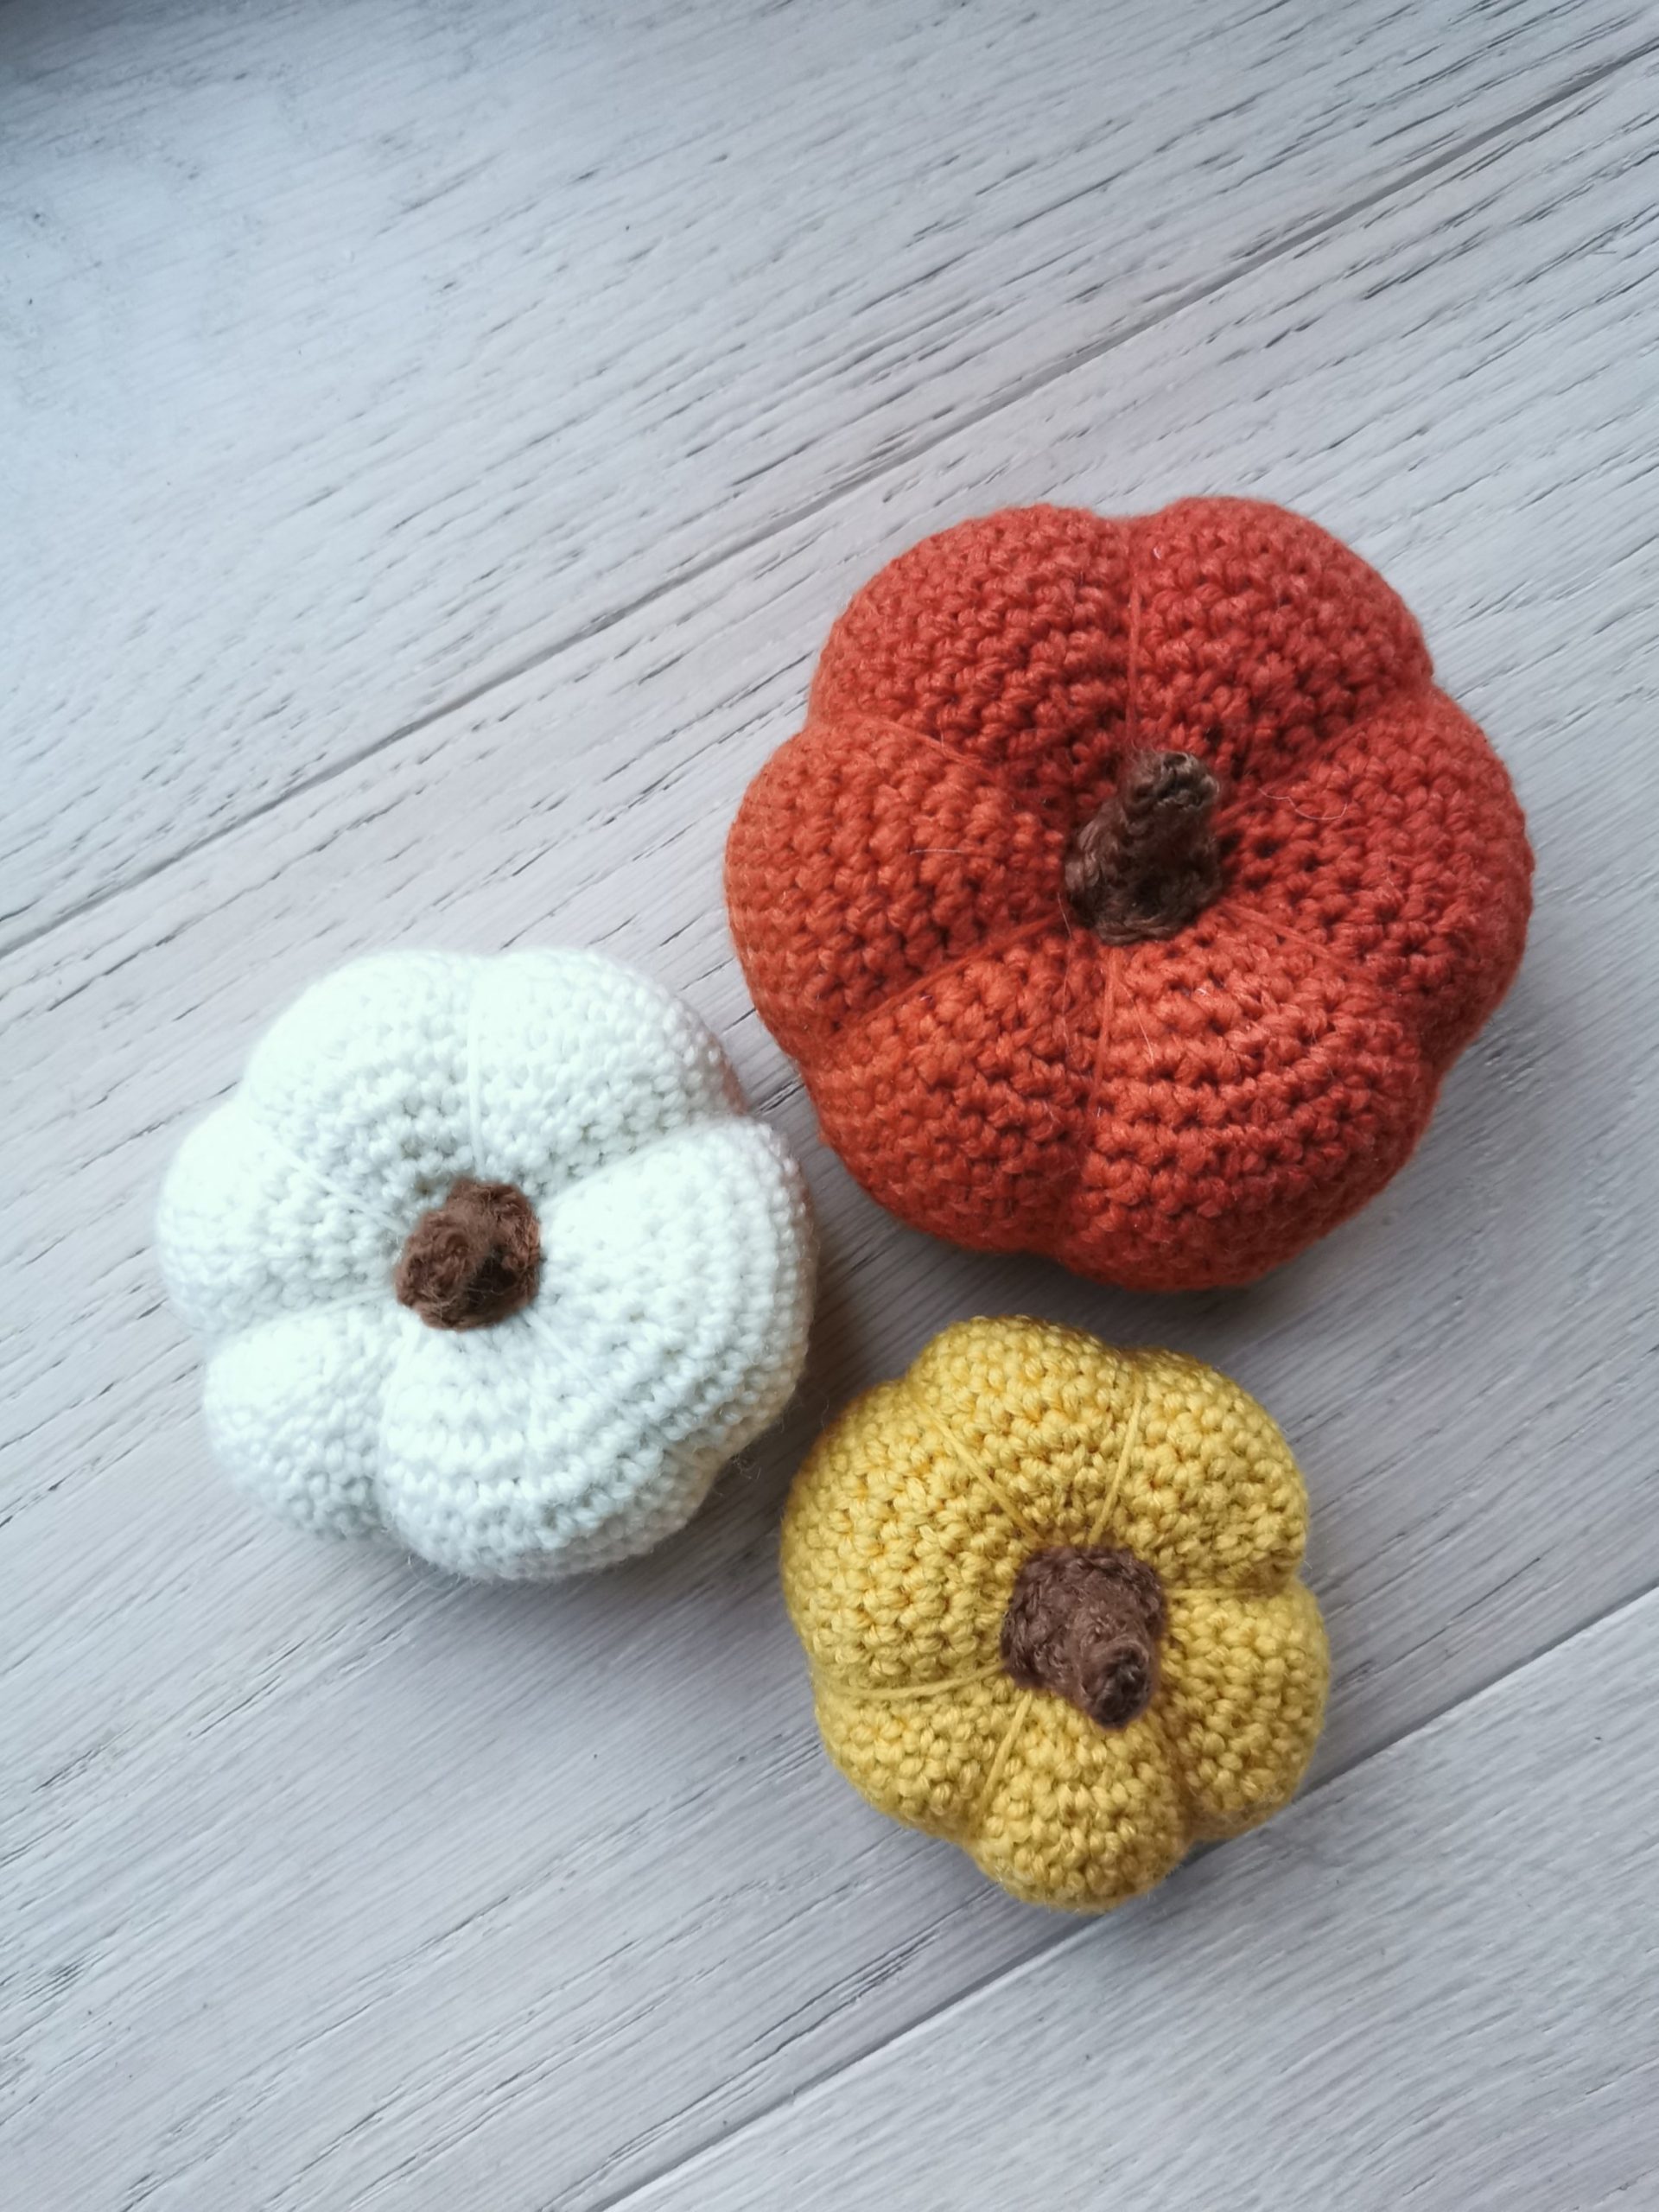
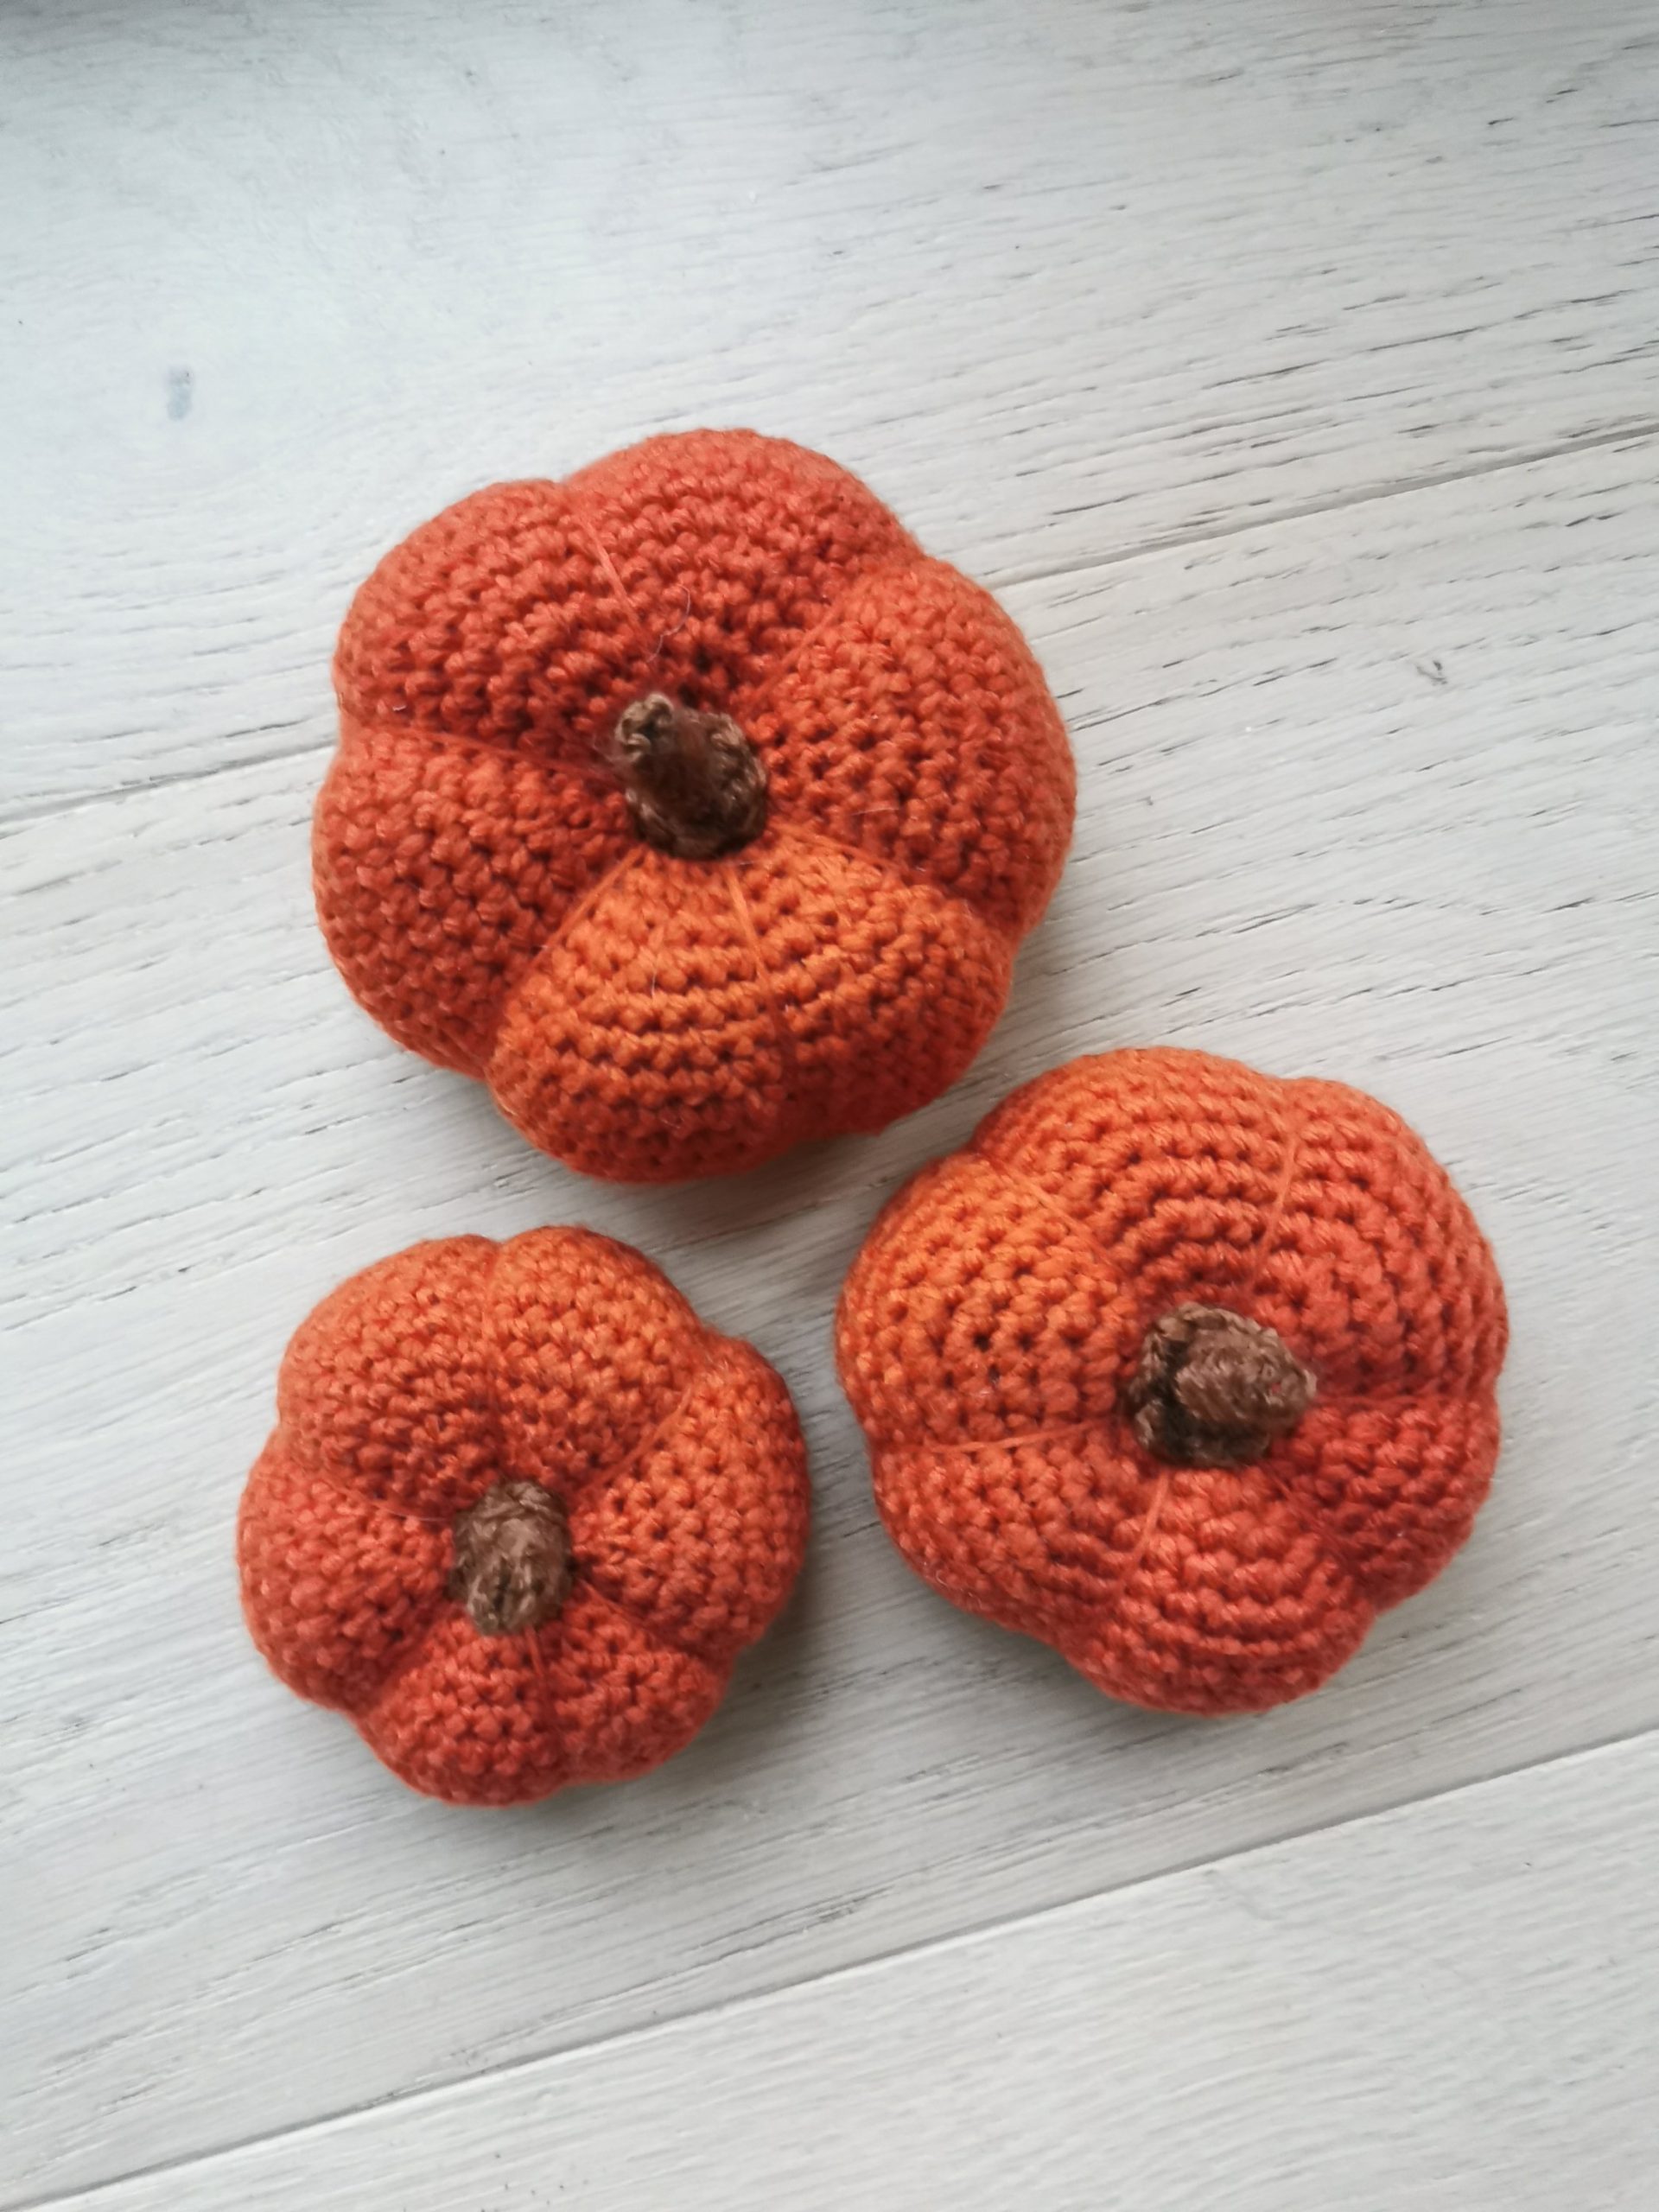
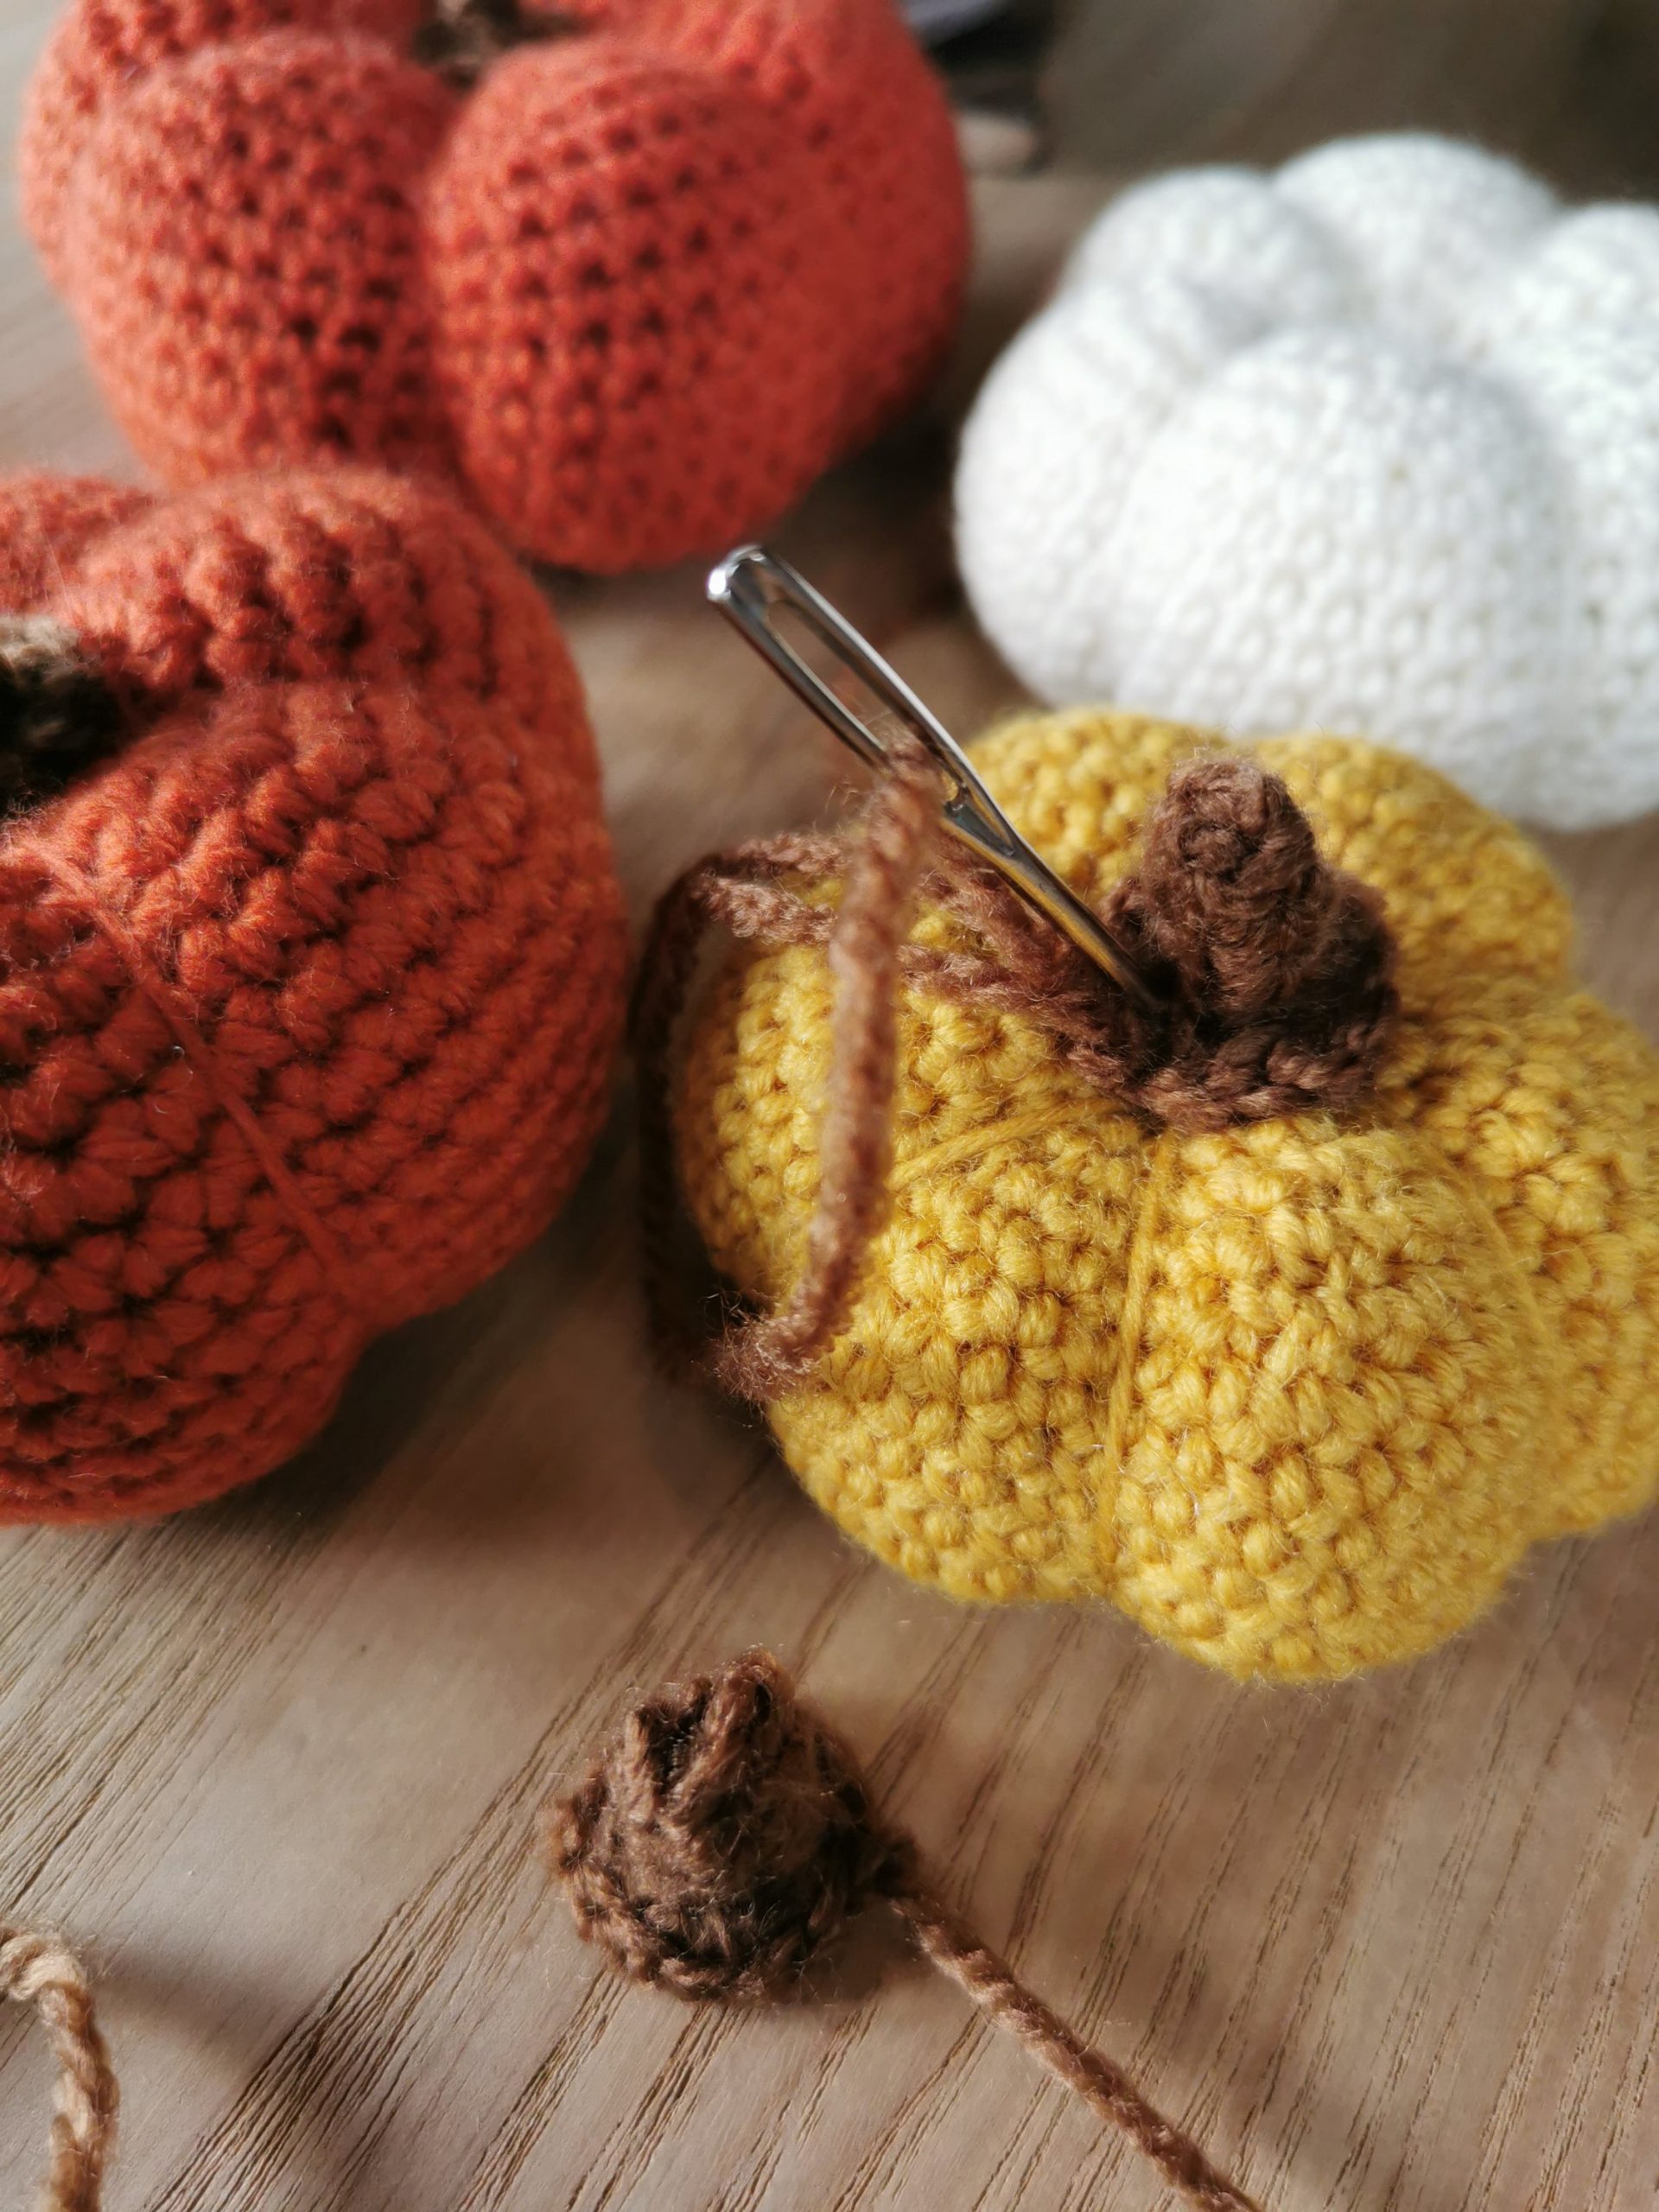
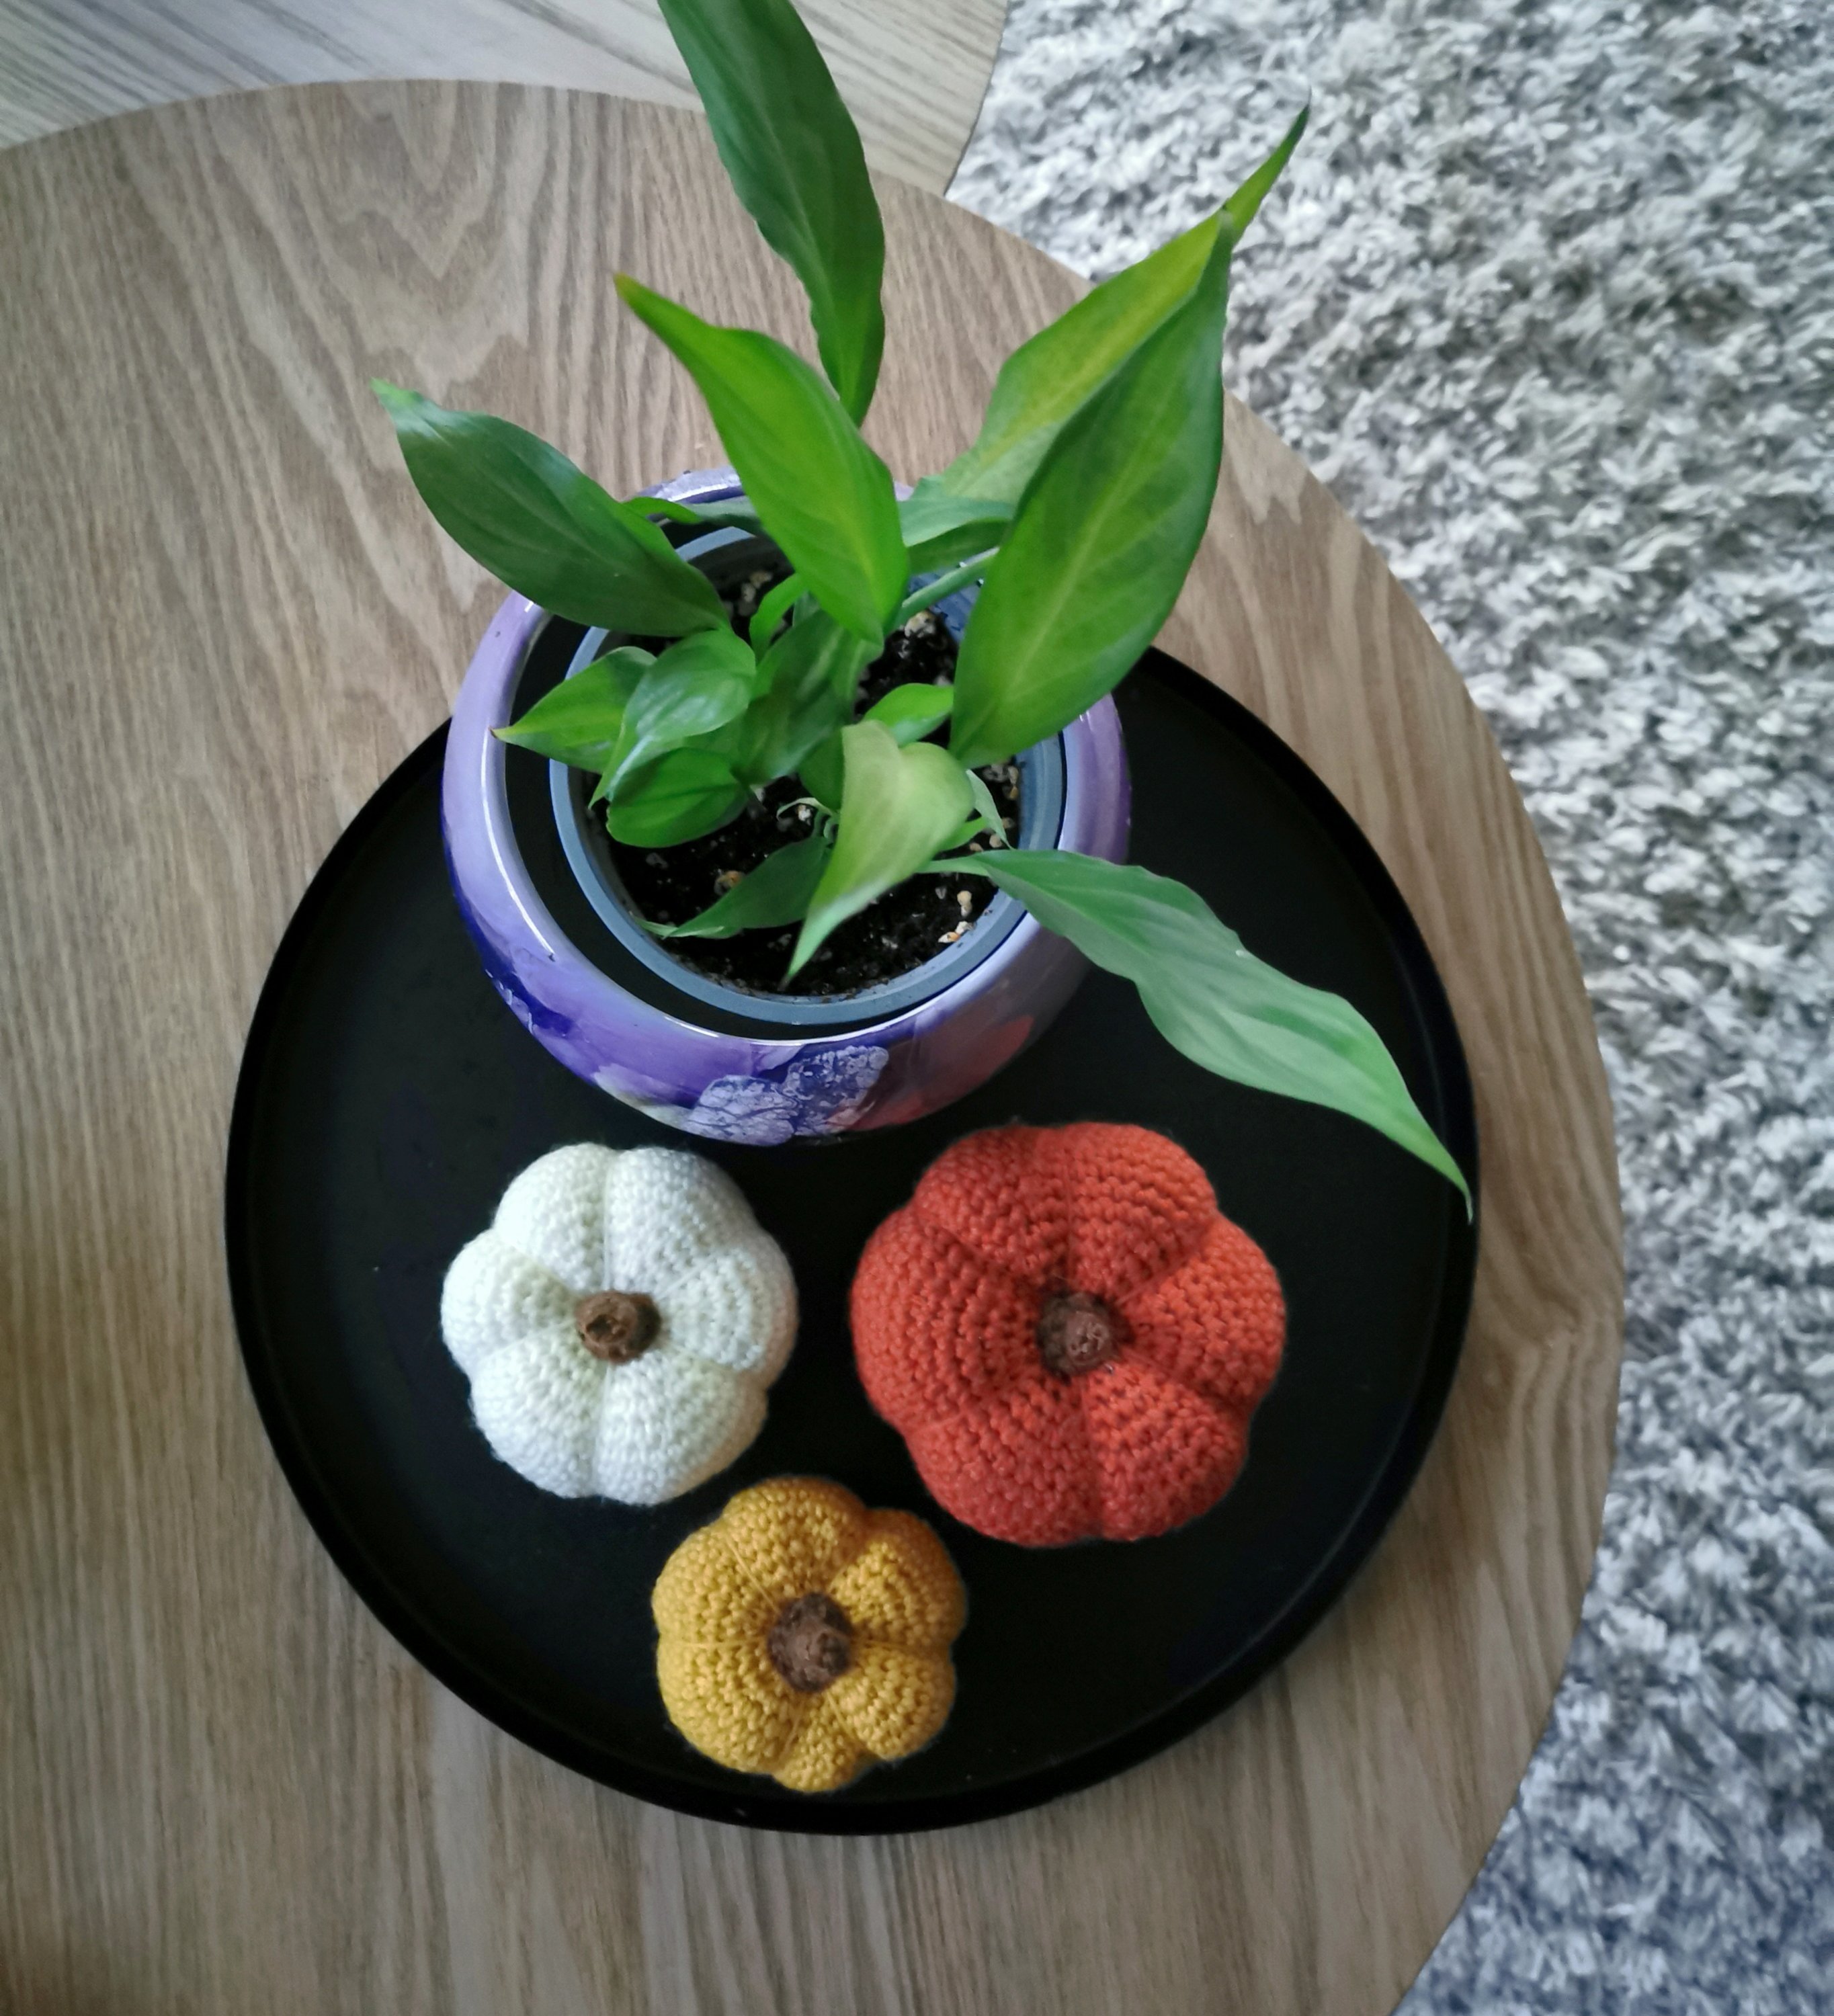
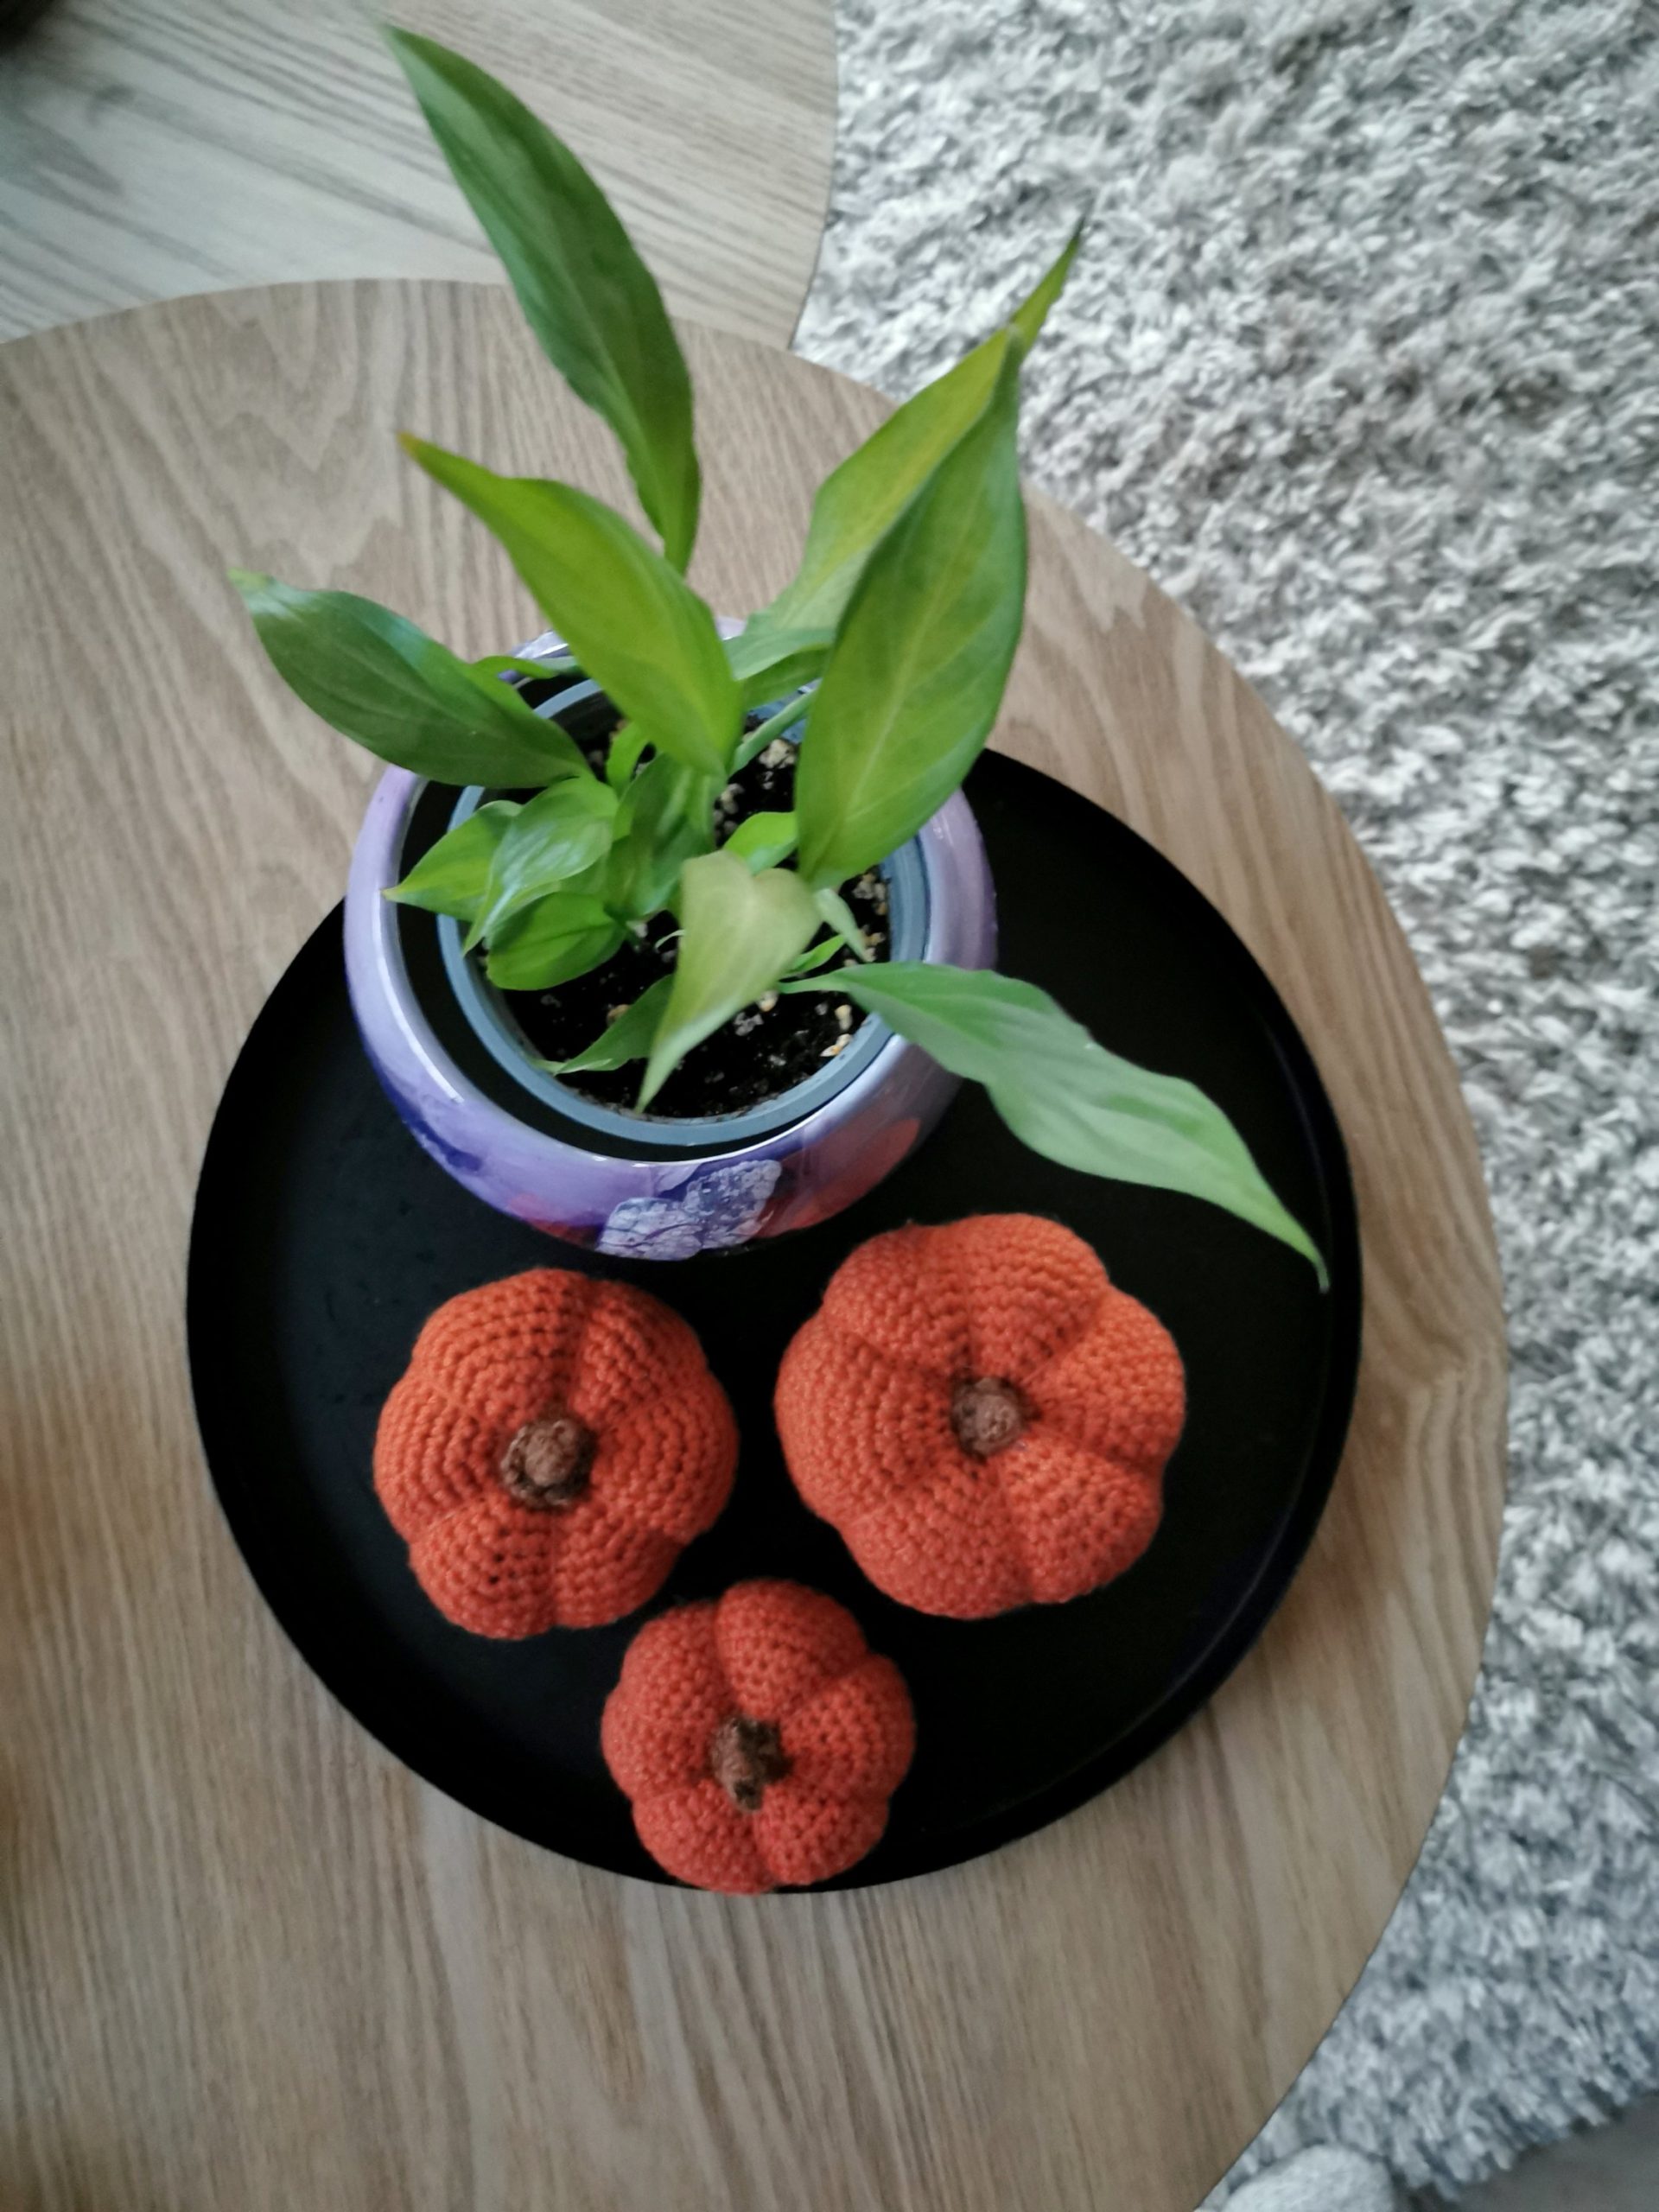
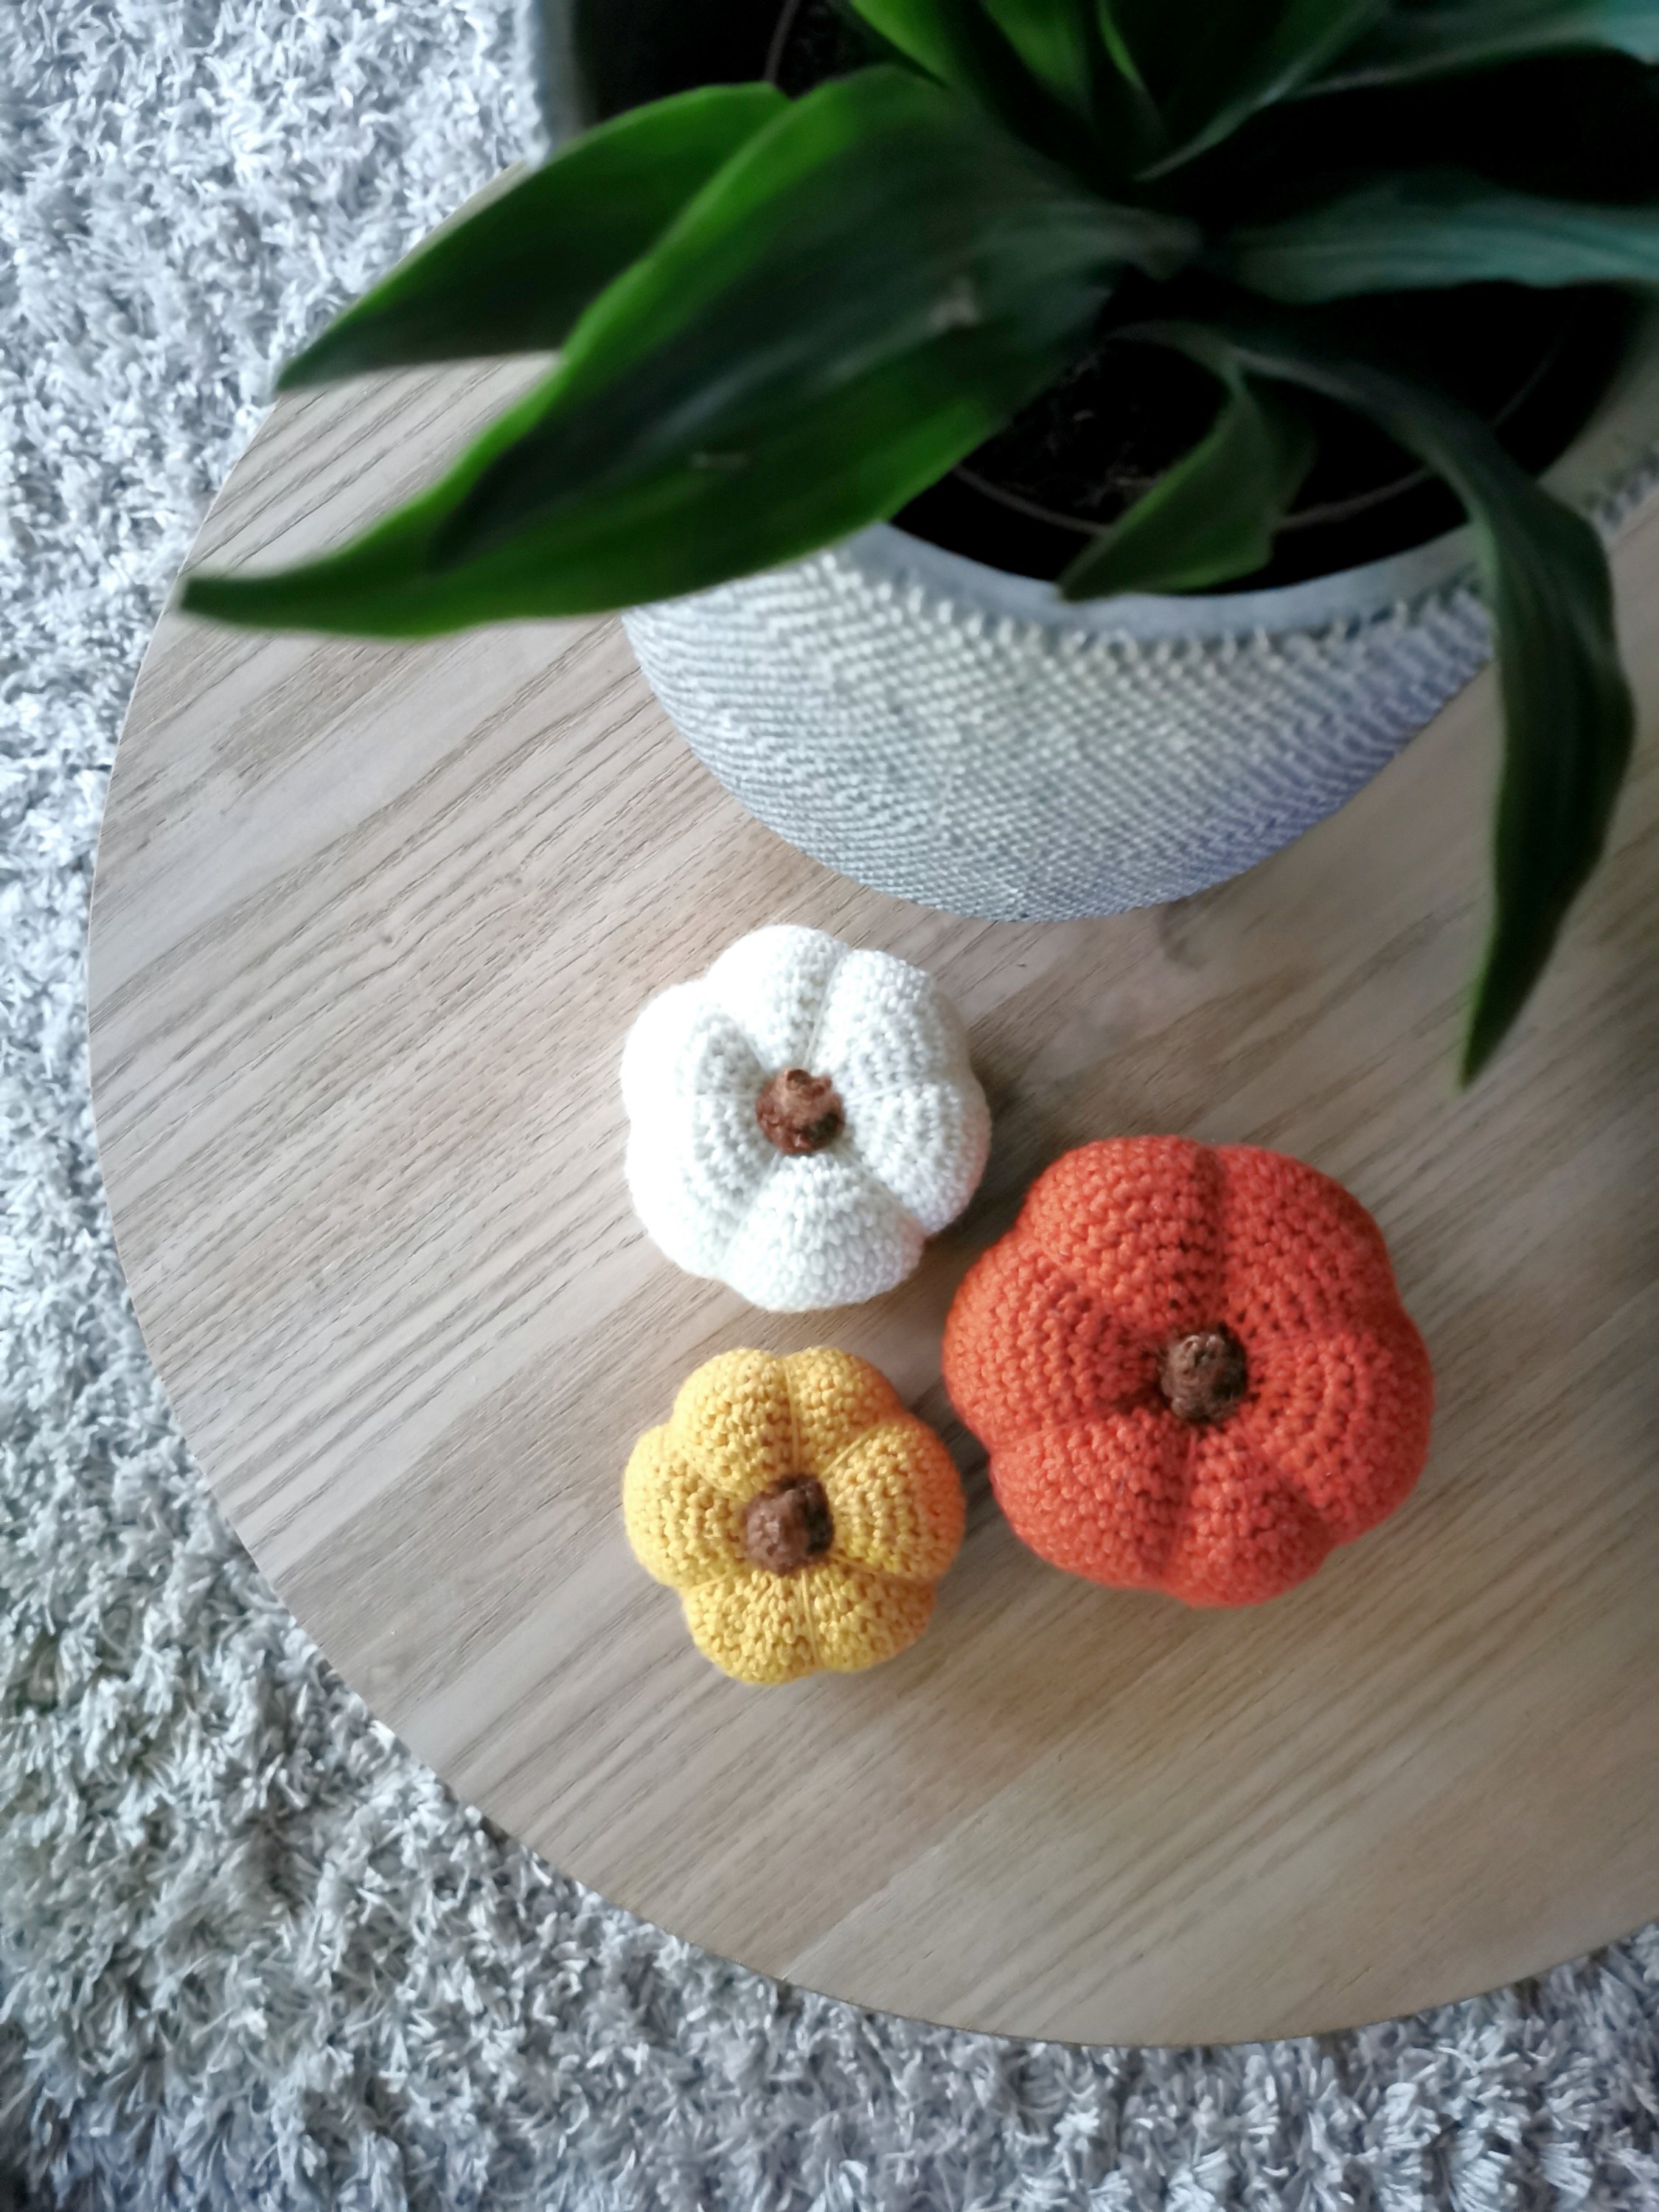
When autumn arrives I like to decorate my home with pumpkins, and last year I made a simple crochet pattern for a crochet pumpkin in three different sizes. There are numerous patterns like this on the internet, but I thought I’d share my pattern with you anyways. The pumpkins can be made in any type of yarn, so play around with different colours, sizes and also thickness of the yarn. And instead of making a stem you can also use a tiny branch (as shown in photos further down on the page).

MATERIALS

  • Yarn – The pumpkin can be made in any type of yarn, so choose the yarn that suits you best
  • Crochet Hook – The size that goes with the yarn you’re using, and one in a smaller size
  • Filling / Wadding to stuff the pumpkins
  • Needle
  • Scissors

STITCHES / ABBREVIATIONS (UK terms)

  • R (row/round)
  • ch (chain/slip knot) – Watch video
  • sl st (slip stitch) – Watch video
  • dc (double crochet) – Watch video (video title shows US terms – sc (single crochet)
  • MR (magic ring) – Watch video
  • st (stitch)
  • tog (together)

GAUGE

No gauge is necessary for this pattern, as it’s not a piece of clothing or something that requires exact measurments.

INFORMATION

  • Read through the whole pattern before you start.
  • Increase (example): When it says «2 sc, 2 sc in next st», it means that you make 1 sc in each of the two next stitches, and then 2 sc in the next stitch (you have then worked into 3 stitches in this example, ending up with 4 stitches).
  • Decrease (example): When it says «2 sc, 2sc tog», it means that you make 1 sc in each of the next two stitches, and then you decrease the next two stitches by crocheting them together (you have then worked into 4 stitches in this example, ending up with 3 stitches).
  • When you crochet in rounds it’s hard to see where the round ends and starts, so use a stitch marker or a piece of yarn to put a mark after each round.
  • ** – Repeat everything written between * to * as many times as the pattern says, or to the end of the round.

CROCHET PATTERN

Crochet hook: Use the size that fits the yarn you’ve chosen.

CROCHET PUMPKIN – big size

R1: 6 dc in MR (6 dc).
Tip: hold off tightening the ring until you’re done with R2.
R2: 2 dc in each st (12 dc)
R3: *1 dc, 2 dc in next st* Repeat from * to * til the end of the round (18 dc)
R4
: *2 dc, 2 dc in next st* (24 dc)
R5:
*3 dc, 2 dc in next st* (30 dc)
R6:
*4 dc, 2 dc in next st* (36 dc)
R7: *5 dc, 2 dc in next st* (42 dc)
R8: *6 dc, 2 dc in next st* (48 dc)
R9: *7 dc, 2 dc in next st* (54 dc)
R10-R18: 1 dc in each st (54 dc) 
R19: *7 dc, 2 dc tog* (48 dc)
R20:
 *6 dc, 2 dc tog* (42 dc)
R21: *5 dc, 2 dc tog* (36 dc)
R22: *4 dc, 2 dc tog* (30 dc)
R23: *3 dc, 2 dc tog* (24 dc)
R24: *2 dc, 2 dc tog* (18 dc). Stuff the pumpkin.
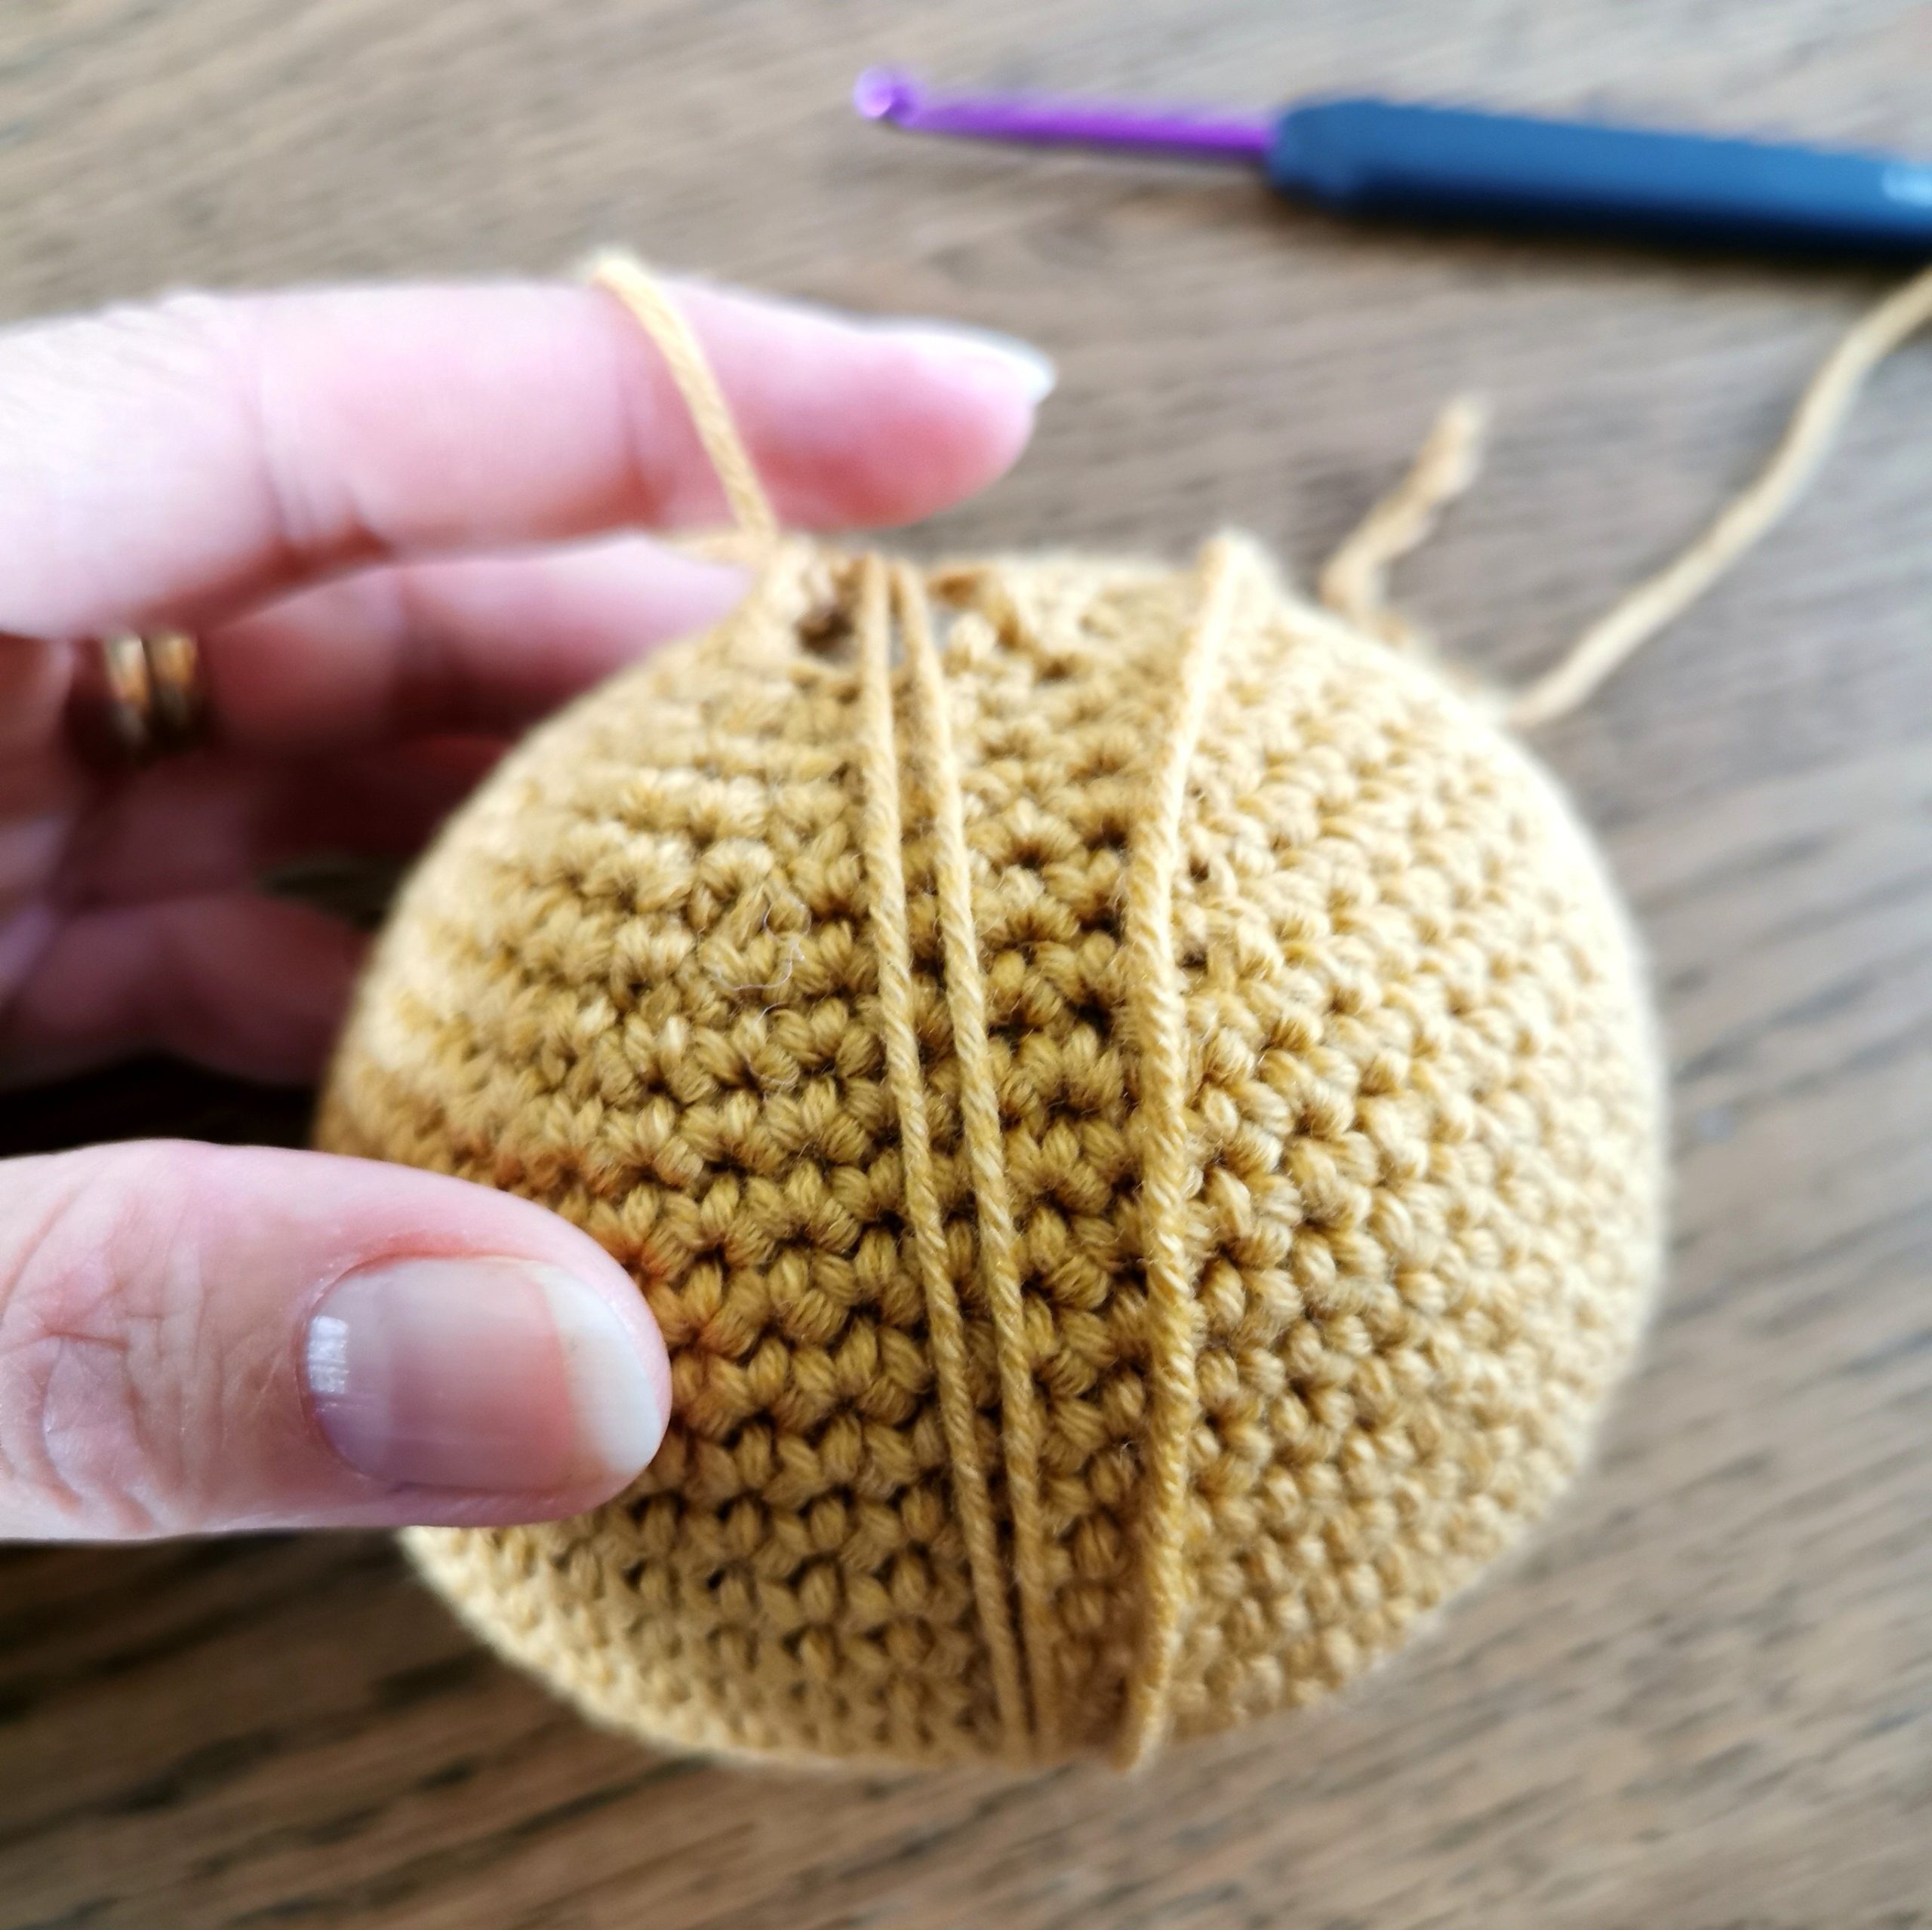
R25: *1 dc, 2 dc tog* (12 dc). Leave a long enough tail to shape the pumpkin (long enough to go around the ball about three times), cut the yarn and sew it through the remaining 12 dc, tighten together and fasten.

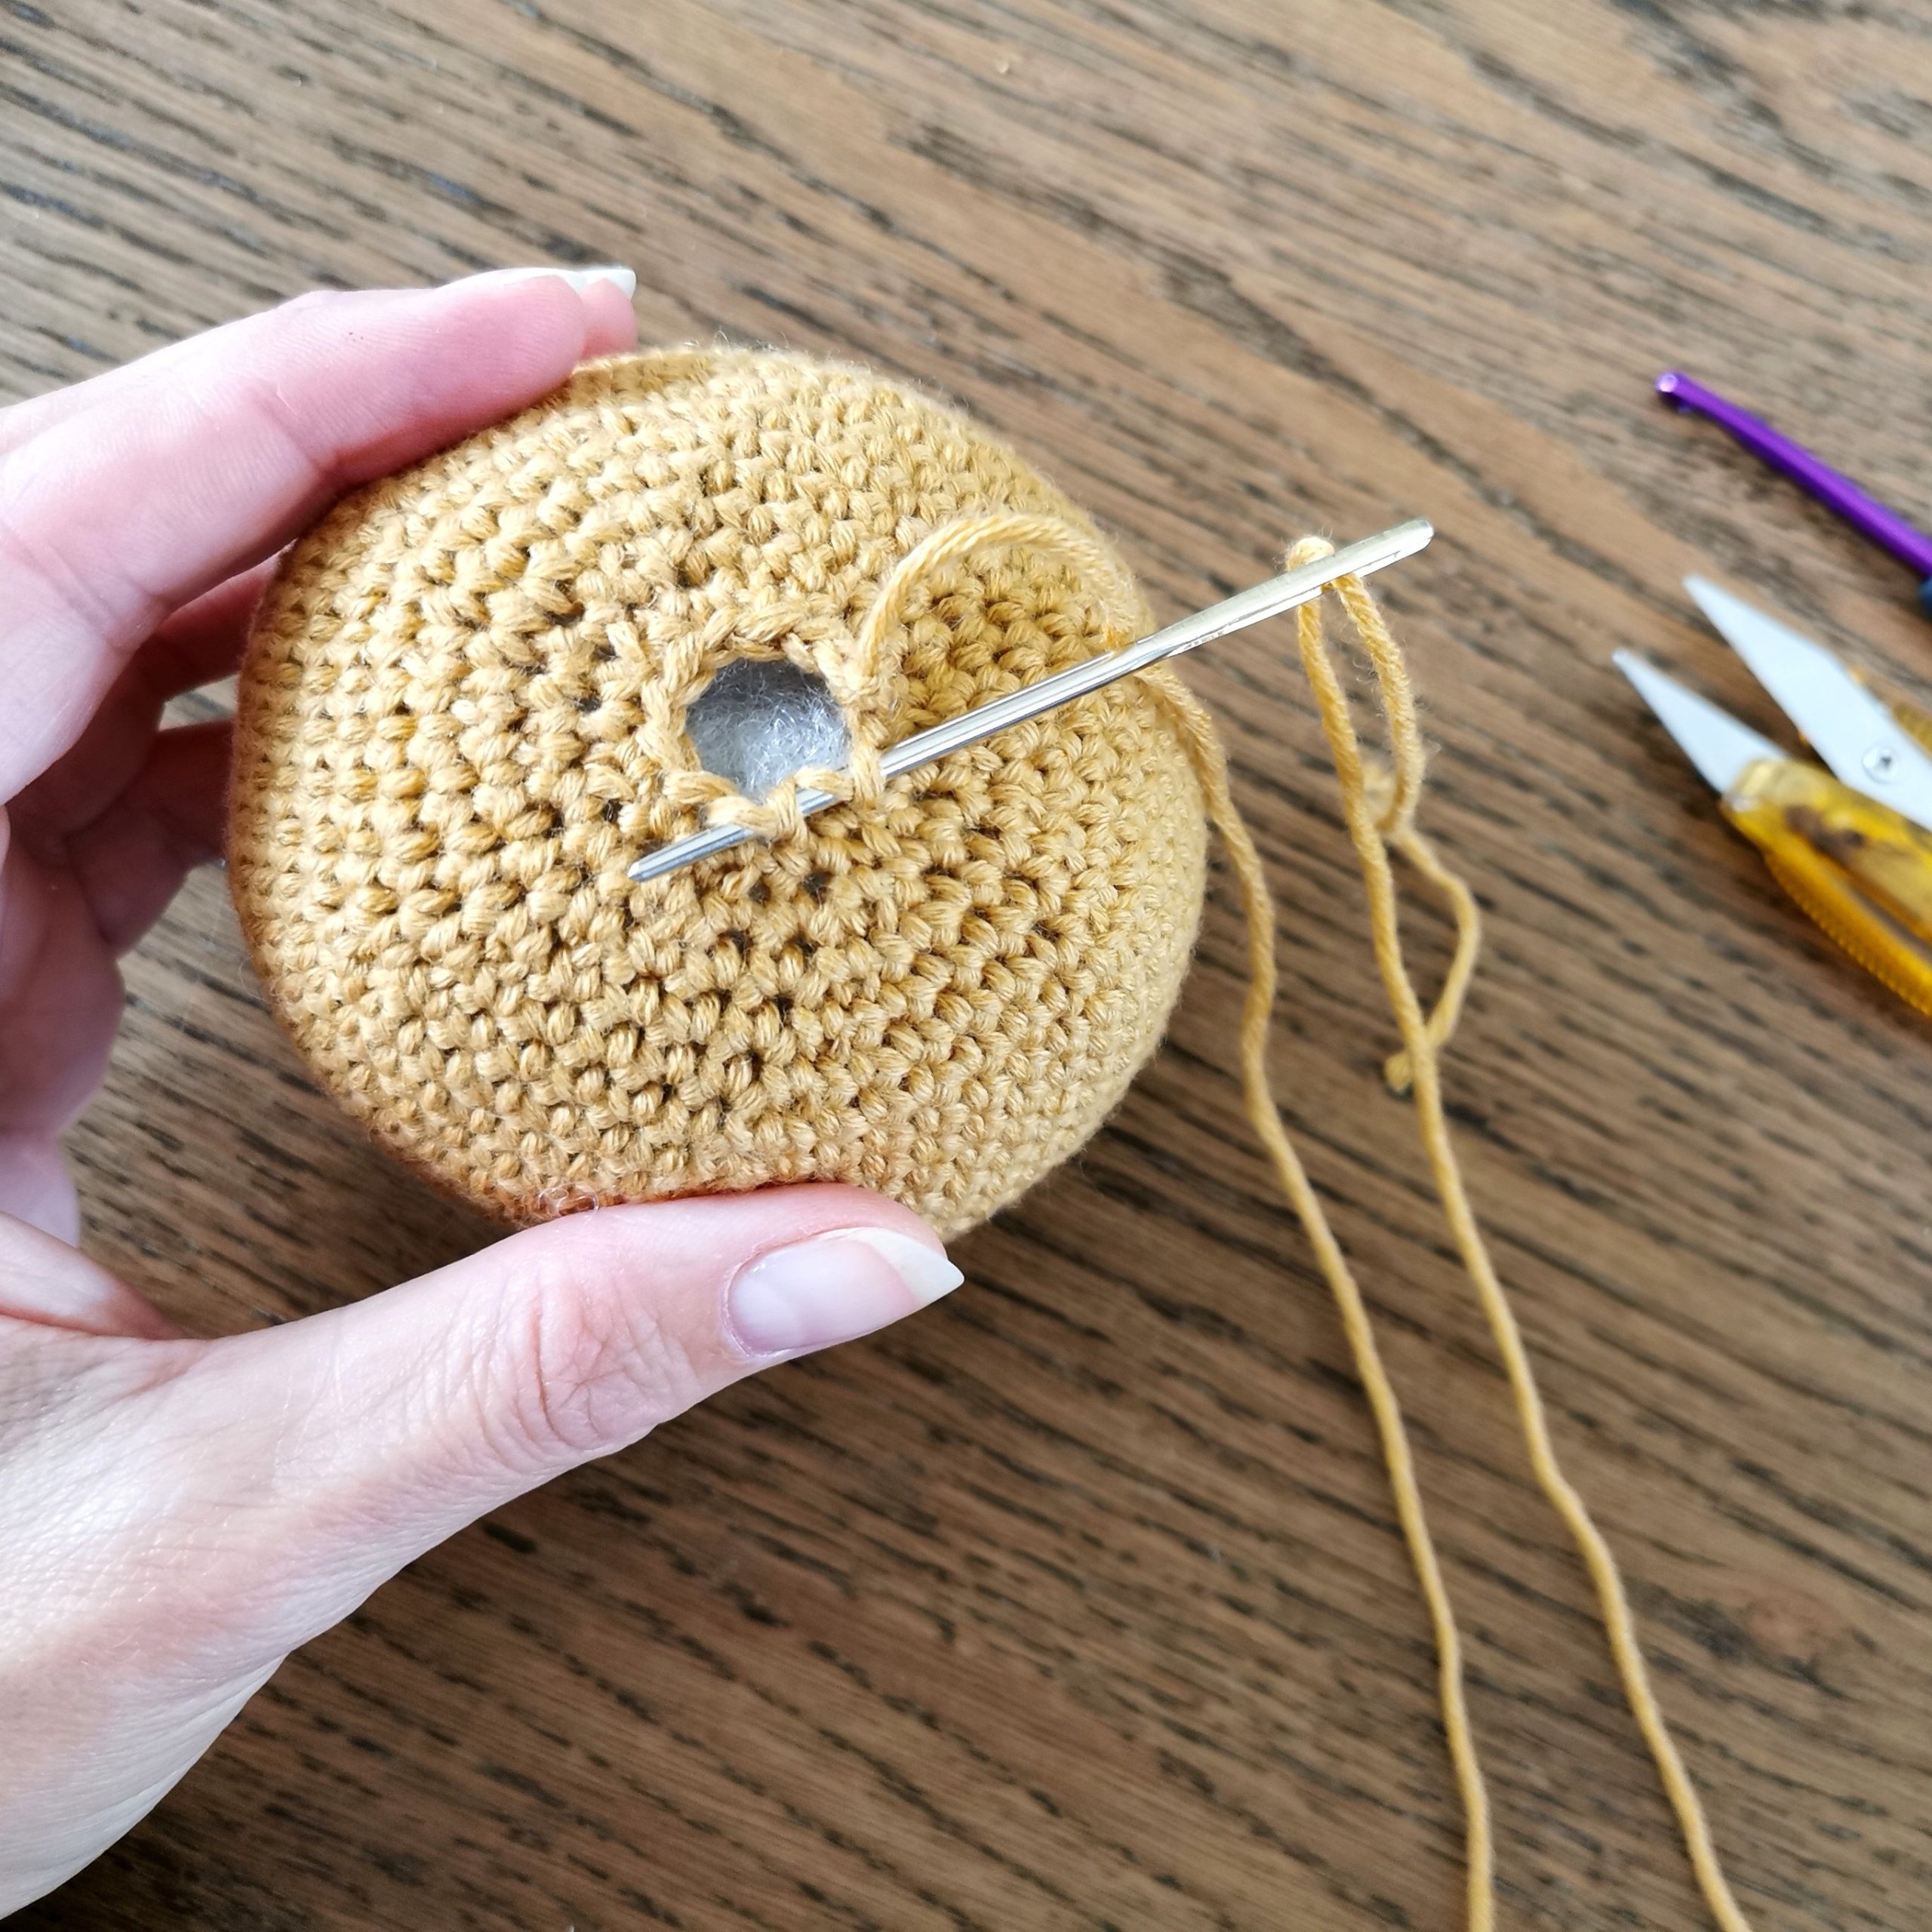
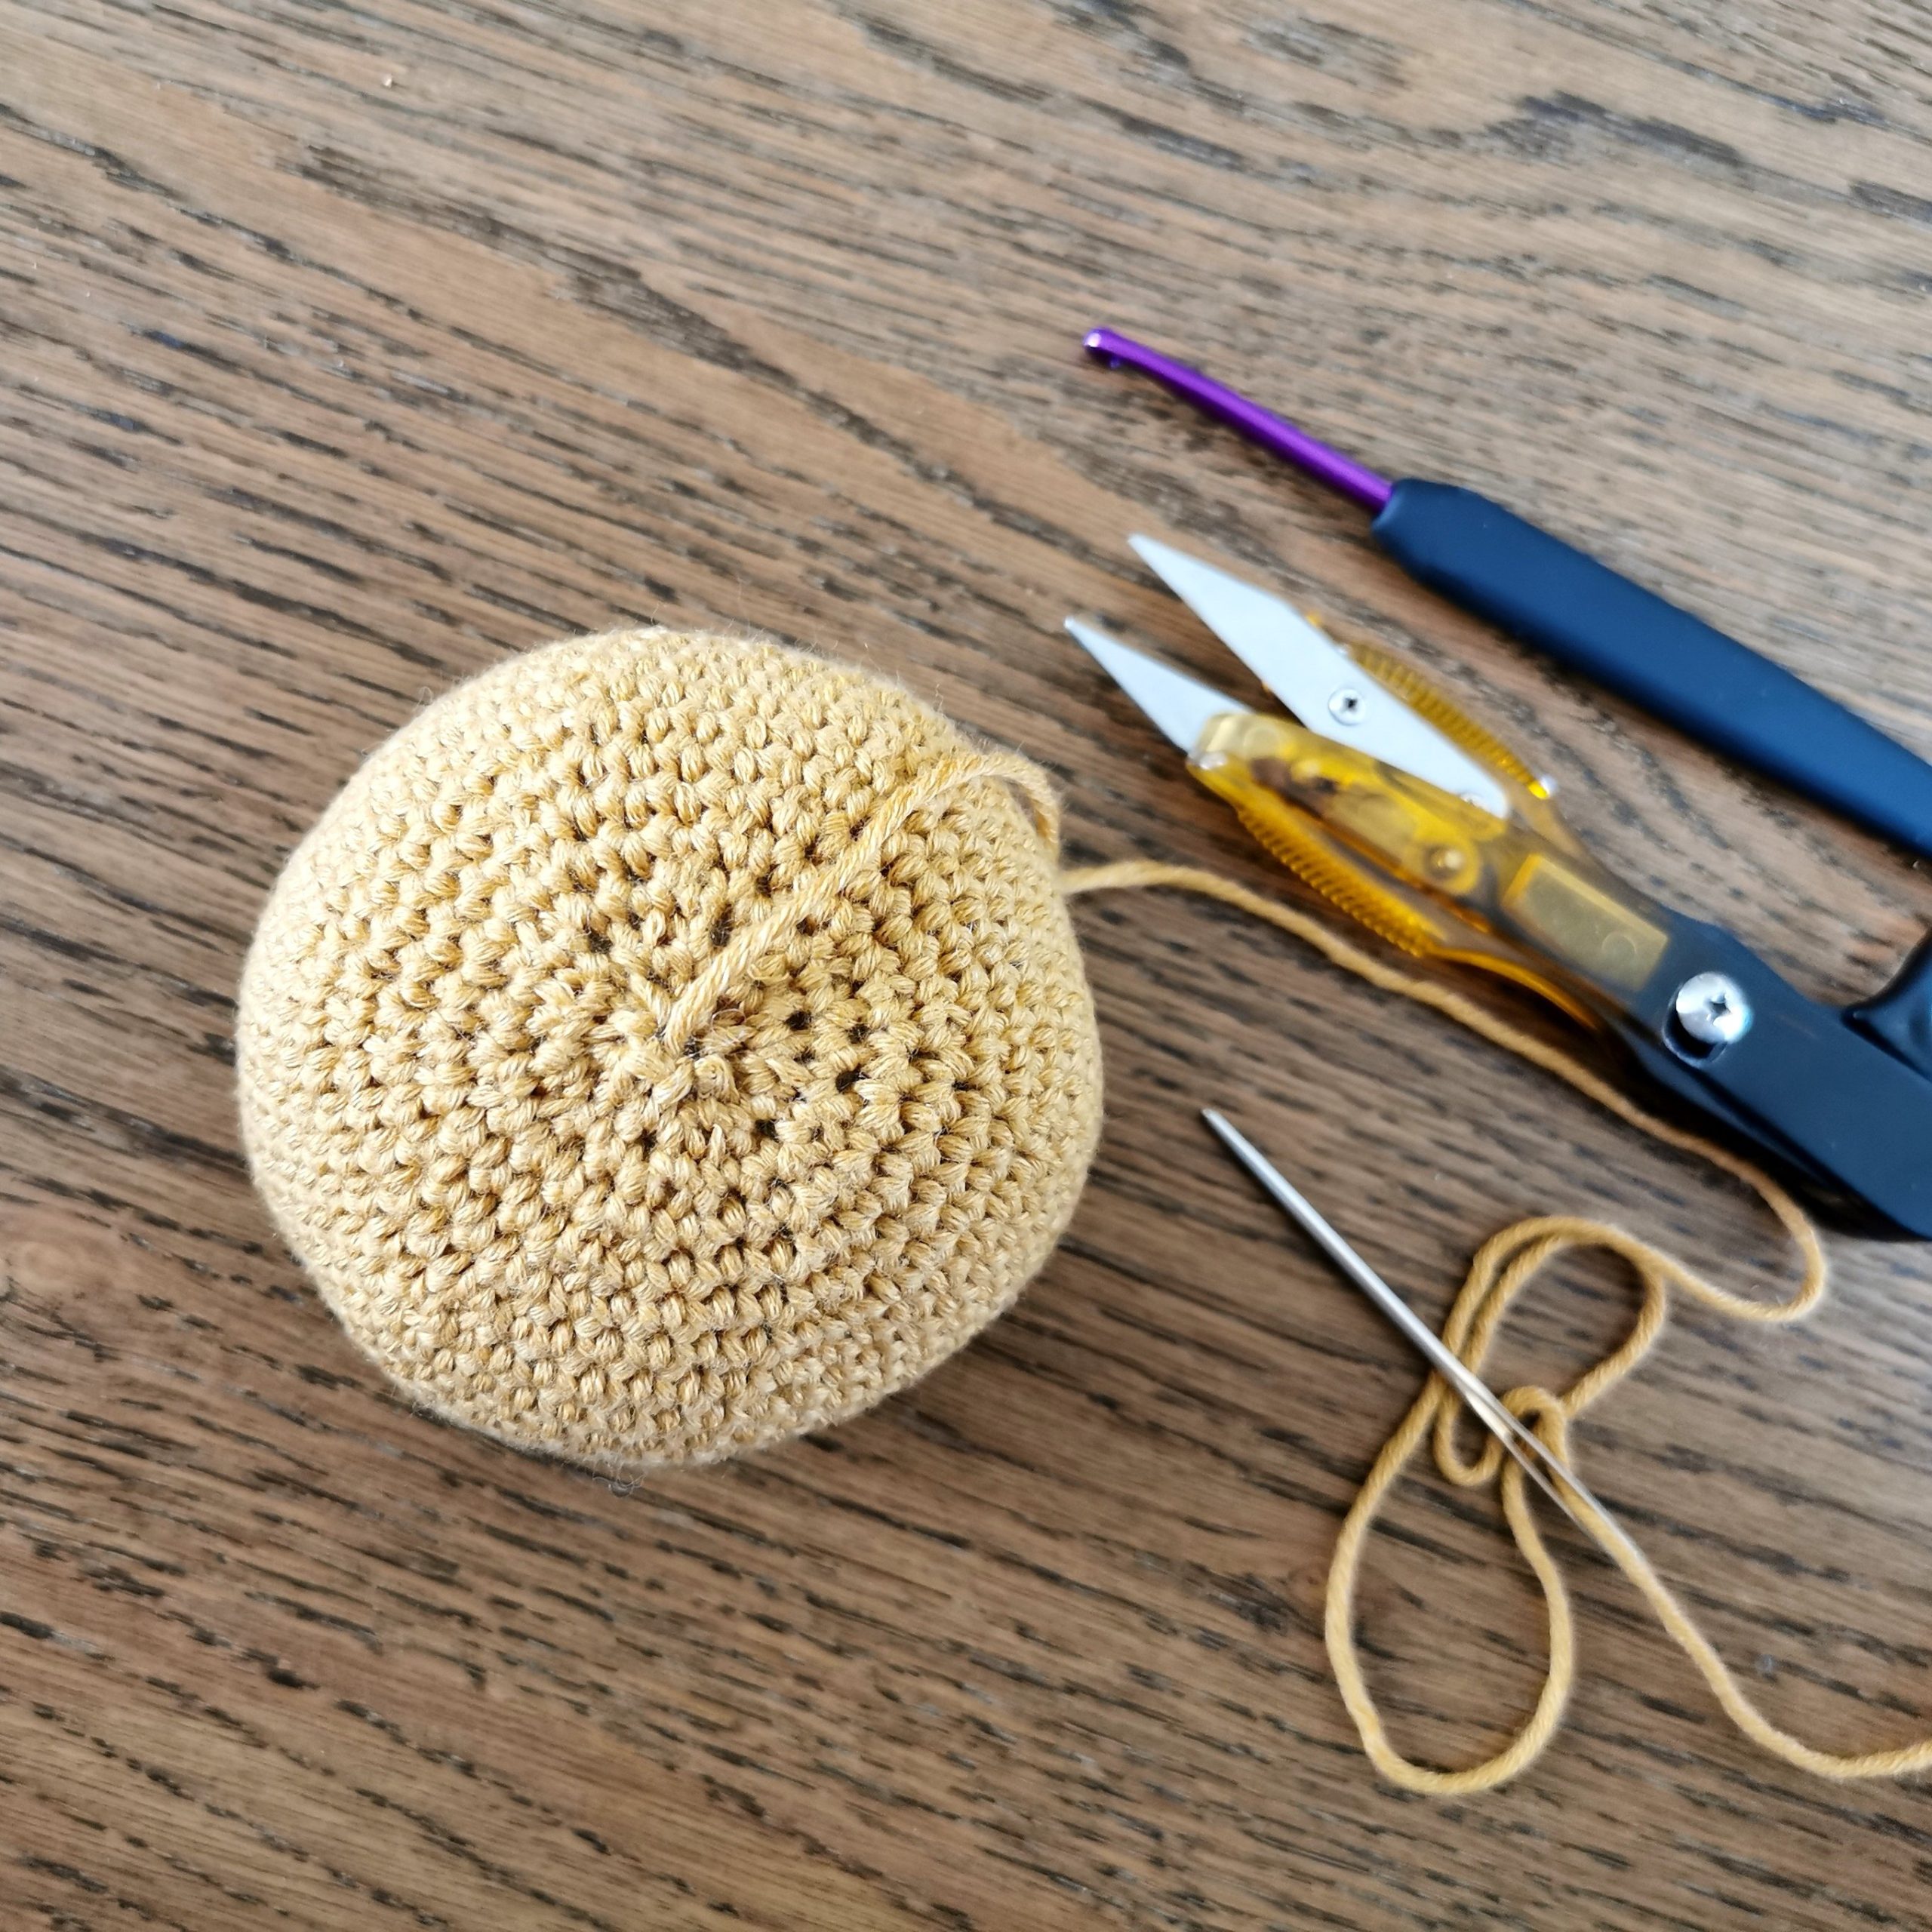
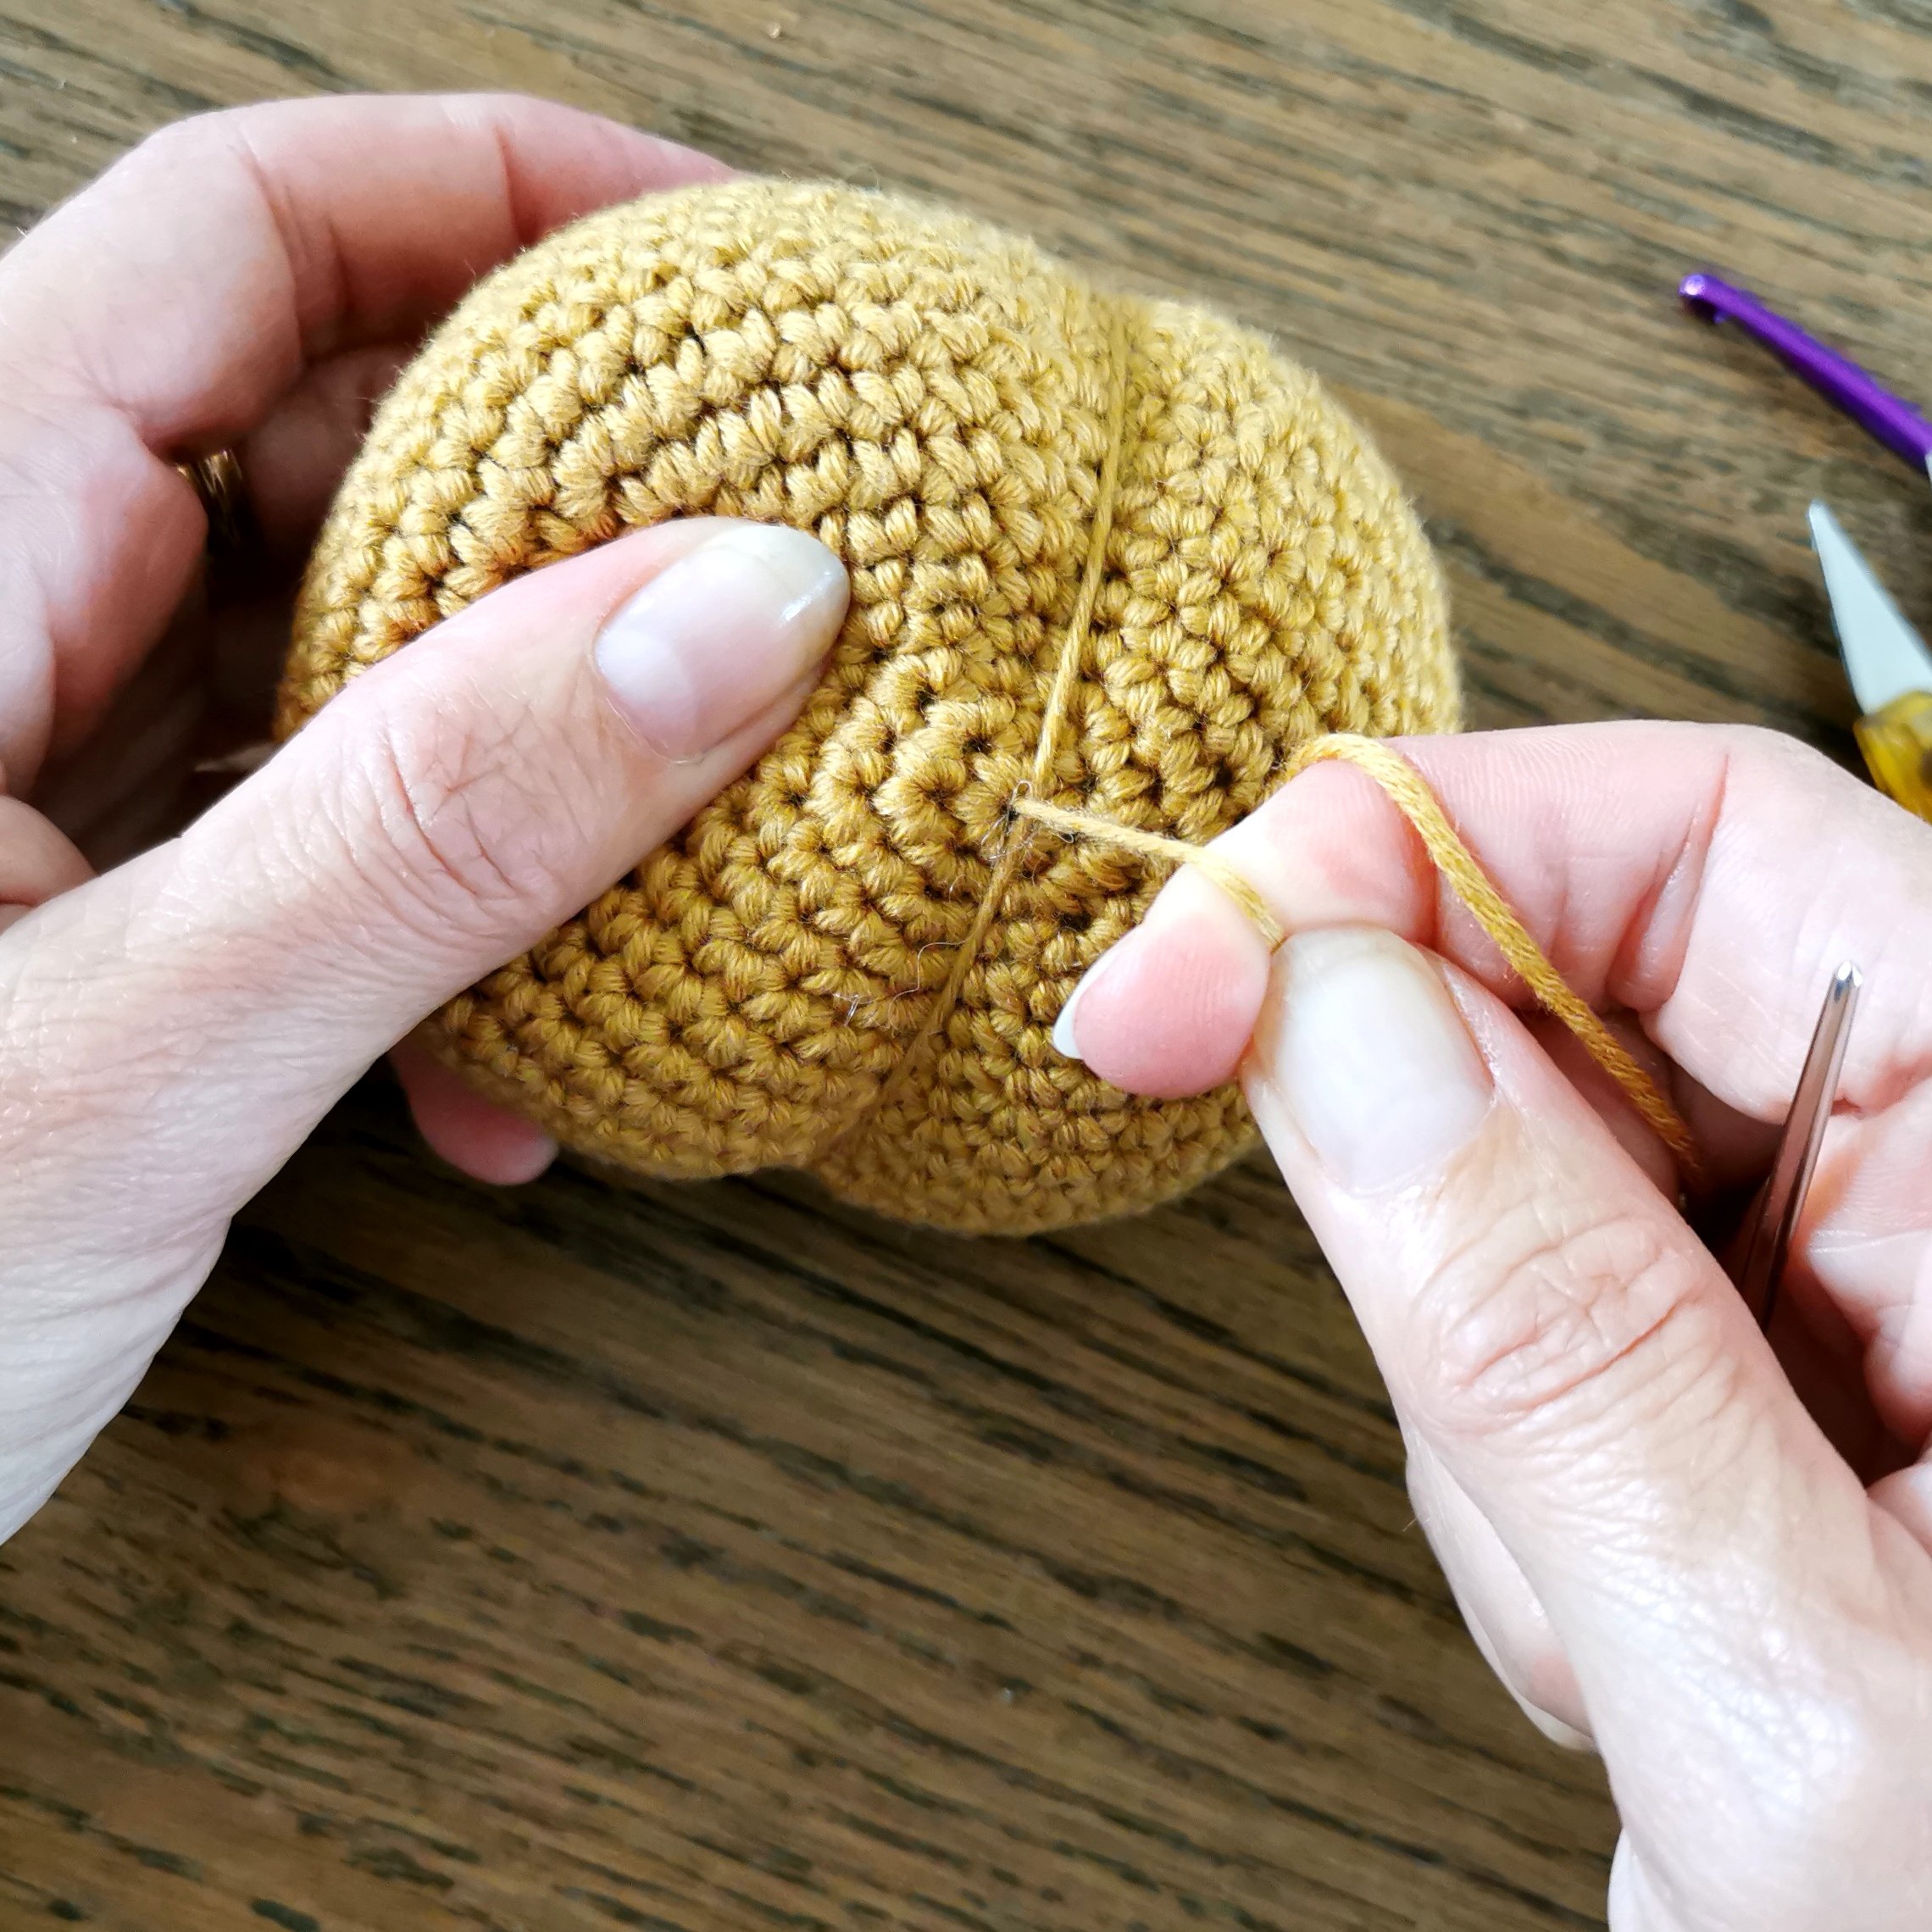
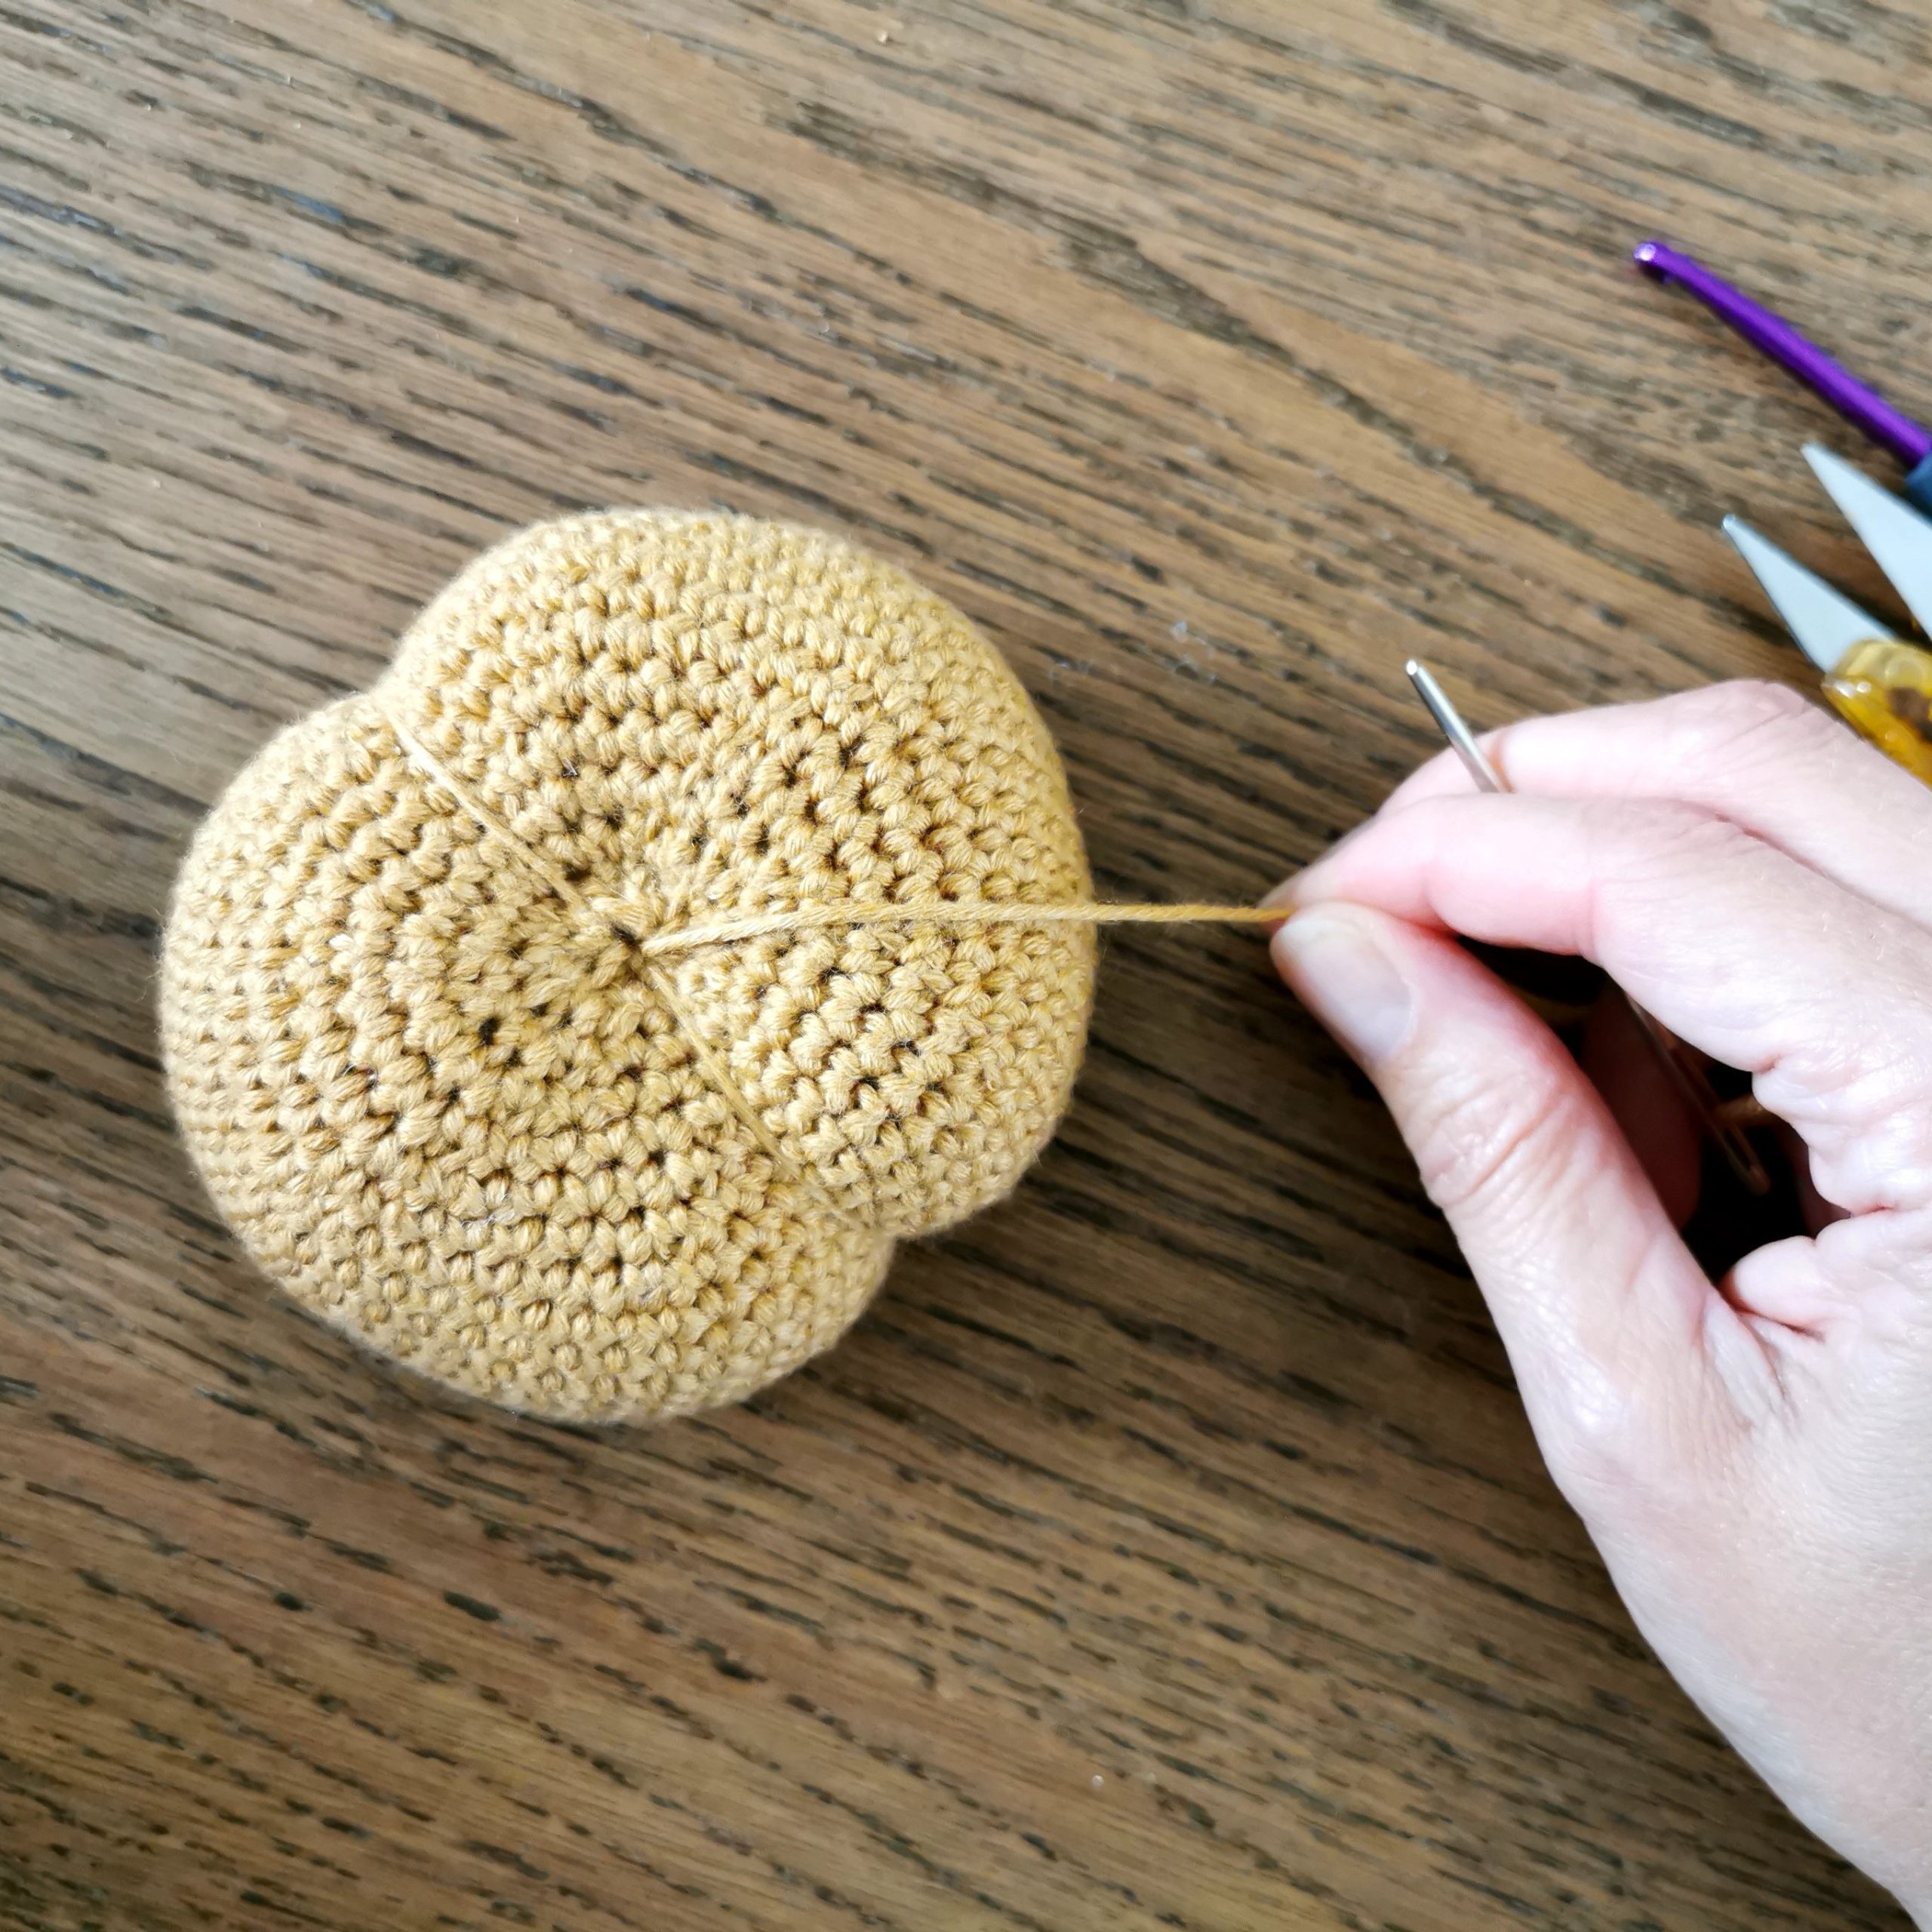
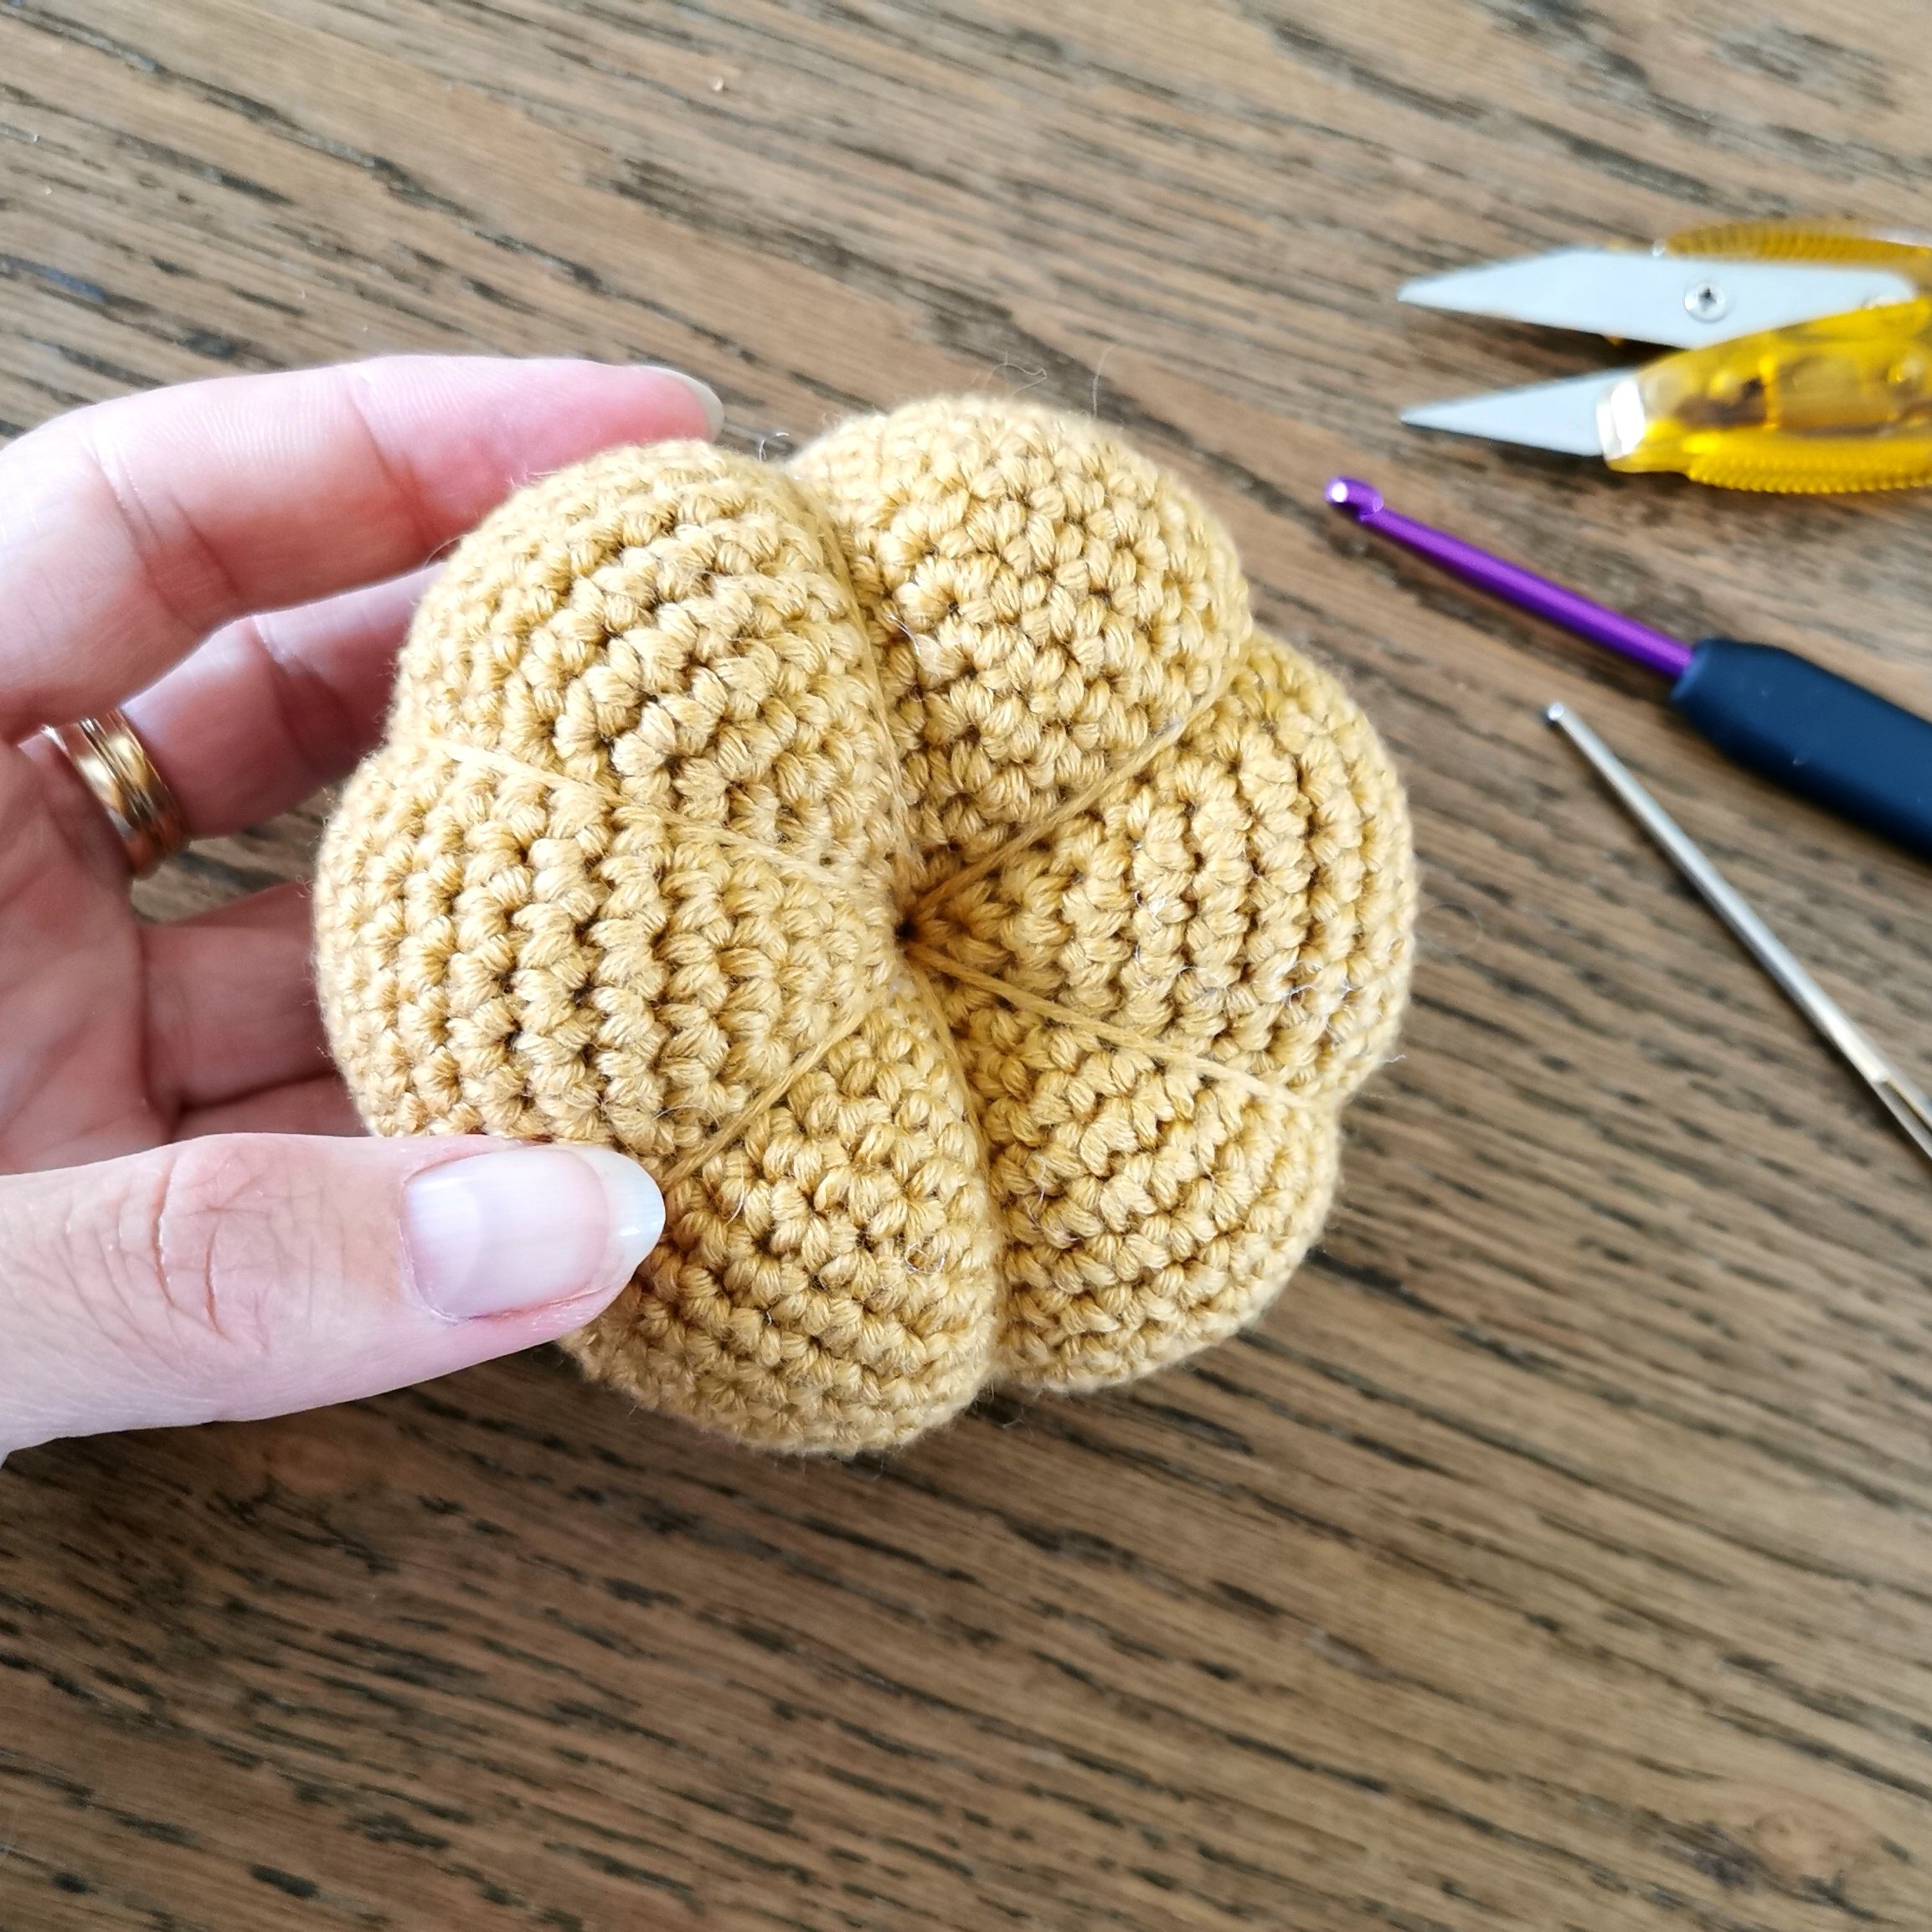
Shape the pumpkin as shown in the photos and video below.


CROCHET PUMPKIN – medium size

R1: 6 dc in MR (6 dc).
Tip: hold off tightening the ring until you’re done with R2.
R2: 2 dc in each st (12 dc)
R3: *1 dc, 2 dc in next st* Repeat from * to * til the end of the round (18 dc)
R4
: *2 dc, 2 dc in next st* (24 dc)
R5:
*3 dc, 2 dc in next st* (30 dc)
R6:
*4 dc, 2 dc in next st* (36 dc)
R7: *5 dc, 2 dc in next st* (42 dc)
R8: *6 dc, 2 dc in next st* (48 dc)
R9-R16: 1 dc in each st (48 dc) 
R17:  *6 dc, 2 dc tog* (42 dc)
R18: *5 dc, 2 dc tog* (36 dc)
R19: *4 dc, 2 dc tog* (30 dc)
R20: *3 dc, 2 dc tog* (24 dc)
R21: *2 dc, 2 dc tog* (18 dc). Stuff the pumpkin.
R22: *1 dc, 2 dc tog* (12 dc). Leave a long enough tail to shape the pumpkin (long enough to go around the ball about three times), cut the yarn and sew it through the remaining 12 dc, tighten together and fasten.

Shape the pumpkin as showed under the big size.


CROCHET PUMPKIN – small size

R1: 6 dc in MR (6 dc).
Tip: hold off tightening the ring until you’re done with R2.
R2: 2 dc in each st (12 dc)
R3: *1 dc, 2 dc in next st* Repeat from * to * til the end of the round (18 dc)
R4
: *2 dc, 2 dc in next st* (24 dc)
R5:
*3 dc, 2 dc in next st* (30 dc)
R6:
*4 dc, 2 dc in next st* (36 dc)
R7: *5 dc, 2 dc in next st* (42 dc)
R8-R14: 1 dc in each st (42 dc) 
R15:  *5 dc, 2 dc tog* (36 dc)
R16: *4 dc, 2 dc tog* (30 dc)
R17: *3 dc, 2 dc tog* (24 dc)
R18: *2 dc, 2 dc tog* (18 dc). Stuff the pumpkin.
R19: *1 dc, 2 dc tog* (12 dc). Leave a long enough tail to shape the pumpkin (long enough to go around the ball about three times), cut the yarn and sew it through the remaining 12 dc, tighten together and fasten.

Shape the pumpkin as showed under the big size.


STEM – make one for each size

Crochet hook: Use one size smaller than the one you used for the pumpkins.

Chain 5
R1: 1 dc in second chain from hook, 3 dc, turn (4 dc)
R2-R4: 1 ch, 4 dc, turn (4 dc)

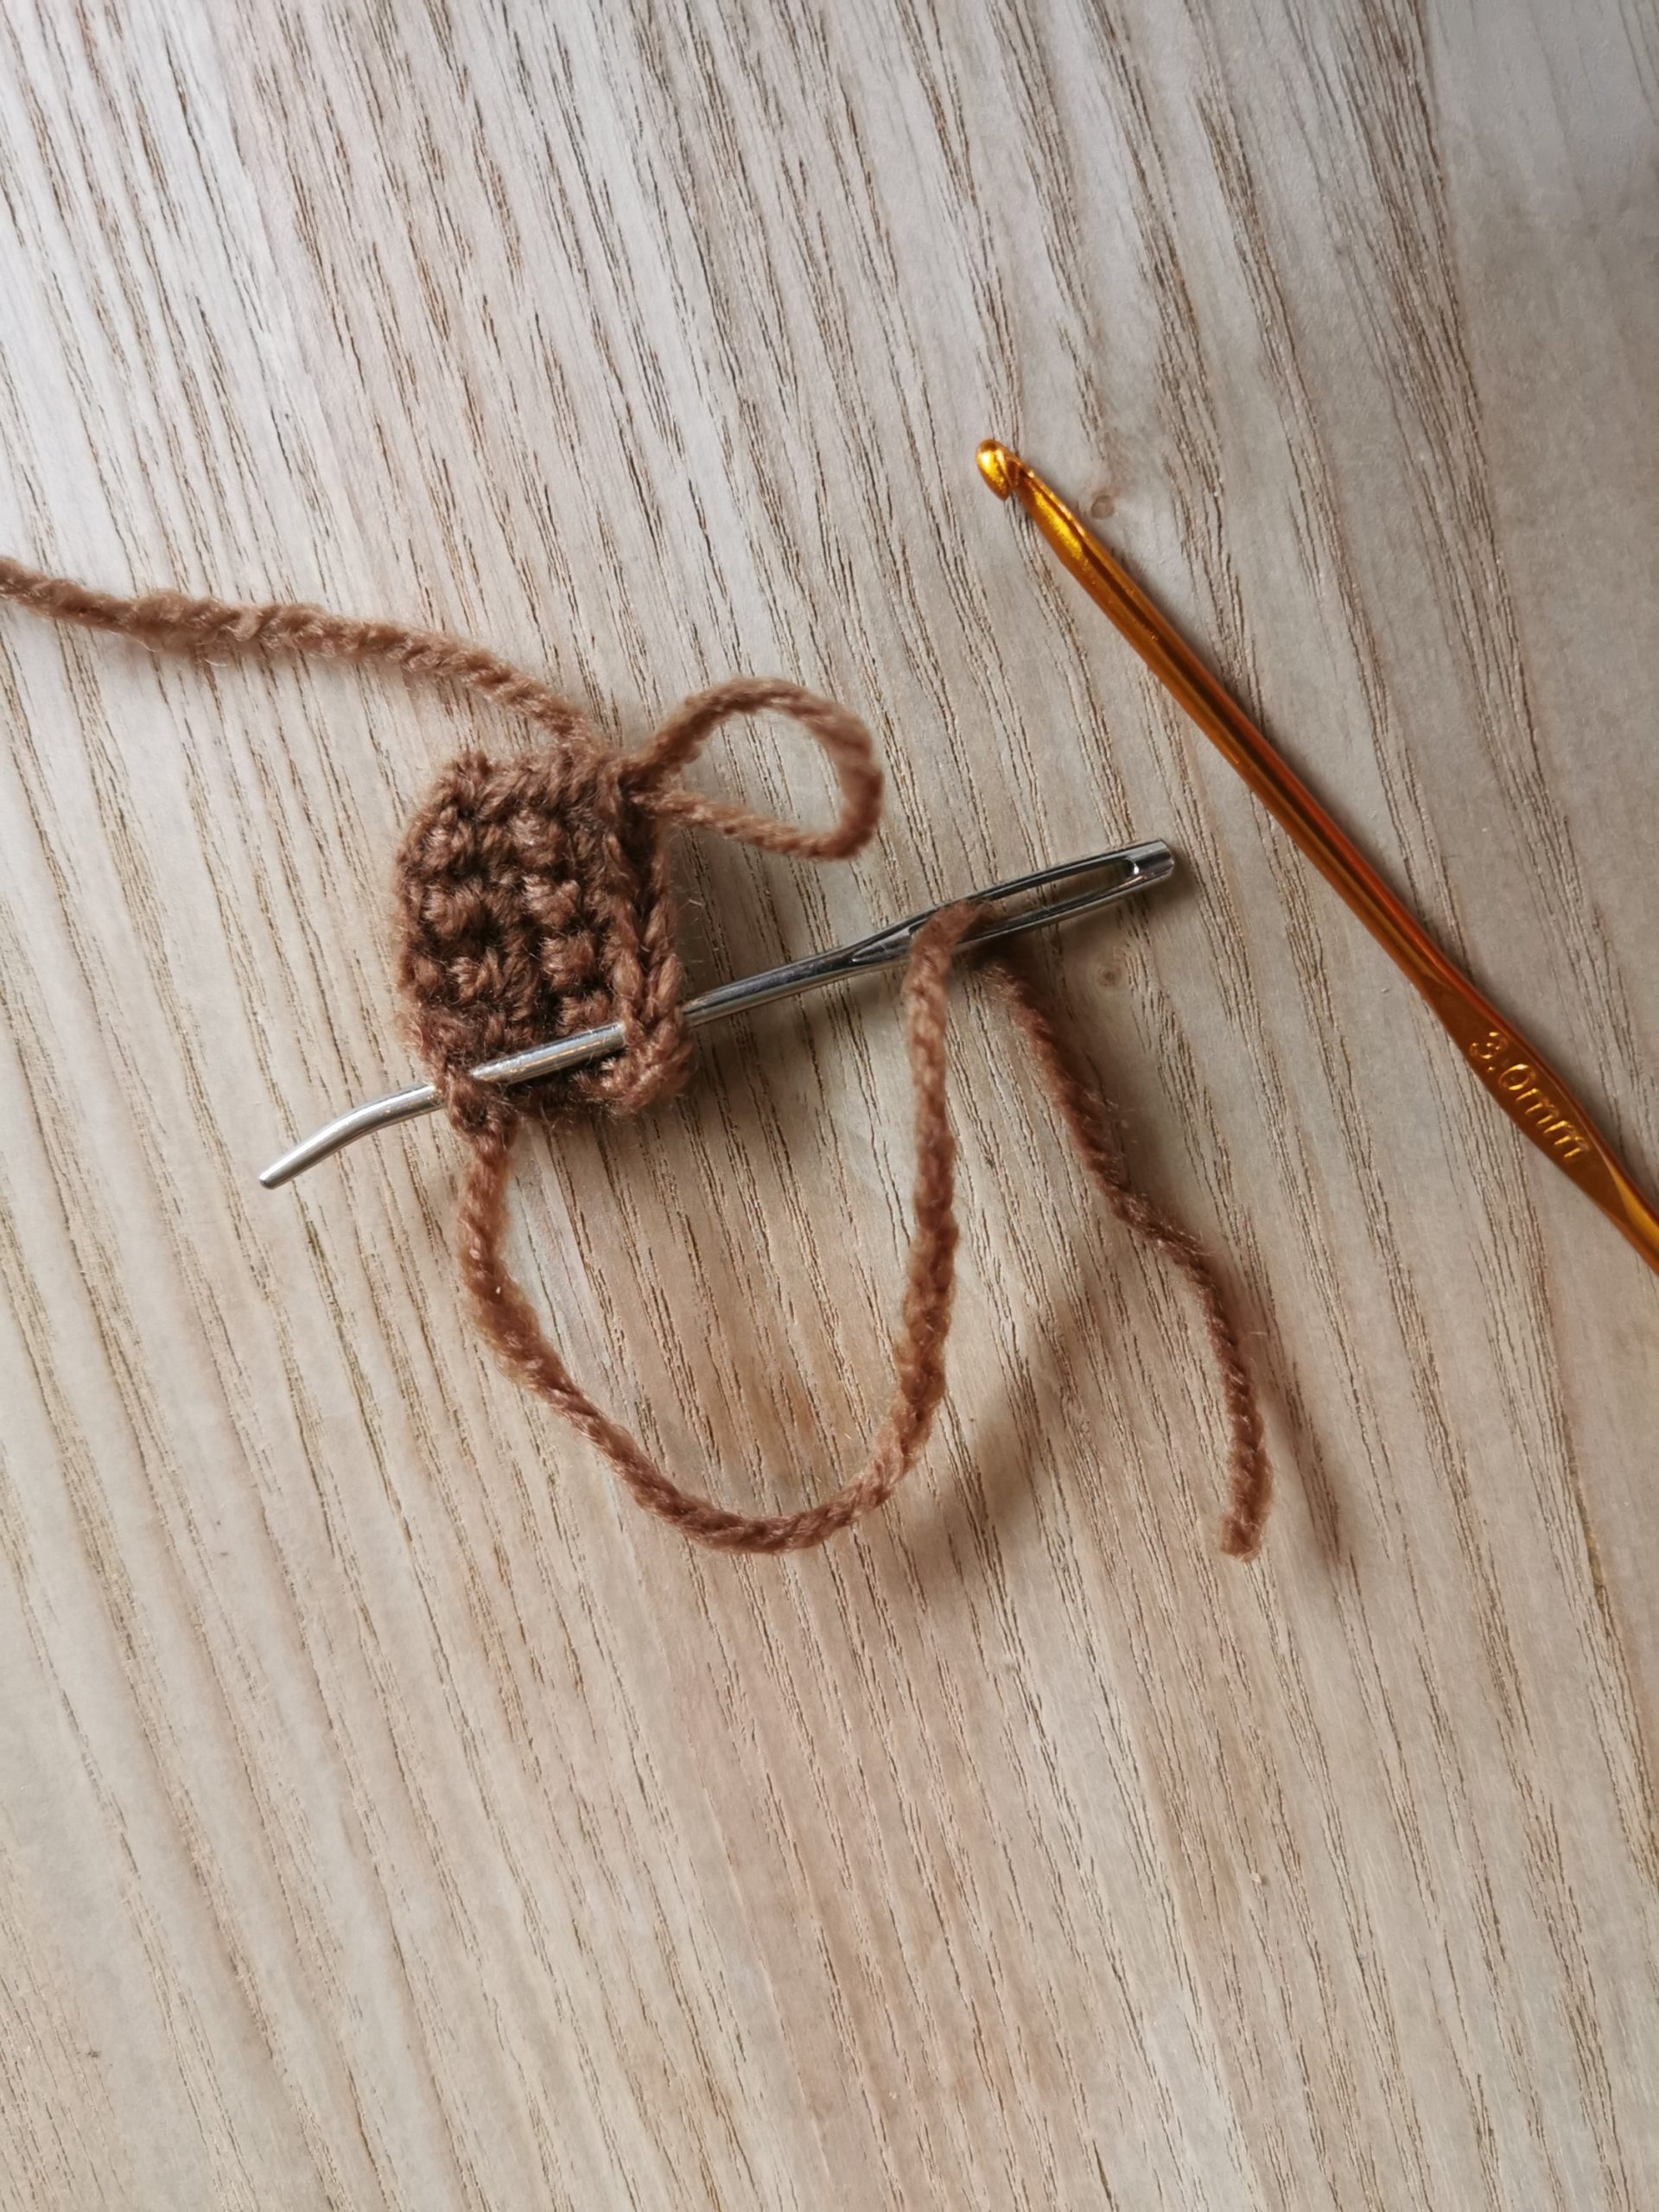
Don’t fasten the yarn, you’ll come back to it after you’re finished sewing the stem (photo 1). With the tail, sew 4 stitches down the side through the first and last row at the same time (photo 2). Weave in the end.

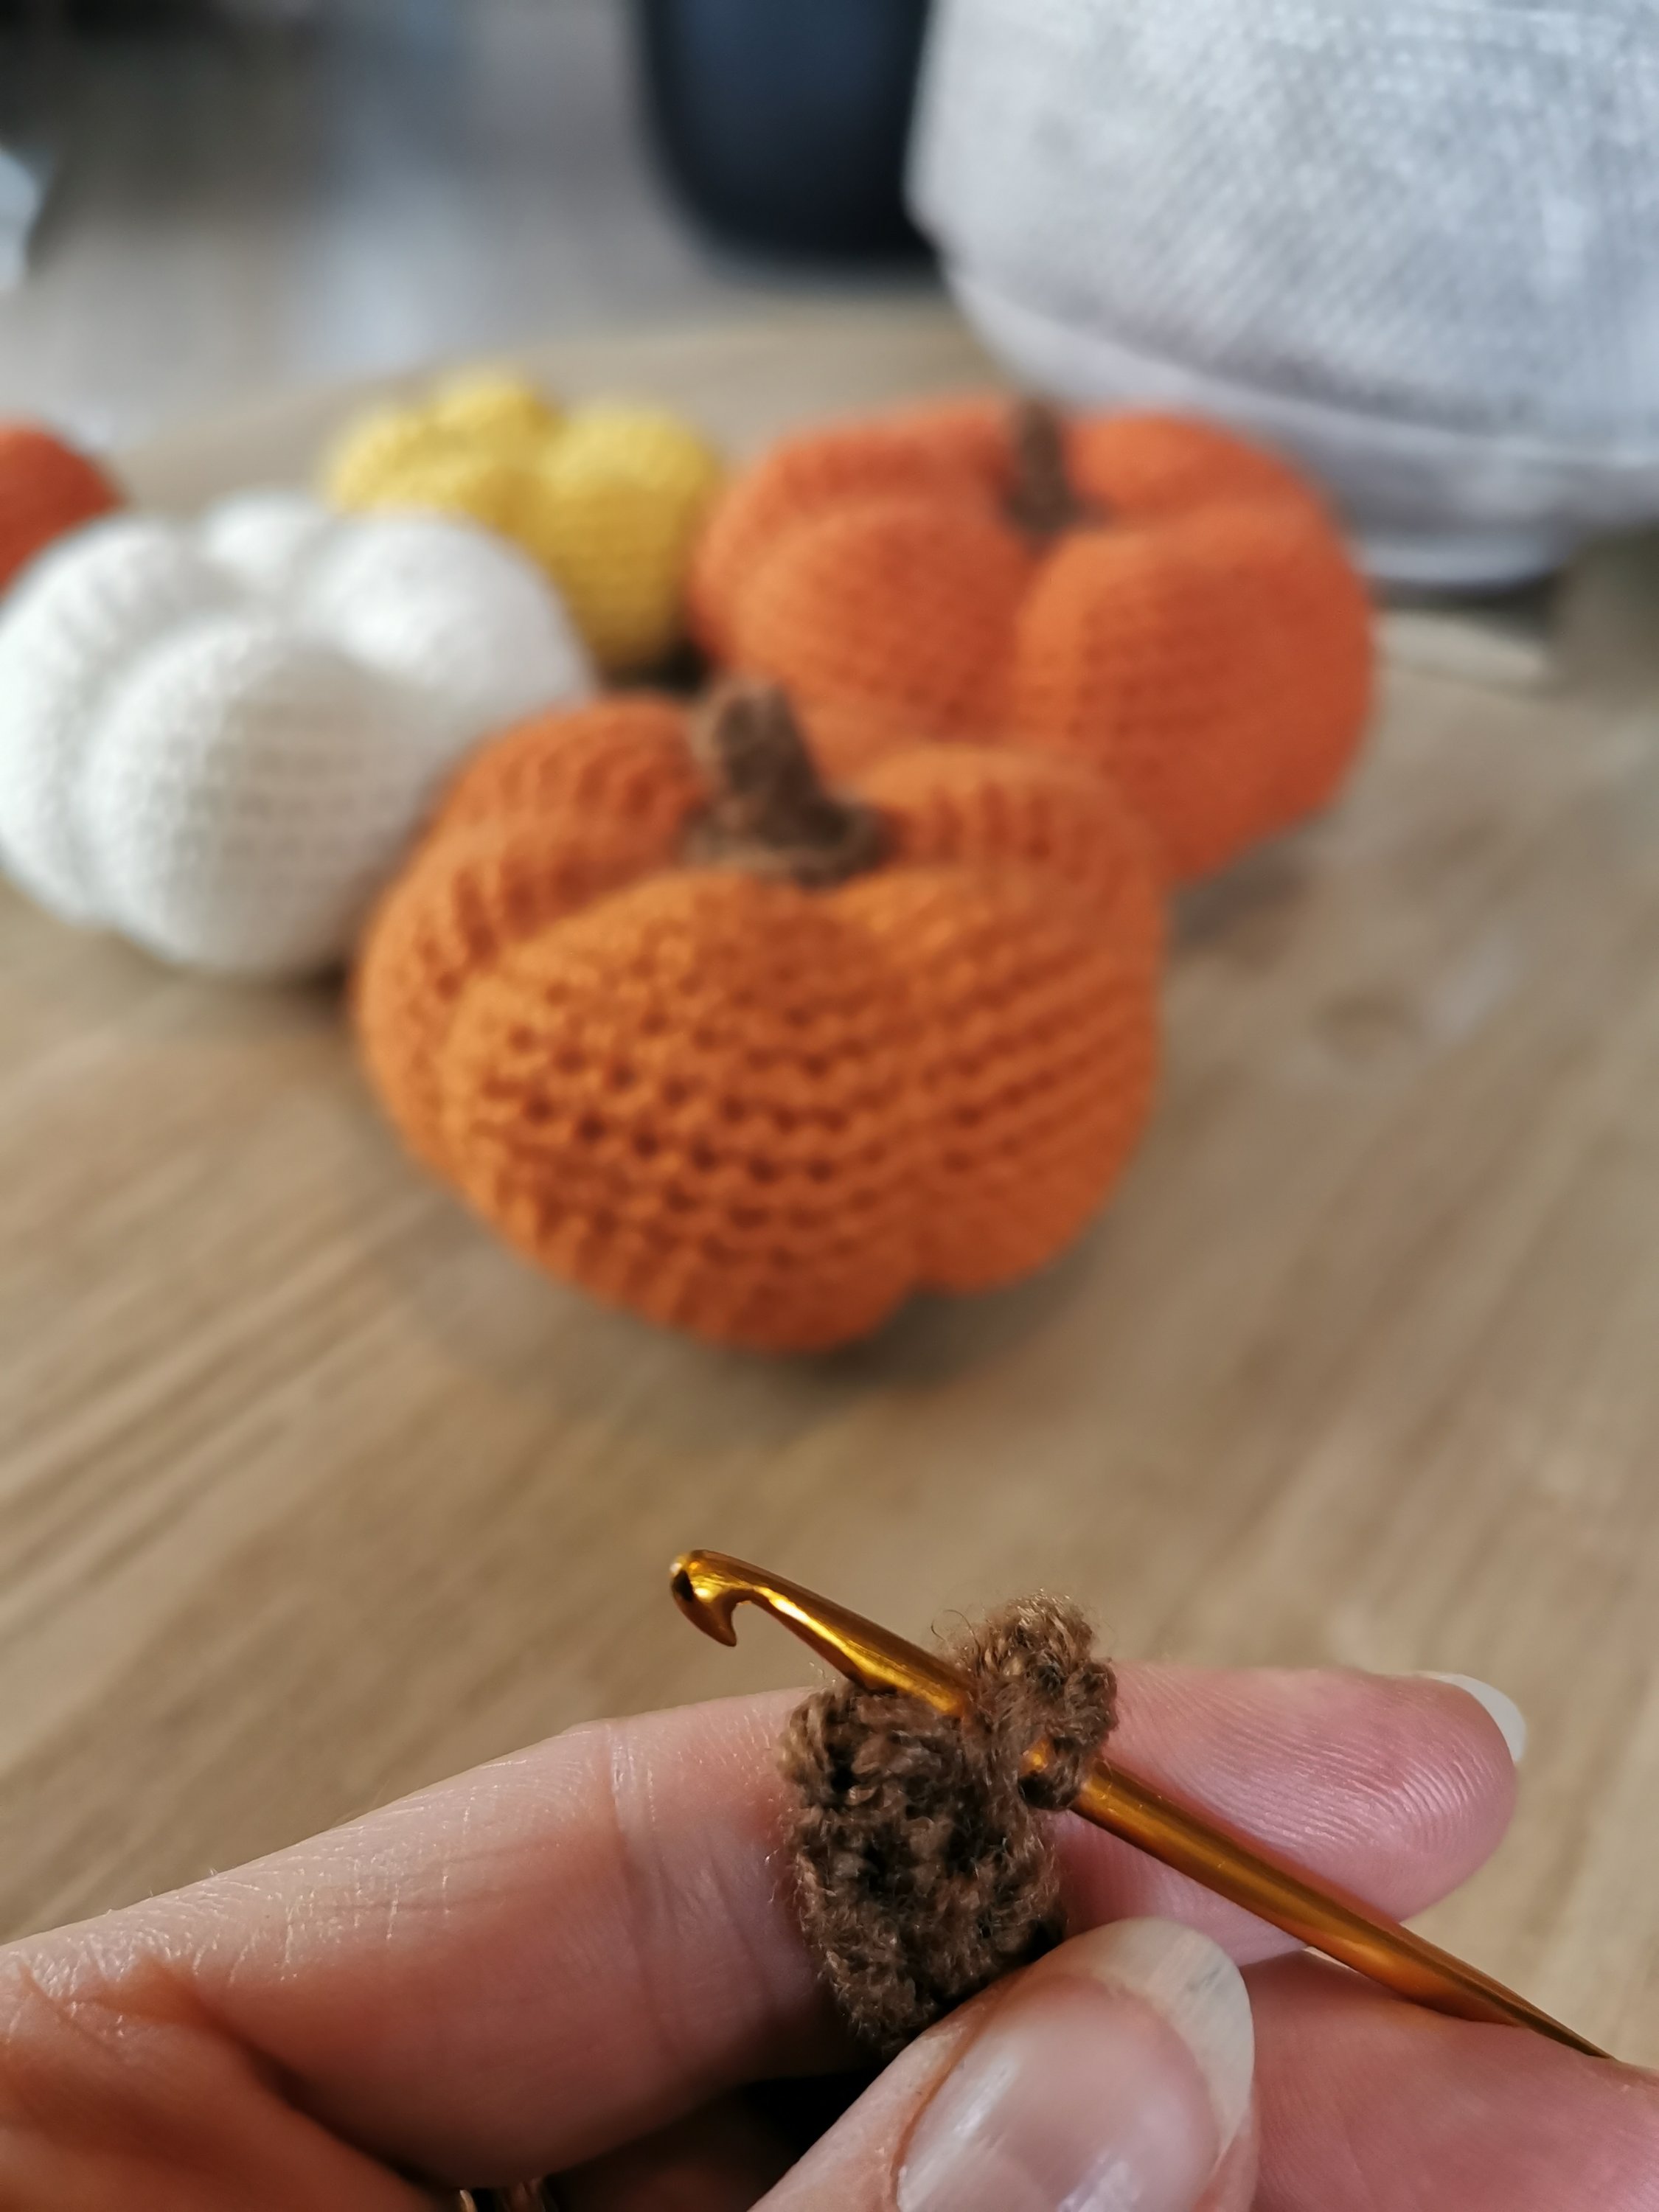
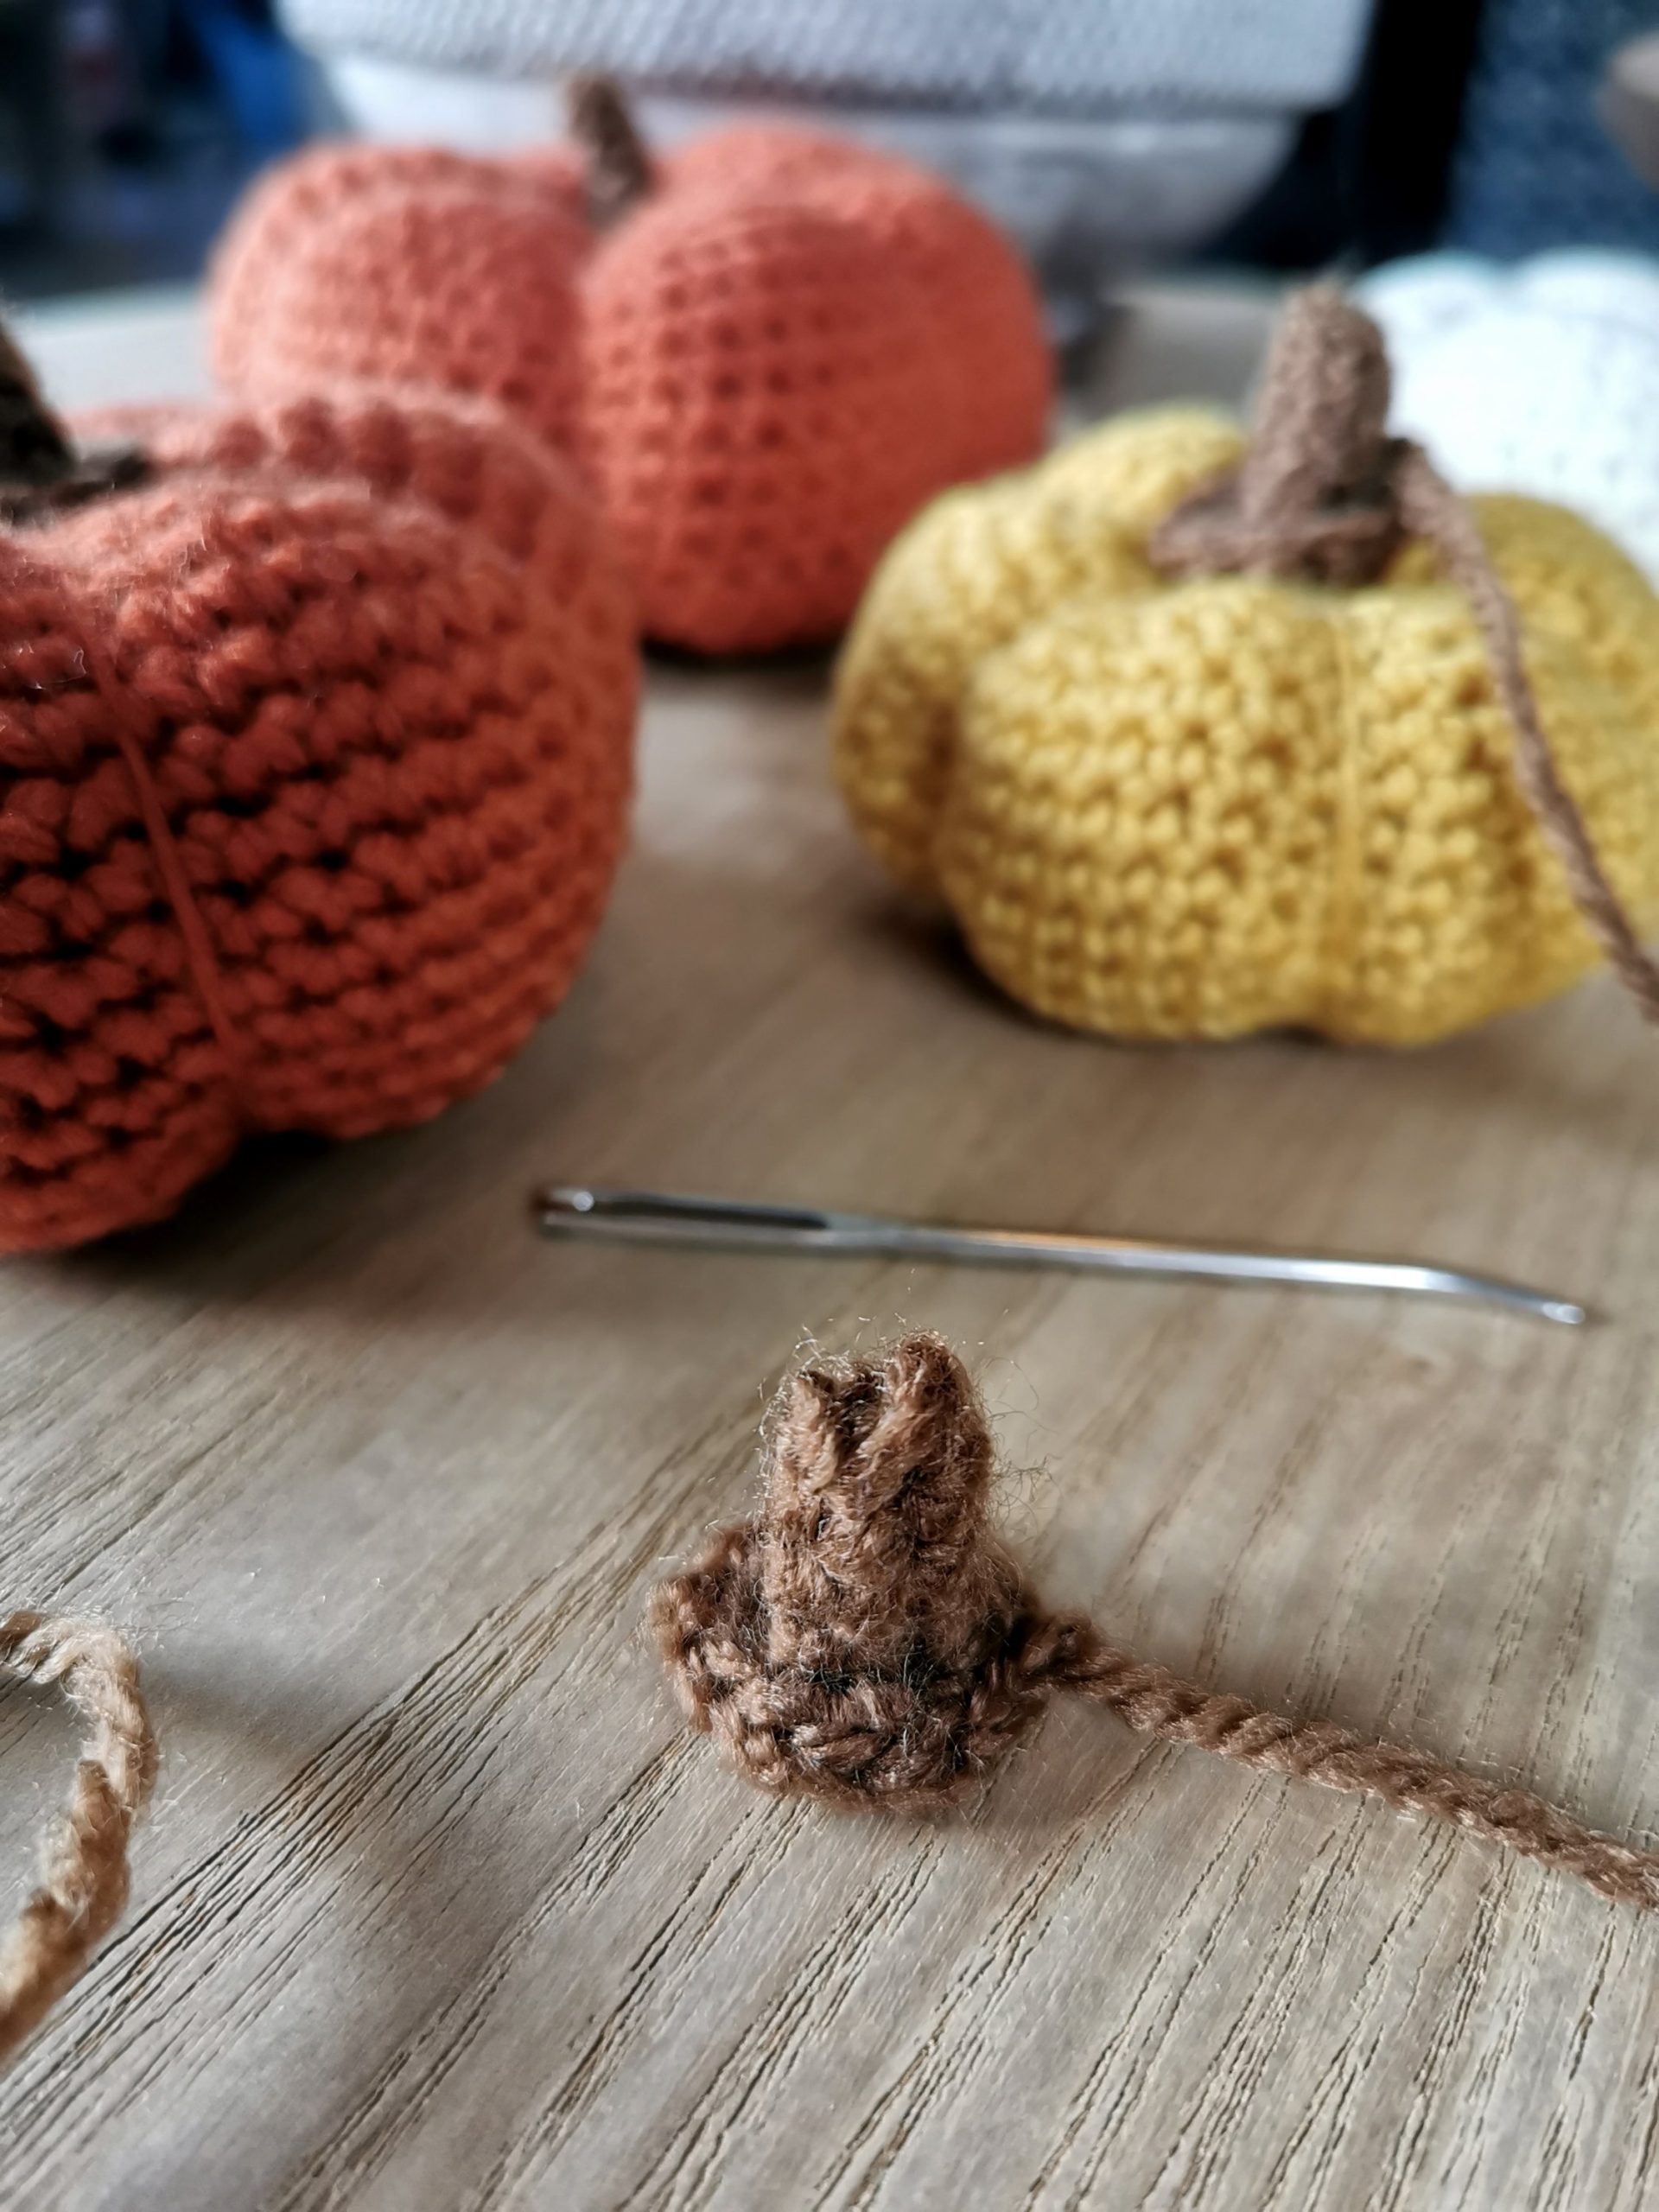
R5: Continue with the yarn from R4 (photo 3), 1 ch, 10 dc around the opening, fasten with sl st in first st (photo 4 and 5). Cut off the yarn, but leave a tail in order to sew the stem to the pumpkin (photo 6).


I hope you enjoyed my pattern, and that you now have one or more pumpkins to decorate your home with.


If you use my patterns please link back to www.HELdesign.com.
And I would love to see your finished pumpkins, so please tag me if you post on Instagram, with #heldesign_pattern and @heldesign_crochet 🙂


Please
contact me if you have any questions.

Enjoy your crocheting! 🙂

Dette bildet mangler alt-tekst; dets filnavn er cropped-heldesign_mint3-1-300x227.png

Would you like to learn how to crochet? 

Visit my YouTube channel, there you will find videos of the basic stitches and in time there will also come special stitches, various projects and requests.

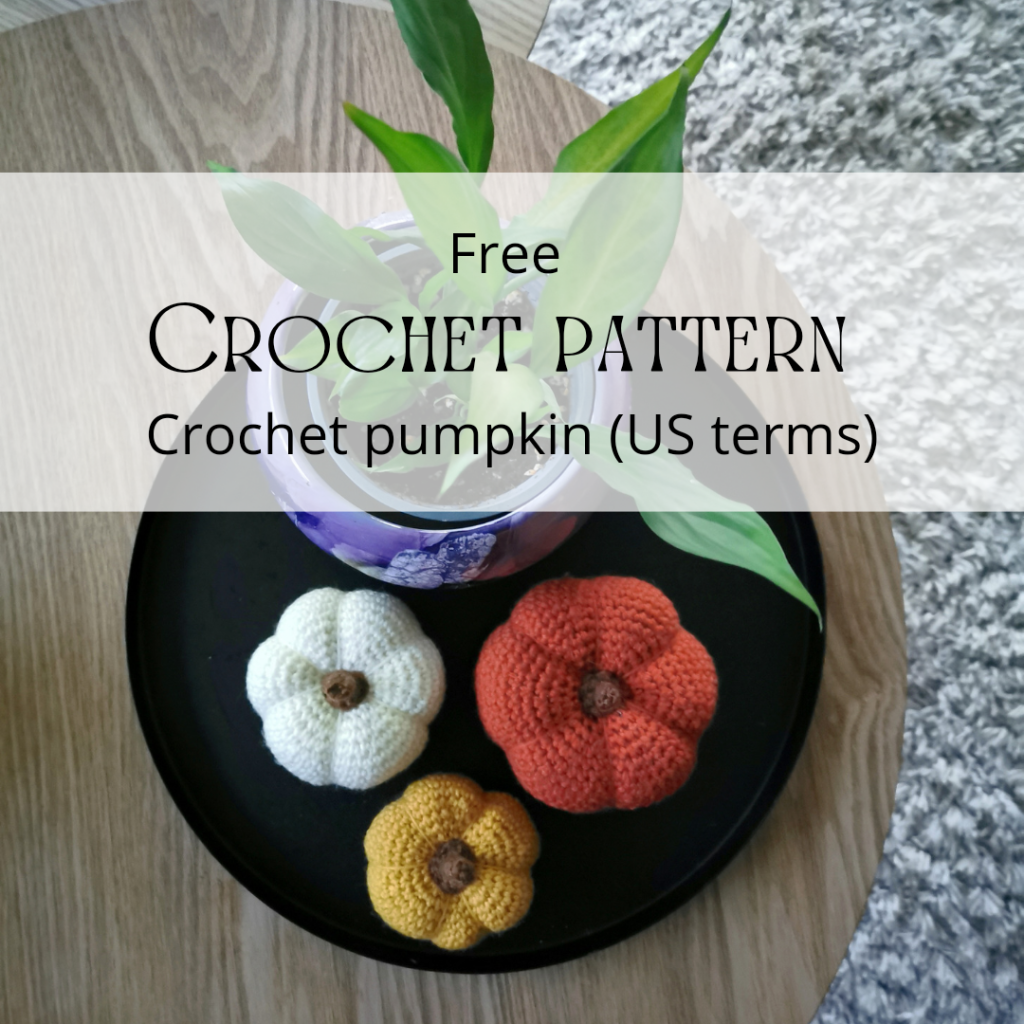
CROCHET PUMPKIN – Free crochet pattern (US terms)

CROCHET PUMPKIN – Free crochet pattern (US terms)


DESIGN AND PATTERN:  Hege Espeland Lygrewww.HELdesign.com
Please read the Terms of use for my crochet patterns.


CROCHET PUMPKIN- big, medium and small

When autumn arrives I like to decorate my home with pumpkins, and last year I made a simple crochet pattern for a crochet pumpkin in three different sizes. There are numerous patterns like this on the internet, but I thought I’d share my pattern with you anyways. The pumpkins can be made in any type of yarn, so play around with different colours, sizes and also thickness of the yarn. And instead of making a stem you can also use a tiny branch (as shown in photos further down on the page).


MATERIALS

  • Yarn – The pumpkin can be made in any type of yarn, so choose the yarn that suits you best.
  • Crochet Hook – The size that goes with the yarn you’re using, and one in a smaller size.
  • Filling / Wadding to stuff the pumpkins
  • Needle
  • Scissors

STITCHES / ABBREVIATIONS (US terms)

GAUGE

No gauge is necessary for this pattern, as it’s not a piece of clothing or something that requires exact measurments.

INFORMATION

  • Read through the whole pattern before you start.
  • Increase (example): When it says «2 sc, 2 sc in next st», it means that you make 1 sc in each of the two next stitches, and then 2 sc in the next stitch (you have then worked into 3 stitches in this example, ending up with 4 stitches).
  • Decrease (example): When it says «2 sc, 2sc tog», it means that you make 1 sc in each of the next two stitches, and then you decrease the next two stitches by crocheting them together (you have then worked into 4 stitches in this example, ending up with 3 stitches).
  • When you crochet in rounds it’s hard to see where the round ends and starts, so use a stitch marker or a piece of yarn to put a mark after each round.
  • ** – Repeat everything written between * to * as many times as the pattern says, or to the end of the round.

CROCHET PATTERN

Crochet hook: Use the size that fits the yarn you’ve chosen.

CROCHET PUMPKIN – big size

R1: 6 sc in MR (6 sc).
Tip: hold off tightening the ring until you’re done with R2.
R2: 2 sc in each st (12 sc)
R3: *1 sc, 2 sc in next st* Repeat from * to * til the end of the round (18 sc)
R4
: *2 sc, 2 sc in next st* (24 sc)
R5:
*3 sc, 2 sc in next st* (30 sc)
R6:
*4 sc, 2 sc in next st* (36 sc)
R7: *5 sc, 2 sc in next st* (42 sc)
R8: *6 sc, 2 sc in next st* (48 sc)
R9: *7 sc, 2 sc in next st* (54 sc)
R10-R18: 1 sc in each st (54 sc) 
R19: *7 sc, 2 sc tog* (48 sc)
R20:
 *6 sc, 2 sc tog* (42 sc)
R21: *5 sc, 2 sc tog* (36 sc)
R22: *4 sc, 2 sc tog* (30 sc)
R23: *3 sc, 2 sc tog* (24 sc)
R24: *2 sc, 2 sc tog* (18 sc). Stuff the pumpkin.
R25: *1 sc, 2 sc tog* (12 sc). Leave a long enough tail to shape the pumpkin (long enough to go around the ball about three times), cut the yarn and sew it through the remaining 12 sc, tighten together and fasten.

Shape the pumpkin as shown in the photos and video below.


CROCHET PUMPKIN – medium size

R1: 6 sc in MR (6 sc).
Tip: hold off tightening the ring until you’re done with R2.
R2: 2 sc in each st (12 sc)
R3: *1 sc, 2 sc in next st* Repeat from * to * til the end of the round (18 sc)
R4
: *2 sc, 2 sc in next st* (24 sc)
R5:
*3 sc, 2 sc in next st* (30 sc)
R6:
*4 sc, 2 sc in next st* (36 sc)
R7: *5 sc, 2 sc in next st* (42 sc)
R8: *6 sc, 2 sc in next st* (48 sc)
R9-R16: 1 sc in each st (48 sc) 
R17:  *6 sc, 2 sc tog* (42 sc)
R18: *5 sc, 2 sc tog* (36 sc)
R19: *4 sc, 2 sc tog* (30 sc)
R20: *3 sc, 2 sc tog* (24 sc)
R21: *2 sc, 2 sc tog* (18 sc). Stuff the pumpkin.
R22: *1 sc, 2 sc tog* (12 sc). Leave a long enough tail to shape the pumpkin (long enough to go around the ball about three times), cut the yarn and sew it through the remaining 12 sc, tighten together and fasten.

Shape the pumpkin as showed under the big size.


CROCHET PUMPKIN – small size

R1: 6 sc in MR (6 sc).
Tip: hold off tightening the ring until you’re done with R2.
R2: 2 sc in each st (12 sc)
R3: *1 sc, 2 sc in next st* Repeat from * to * til the end of the round (18 sc)
R4
: *2 sc, 2 sc in next st* (24 sc)
R5:
*3 sc, 2 sc in next st* (30 sc)
R6:
*4 sc, 2 sc in next st* (36 sc)
R7: *5 sc, 2 sc in next st* (42 sc)
R8-R14: 1 sc in each st (42 sc) 
R15:  *5 sc, 2 sc tog* (36 sc)
R16: *4 sc, 2 sc tog* (30 sc)
R17: *3 sc, 2 sc tog* (24 sc)
R18: *2 sc, 2 sc tog* (18 sc). Stuff the pumpkin.
R19: *1 sc, 2 sc tog* (12 sc). Leave a long enough tail to shape the pumpkin (long enough to go around the ball about three times), cut the yarn and sew it through the remaining 12 sc, tighten together and fasten.

Shape the pumpkin as showed under the big size.


STEM – make one for each size

Crochet hook: Use one size smaller than the one you used for the pumpkins.

Chain 5
R1: 1 sc in second chain from hook, 3 sc, turn (4 sc)
R2-R4: 1 ch, 4 sc, turn (4 sc)

Don’t fasten the yarn, you’ll come back to it after you’re finished sewing the stem (photo 1). With the tail, sew 4 stitches down the side through the first and last row at the same time (photo 2). Weave in the end.

R5: Continue with the yarn from R4 (photo 3), 1 ch, 10 sc around the opening, fasten with sl st in first st (photo 4 and 5). Cut off the yarn, but leave a tail in order to sew the stem to the pumpkin (photo 6).


I hope you enjoyed my pattern, and that you now have one or more pumpkins to decorate your home with.


If you use my patterns please link back to www.HELdesign.com.
And I would love to see your finished pumpkins, so please tag me if you post on Instagram, with #heldesign_pattern and @heldesign_crochet 🙂


Please
contact me if you have any questions, or if you find any mistakes in the pattern.

Enjoy your crocheting!
Best regards, Hege 🙂

Dette bildet mangler alt-tekst; dets filnavn er cropped-heldesign_mint3-1-300x227.png

Would you like to learn how to crochet? 

Visit my YouTube channel, there you will find videos of the basic stitches and in time there will also come special stitches, various projects and requests.

CROCHET EASTER EGG – Free crochet pattern (US terms)

CROCHET EASTER EGG – Free crochet pattern (US terms)

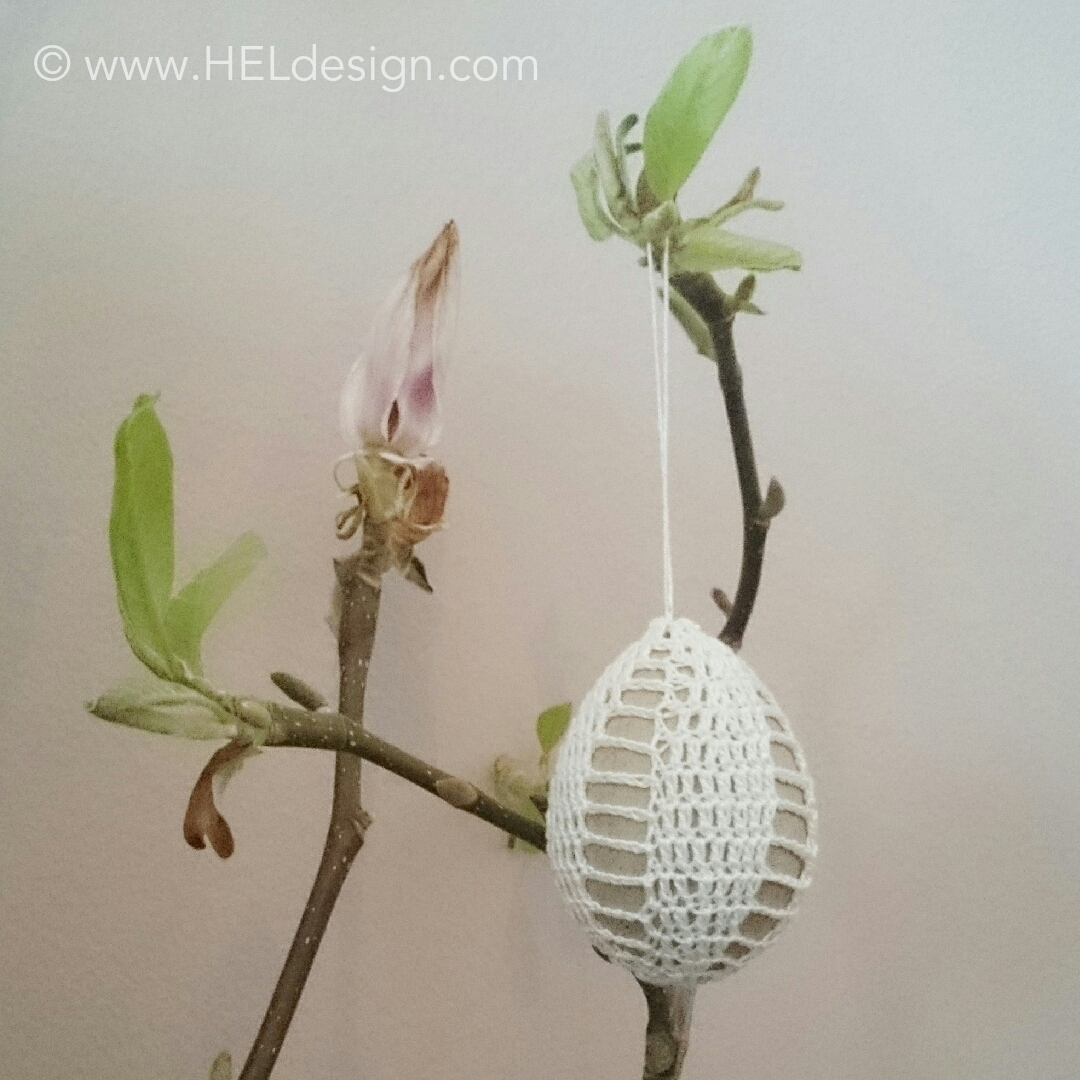
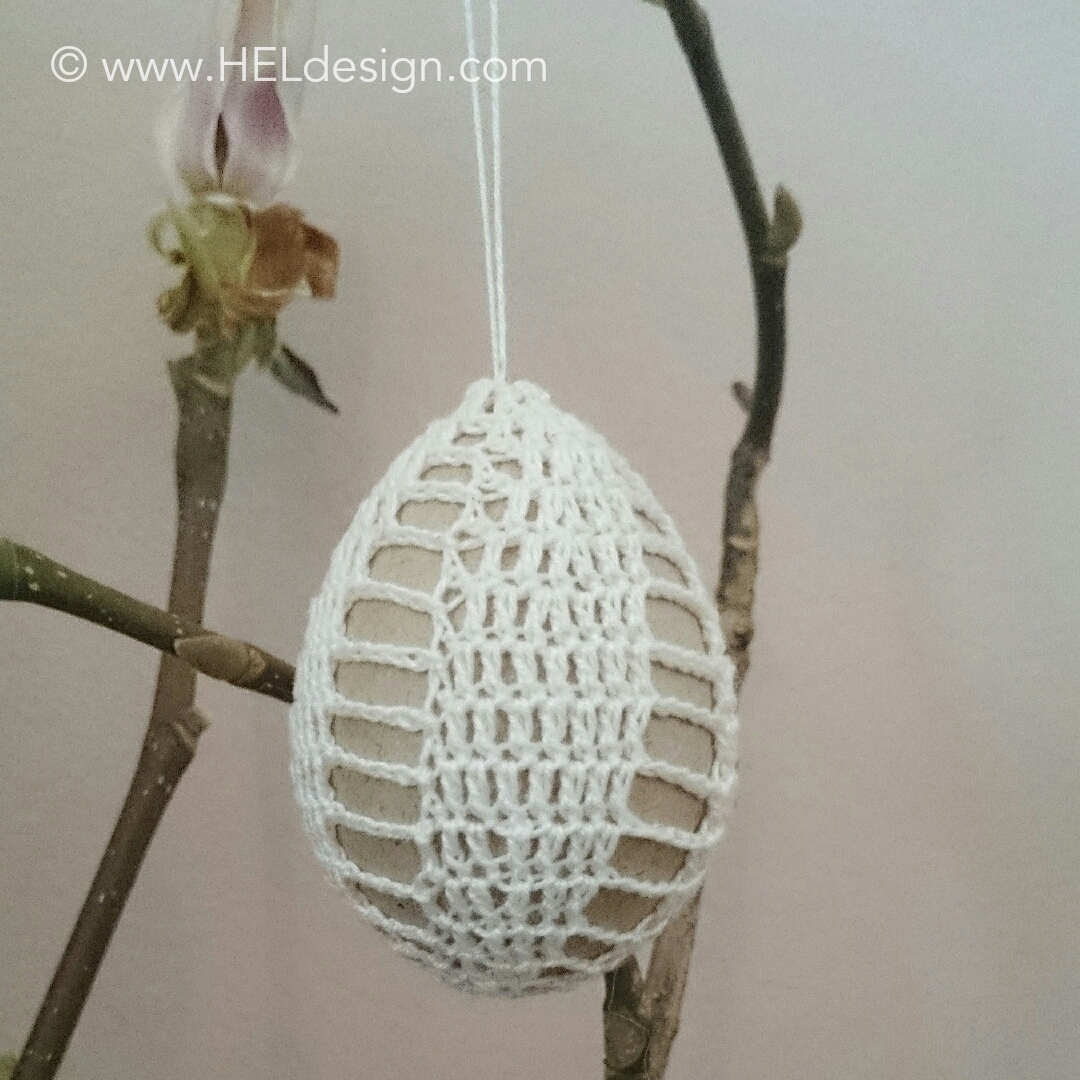
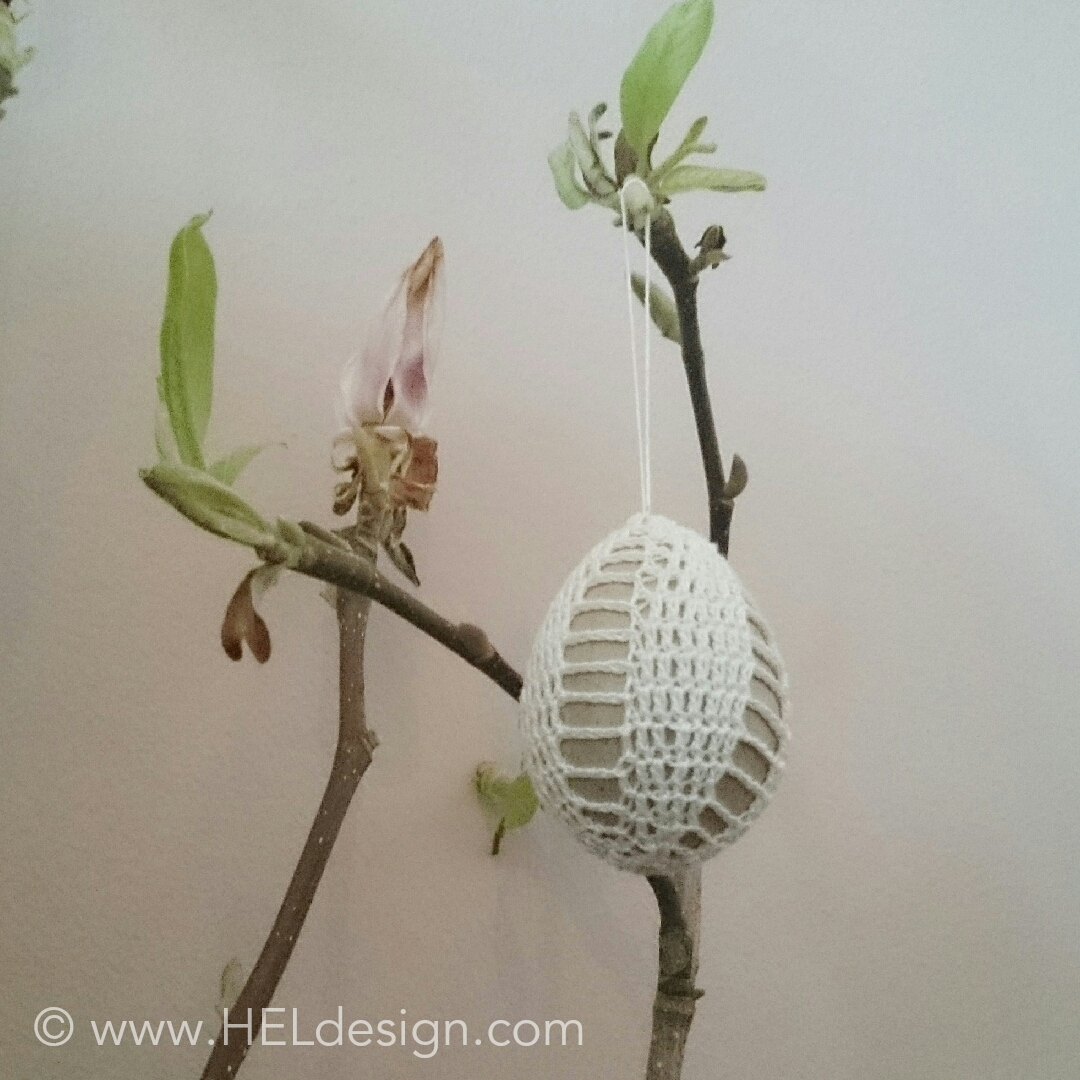
Easter is coming up but there is still time to make more Easter decorations. Here´s a pattern for some cute and simple crochet eggs that you can make in one evening!


DESIGN AND PATTERN: HEGE ESPELAND LYGRE
Please read the Terms of use for my crochet patterns.


IMG_20150322_230832

What you´ll need:

  • Yarn – thin cotton (the type you use on doilys)
  • Steel crochet hook – I used a hook with metric size 1,25 mm. I couldn´t find the exact US measure but a 1,15 mm is a steel hook 10 and a 1,3 mm is a steel hook 9
  • Easter egg – 3.5 inches/9 cm (height) x 2.4 inches/6 cm (thickness)

Stitches/Abbreviations:

  • ch(s) (chain(s)
  • sl st (slip stitch)
  • sc (single crochet)
  • dc (double crochet)
  • ch sp (chain space)
  • st(s) (stitch(es)
  • rnd (round)
  • 2 dc tog (2 double crochet together/decrease)
  • Here you can watch my videos on how to crochet the different stitches

Misc

  • Every rnd starts with 3 chs, they count as the first dc.
  • I haven´t tested the gauge for this pattern, if the «cover» is too big or too small for the egg you can try changing to a smaller og bigger steel crochet hook, or you can make one or two more or less rounds before you begin decreasing on rnd 10.

PATTERN

Chain 6, make a ring by joining with a sl st in the first ch. Start with 3 chs on each round (count as the first dc).

Rnd 1: The entire rnd is crocheted inside the ring: (3 dc, ch 2) x 4 = 3 dc + ch sp x 4

Rnd 2: (1 dc, 2 dc in next, 1 dc, ch 2) x 4 = 4 dc + ch sp x 4

Rnd 3: (2 dc (means that you make 1 dc in each of the next two st), 1 dc between second and third st, 2 dc, ch 3) x 4 = 5 dc + ch sp x 4

Rnd 4: (2 dc, 2 dc in next, 2 dc, ch 4) x 4 = 6 dc + ch sp x 4

Rnd 5: (3 dc, 1 dc between third and forth st, 3 dc, ch 5,) x 4 = 7 dc + ch sp x 4

6. omg: (3 dc, 2 dc in next, 3 dc, ch 5) x 4 = 8 dc + ch sp x4

7. – 9. omg: (8 dc, ch 5) x 4 = 8 dc + ch sp x 4

10. omg: (3 dc, 2 dc tog, 3 dc, ch 4) x 4 = 7 dc + ch sp x 4

11. omg: (3 dc, 2 dc tog, 2 dc, ch 3) x 4 = 6 dc + ch sp x 4. After this rnd you must continue working on the egg.

12. omg: (2 dc, 2 dc tog, 2 dc, ch 3) x 4 = 5 dc + ch sp x 4

13. omg: (2 dc, 2 dc tog, 1 dc, ch 2) x 4 = 4 dc + ch sp x 4

14. omg: (1 dc, 2 dc tog, 1 dc) x 4 = 12 dc

Make a string if you want to hang up the egg.

IMG_20150322_230957

IMG_20150322_230743


Good luck! 🙂 

If you use my patterns please link back to www.HELdesign.com.
And if you need any help just leave me a comment in the comment box below or e-mail me at: hege@heldesign.com.


Would you like to learn how to crochet? Visit my YouTube channel, there you´ll find videos of the basic stitches and with time there will also be special stitches, various projects and requests.
Contact me if you have any questions 🙂


REDESIGN – Knitted sweater turned into crochet rug /// GJENBRUK – Strikket genser ble til gulvteppe

REDESIGN – Knitted sweater turned into crochet rug /// GJENBRUK – Strikket genser ble til gulvteppe

See how my old knitted sweater turned into a crochet rug! /// Se hvordan min gamle strikkegenser ble til et heklet teppe! 


DESIGN AND PATTERN: HEGE ESPELAND LYGRE


heklet_gulvteppe1_hegeespelandlygre

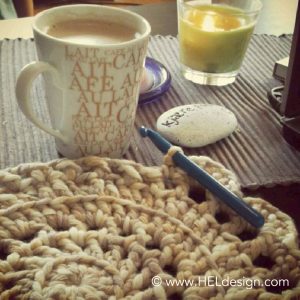
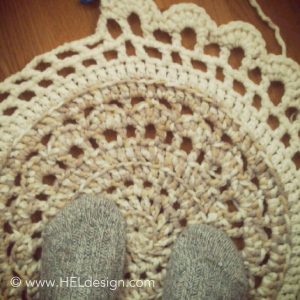
More than 10 years ago I had a knitted sweater that didn´t fit. But I liked the yarn so I put it in a bag and it was long forgotten, until last winter when I was going through some boxes in my garage.

One day I decided to make something from the yarn and since it was so thick and heavy I figured I´d make a rug out of it. So I found a large crochet hook and startet crocheting. I didn´t have a pattern so the rug emerged by each stich.

///

For over 10 år siden hadde jeg en strikkegenser som ikke passet. Men jeg likte garnet veldig godt, så jeg rakk opp hele genseren og endte opp med nøster i 3 farger. Så ble de pakket ned i en pose og glemt, helt til i fjor vinter da jeg var hjemme på Bømlo og hadde en sortering i esker i garasjen min (jeg eier et hus der), for der dukket plutselig den lenge glemte posen opp igjen.

En dag bestemte jeg meg for å gjøre noe med dette garnet og fant ut at jeg ville lage et gulvteppe av det siden garnet var såpass tykt. Så det ble frem med en stor heklenål, og så satte jeg i gang. Jeg hadde ikke noe mønster å gå ut i fra så teppet formet seg for hver maske.

heklet_gulvteppe2_hegeespelandlygre

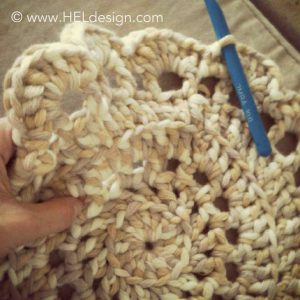
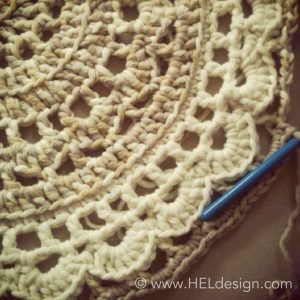
As you can see it got quite thick… /// Som dere ser så ble det ganske tykt…

When I had only 19 stitches left I ran out of white yarn. Now isn´t that just typical! And as the perfectionist that I am I undid almost half the rug, to change one row of double crochet to single crochet, cause then I would have enough yarn to finish the rug.

///

Da jeg hadde bare 19 masker igjen gikk jeg tom for det hvite garnet. Er det ikke typisk! Og som den perfeksjonisten jeg er, så rakk jeg altså opp halve teppet, for å gjøre den ene omgangen med staver om til fastmasker, slik at jeg skulle få nok garn på slutten.

heklet_gulvteppe4_hegeespelandlygre

heklet_gulvteppe3_hegeespelandlygre

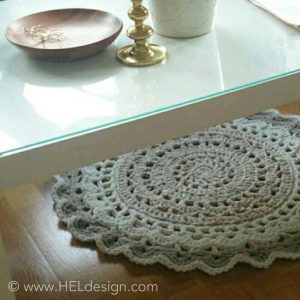
The finished rug measures almost 26 inches, that´s when I ran out of yarn. I did have some leftovers to make a few small baskets too.

///

Gulvteppet ble 65 cm i diameter, da var jeg tom for garn. Et par små kurver ble det også av restene.

heklet_gulvteppe6_hegeespelandlygre

heklet_gulvteppe7_hegeespelandlygre

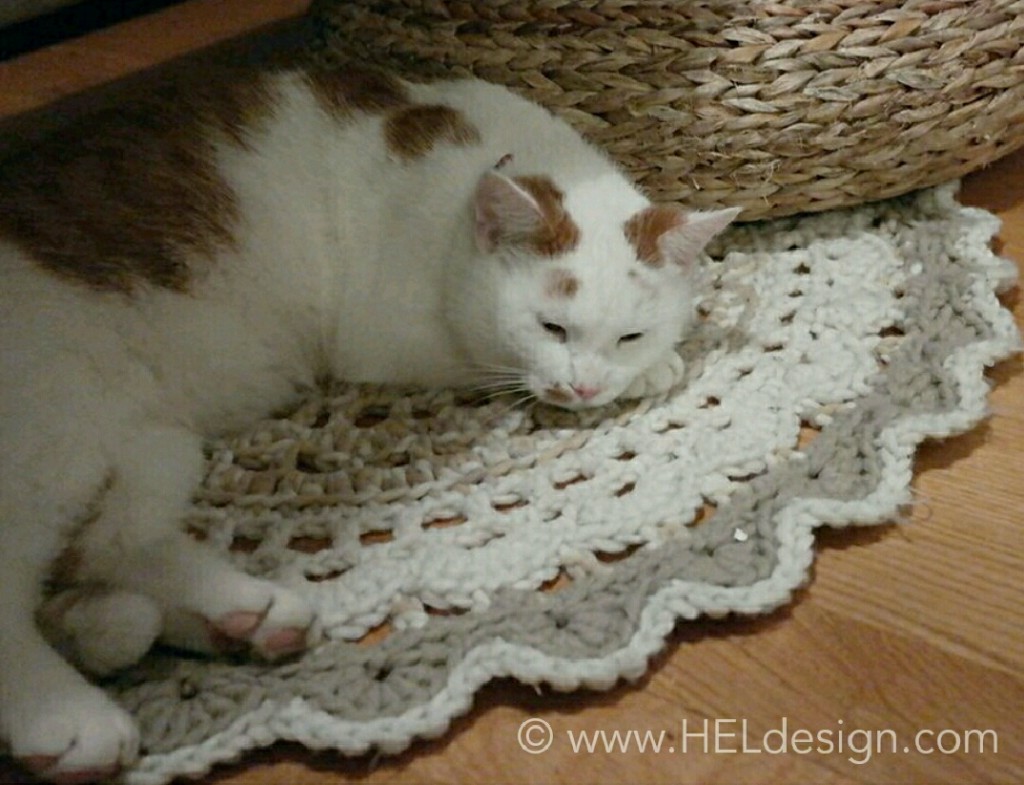
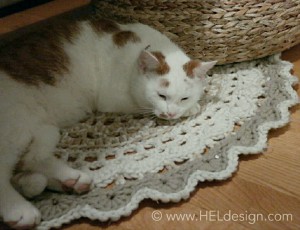
So my old knitted sweater got a new life, and it´s one of my cat´s favorite places, he loves cuddling up on it.

///

Så den gamle strikkegenseren fikk seg et nytt liv, og er et av yndlingsstedene til katten min, han elsker å kose seg oppå der.

Heklet gulvteppe av Hege Espeland Lygre


Do you want to make your own crochet rug? If you can´t do it without a pattern you can find a pattern on a doily that you like. Find some thick yarn or cut strips of fabric, use a large crochet hook (I used a 10 mm hook), and start crocheting!

Good luck! 🙂

///

Har du lyst å hekle ditt eget gulvteppe? Dersom du ikke klarer å hekle uten oppskrift kan du finne en oppskrift på en liten rund duk som du liker godt. Finn frem tykk tråd eller klipp opp remser av tøy, bruk en stor heklenål (jeg brukte nr.10) og sett i gang!

Lykke til! 🙂


DIY – Lyslenke av papir

DIY – Lyslenke av papir

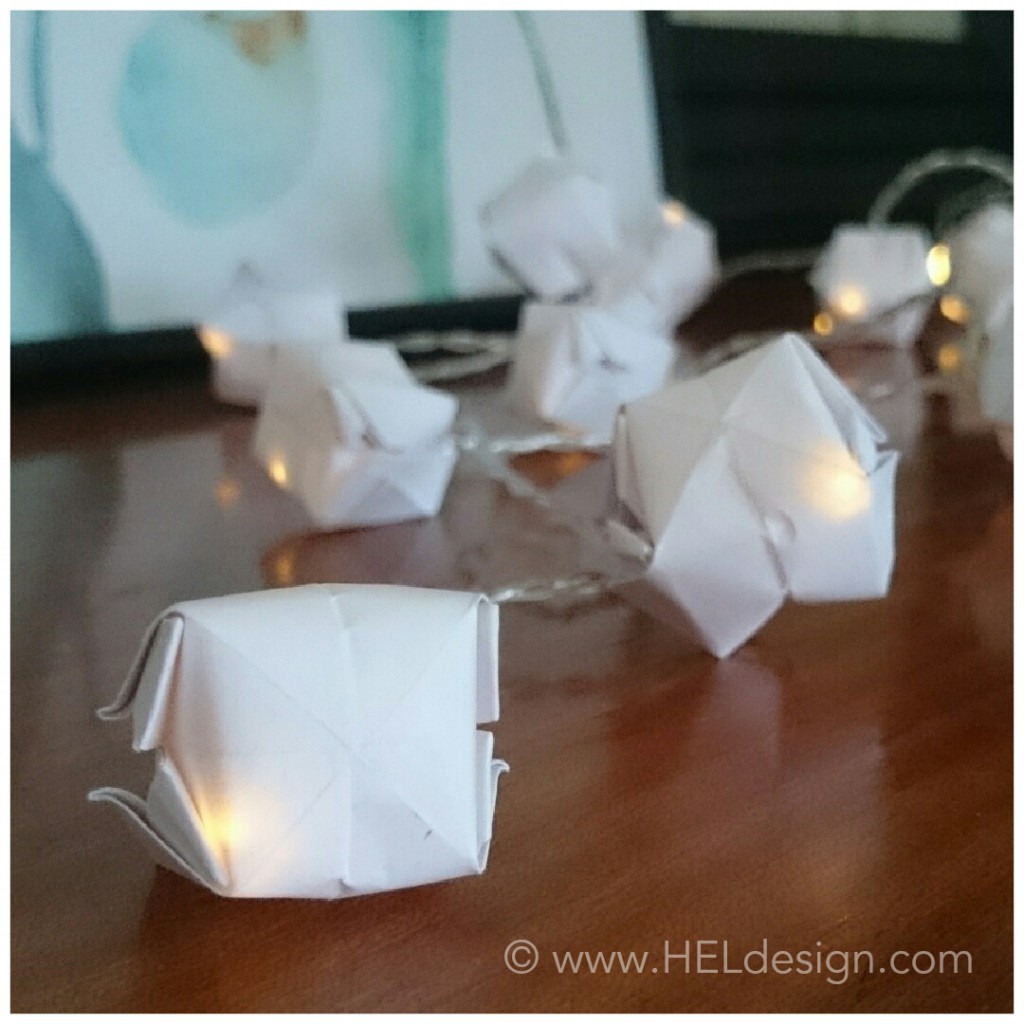
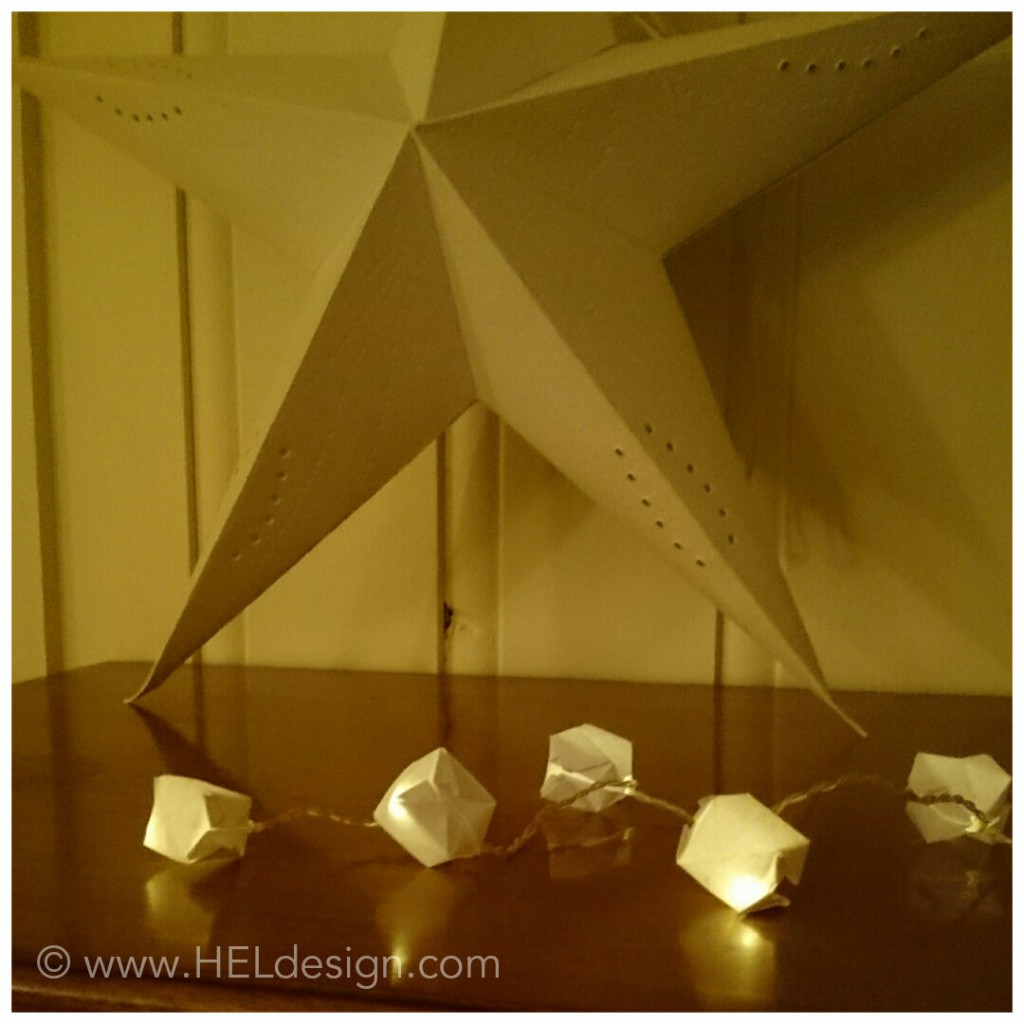
Lag denne kule lyslenken av papir! Den er veldig enkel å lage og også dekorativ!


Dette trenger du:

  • Hvitt papir
  • Saks
  • Lyslenke – Det er veldig viktig at du bruker LED-lys slik at papiret ikke blir varmt og tar fyr!

Følg instruksjonene i videoen nederst i innlegget, lag så mange som du trenger og når du er ferdig putter du lysene inn i det samme hullet som du blåser i (du skjønner hva jeg mener etter å ha sett videoen).

Lyslenke av papir - Hege Espeland LygreLyslenke av papir - Hege Espeland Lygre


DIY – Paper light chain

DIY – Paper light chain

 Make this cool paper light chain. It´s very easy to make and also decorative! 


What you´ll need:

  • White paper
  • Scissors
  • Light chain – It´s very important that you only use LED lights! Regular lights can get too warm and set the paper on fire

Follow the instructions in the video at the bottom of the post, make as many as you need and insert the lights into the wholes that you blow air into (you´ll understand what I mean after watching the video).

Lyslenke av papir - Hege Espeland LygreLyslenke av papir - Hege Espeland Lygre


CROCHET BASKET – Free crochet pattern (US terms)

CROCHET BASKET – Free crochet pattern (US terms)

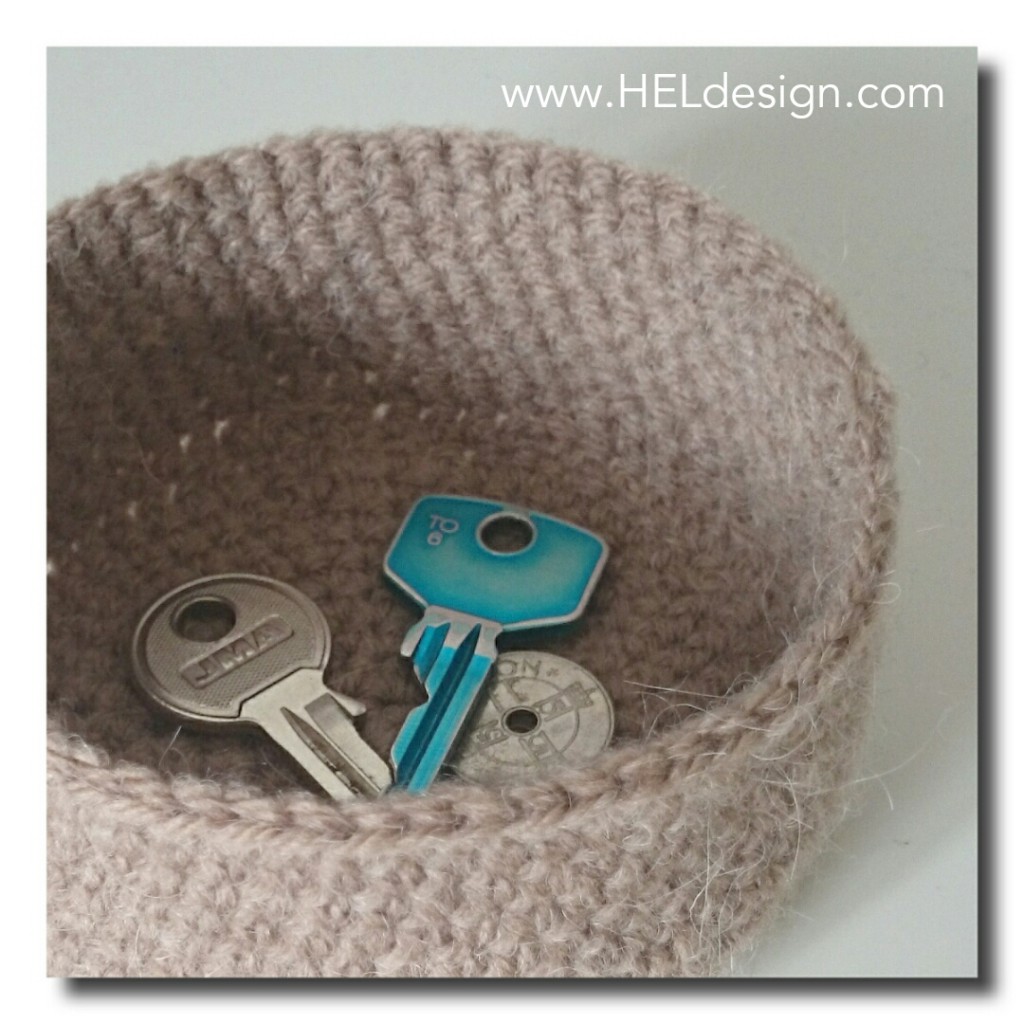
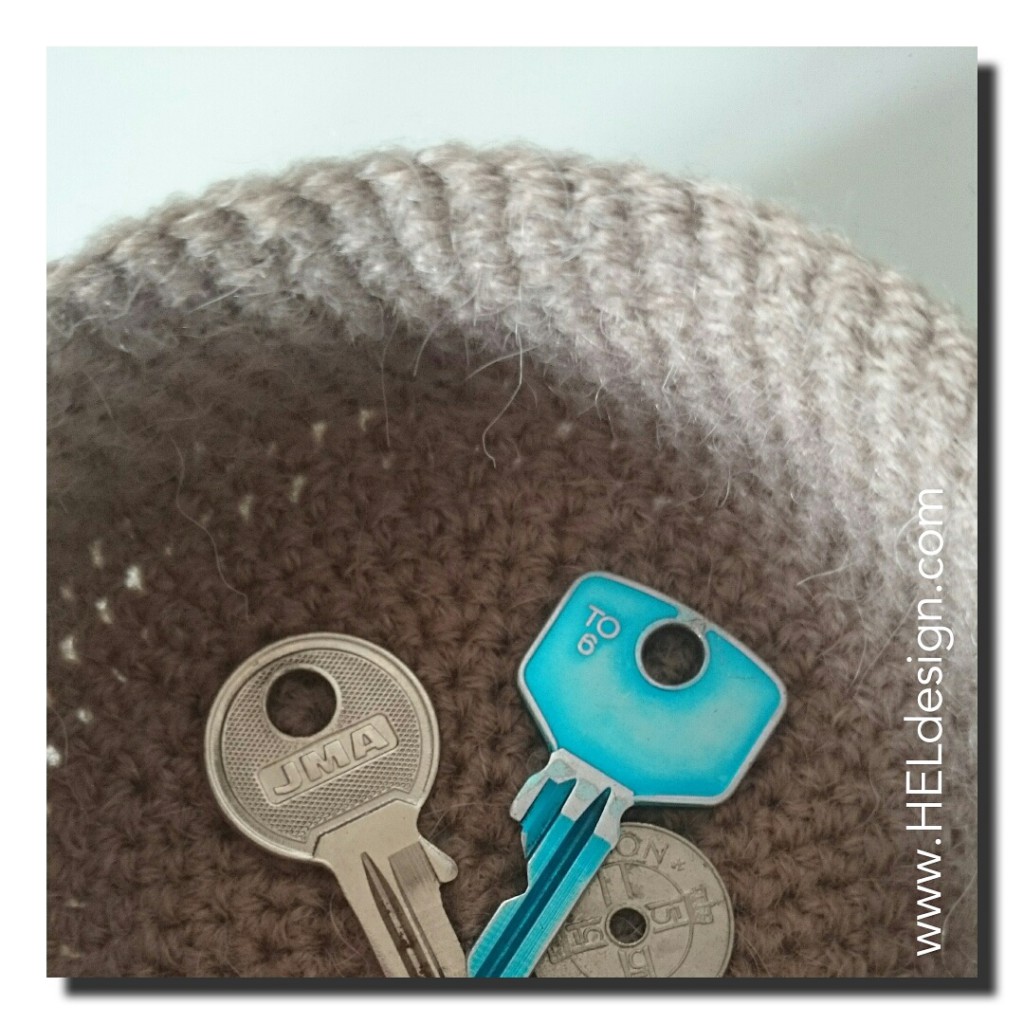
Make a cute little basket! Perfect for your keys, pocket change or other small items. You can also make it larger and use it as a bowl, a cover for your plants etc. The ways to use it are endless!


DESIGN AND PATTERN: HEGE ESPELAND LYGRE
Please read the Terms of use for my crochet patterns.


What you´ll need:

  • Scrap yarn
  • Crochet hook – Size D or whatever hook you´ll need to get a stiff basket, that means a smaller hook than you´d normally use.

Stitches/Abbreviations

Special stitches

Misc

  • The basket is crocheted in rounds, that means that you do not join after each round, you continue to crochet in the next stitch on the next round. It might be a good idea to use some yarn or a stitch marker to show where each round ends.
  • Increase: 2 sc in same stitch.
  • Decrease: 2 sc together: Insert hook into stitch, yarn over hook, pull yarn through one loop, insert hook into next stitch, yarn over hook, pull yarn through one loop, yarn over hook, pull yarn through all three loops on hook.

PATTERN

IMG_20140817_232807Rnd 1: Make 10 sc in a magic ring, don´t fasten with sl st in the first st. Tip: don´t tighten the ring until you´re done with the second rnd.

Rnd 2: 2 sc in each st all the way around = 20 sc

Rnd 3: *1 sc, 2 sc in next st*. Repeat from * to * all the way around = 30 sc  

Rnd 4: 1 sc in each st all the way around = 30 sc

Rnd 5: *2 sc, 2 sc in next st*. Repeat from * to * all the way around = 40 sc  

Rnd 6: 1 sc in each st all the way around = 40 sc

Rnd 7: *3 sc, 2 sc in next st*. Repeat from * to * all the way around = 50 sc  

Rnd 8: 1 sc in each st all the way around = 50 sc

Rnd 9: *4 sc, 2 sc in next st*. Repeat from * to * all the way around = 60 sc

Rnd 10: *5 sc, 2 sc in next st*. Repeat from * to * all the way around = 70 sc

Rnd 11: Decrease: *5 sc, next 2 sts tog*. Repeat from * to * all the way around = 60 sc  

Rnd 12 – 18: 1 sc in each st all the way around = 60 sc

Rnd 19: sl st in next st, ch 1, 1 sc in the same st as sl st. 1 sc in each of the remaining sts all the way around, join with sl st in the first st.

Cut the yarn and weave in the ends!

Tip! If you want a bigger basket you just continue to increase after rnd 10 until you get the size that you want. The same goes for the height, if you want the basket to be lower you crochet less than 19 rounds and if you want it to be taller you crochet more than 19 rounds.

IMG_20140818_075820

If you use my patterns please link back to www.HELdesign.com.


Good luck! 
If you need any help just leave me a comment in the comment box below or e-mail me at: hege@heldesign.com.


Would you like to learn how to crochet? Visit my YouTube channel, there you´ll find videos of the basic stitches and with time there will also be special stitches, various projects and requests.

Contact me if you have any questions 🙂