Kategori: Crochet

CROCHET PUMPKIN – Free crochet pattern (UK terms)

CROCHET PUMPKIN – Free crochet pattern (UK terms)


DESIGN AND PATTERN:  Hege Espeland Lygrewww.HELdesign.com
Please read the Terms of use for my crochet patterns.


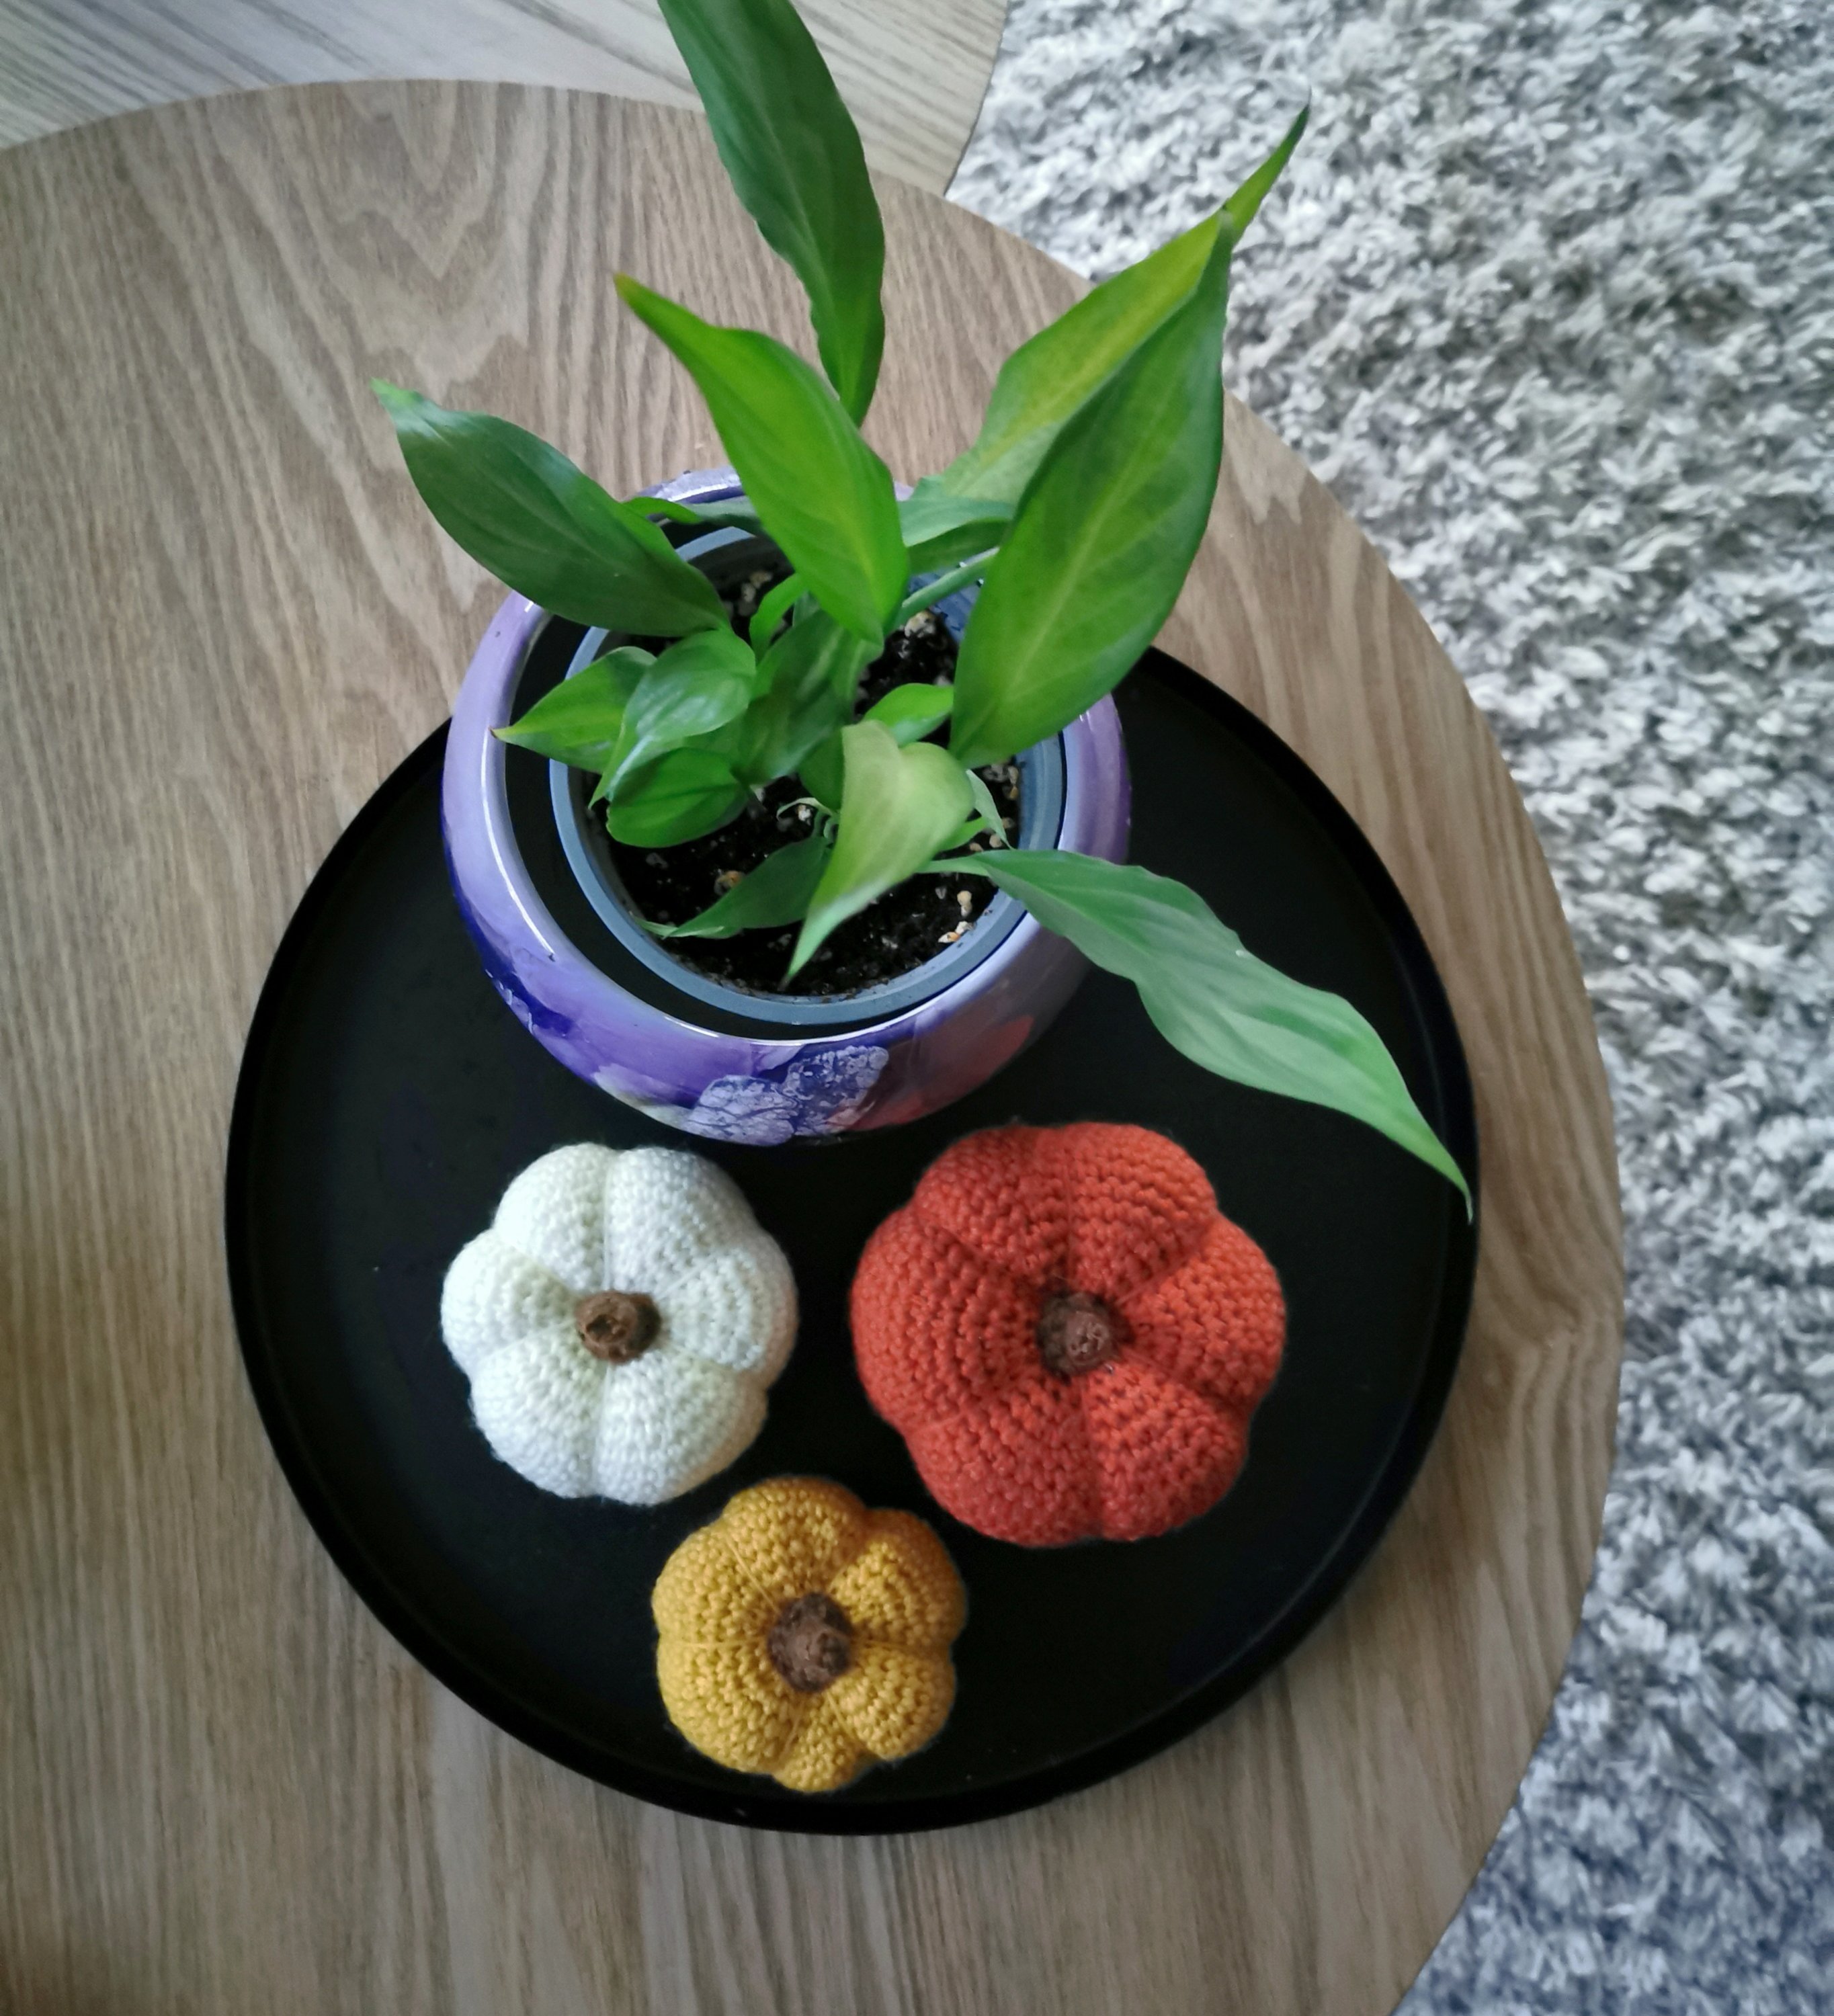
CROCHET PUMPKIN- big, medium and small

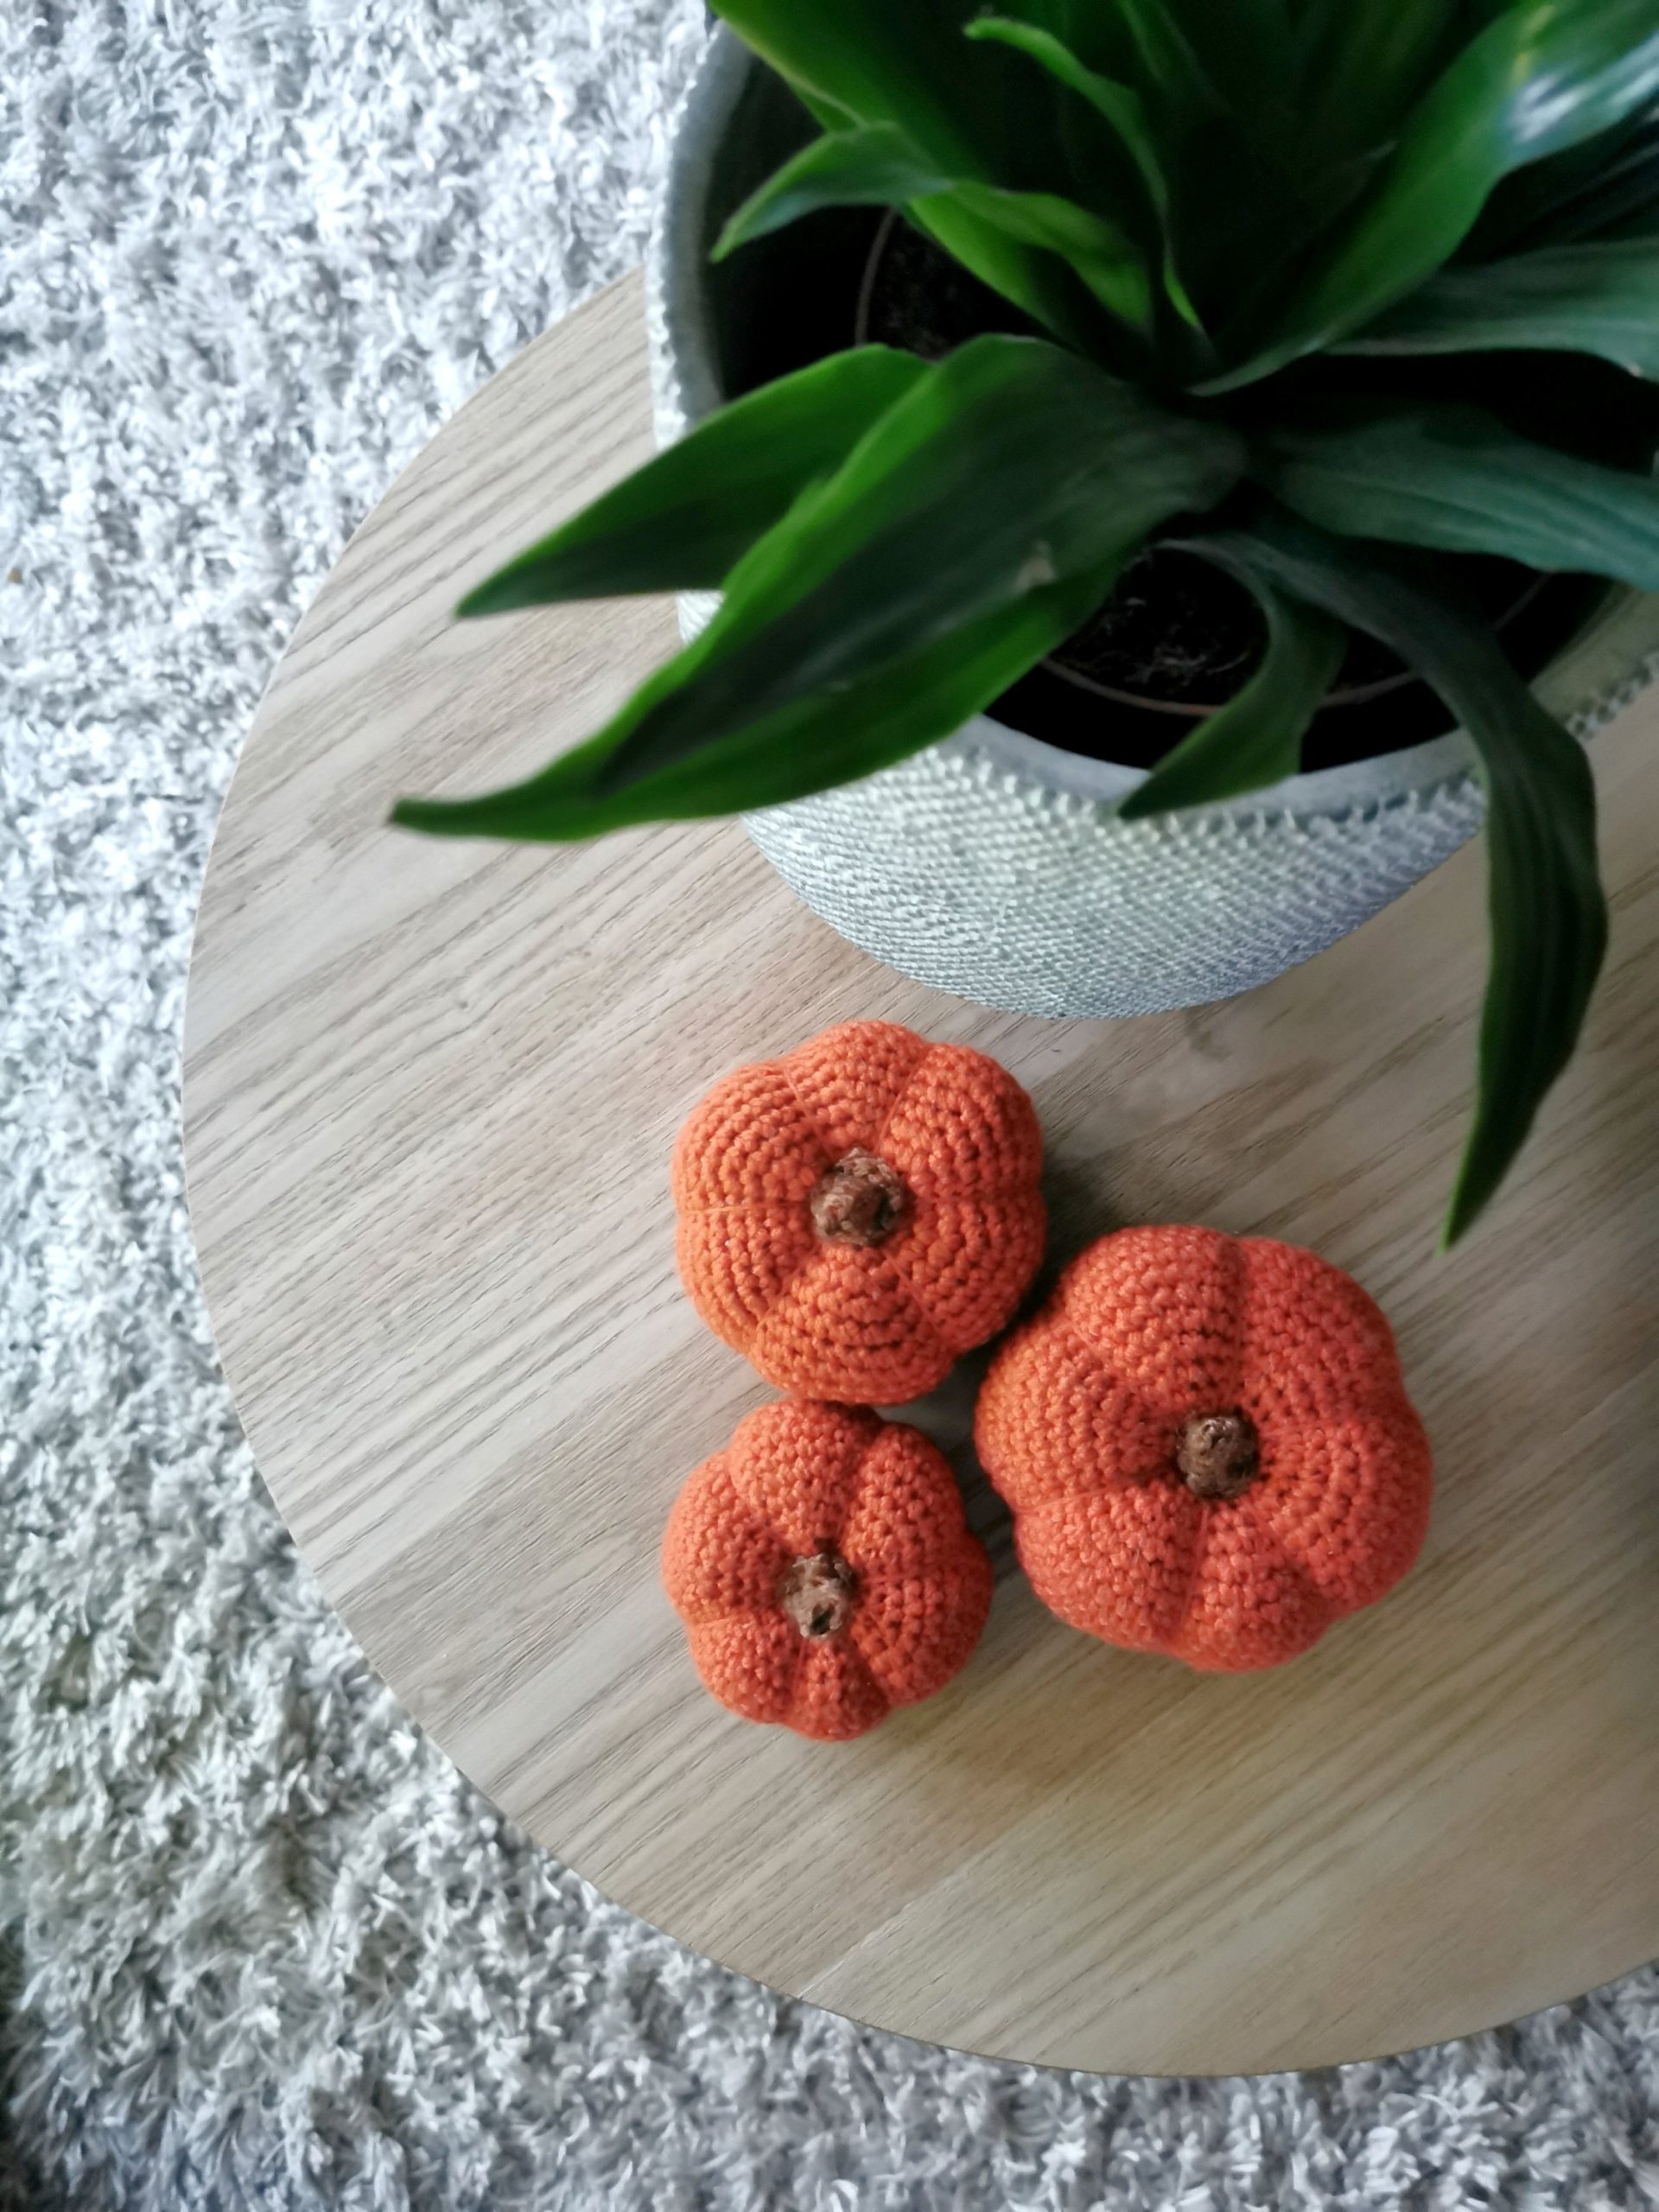
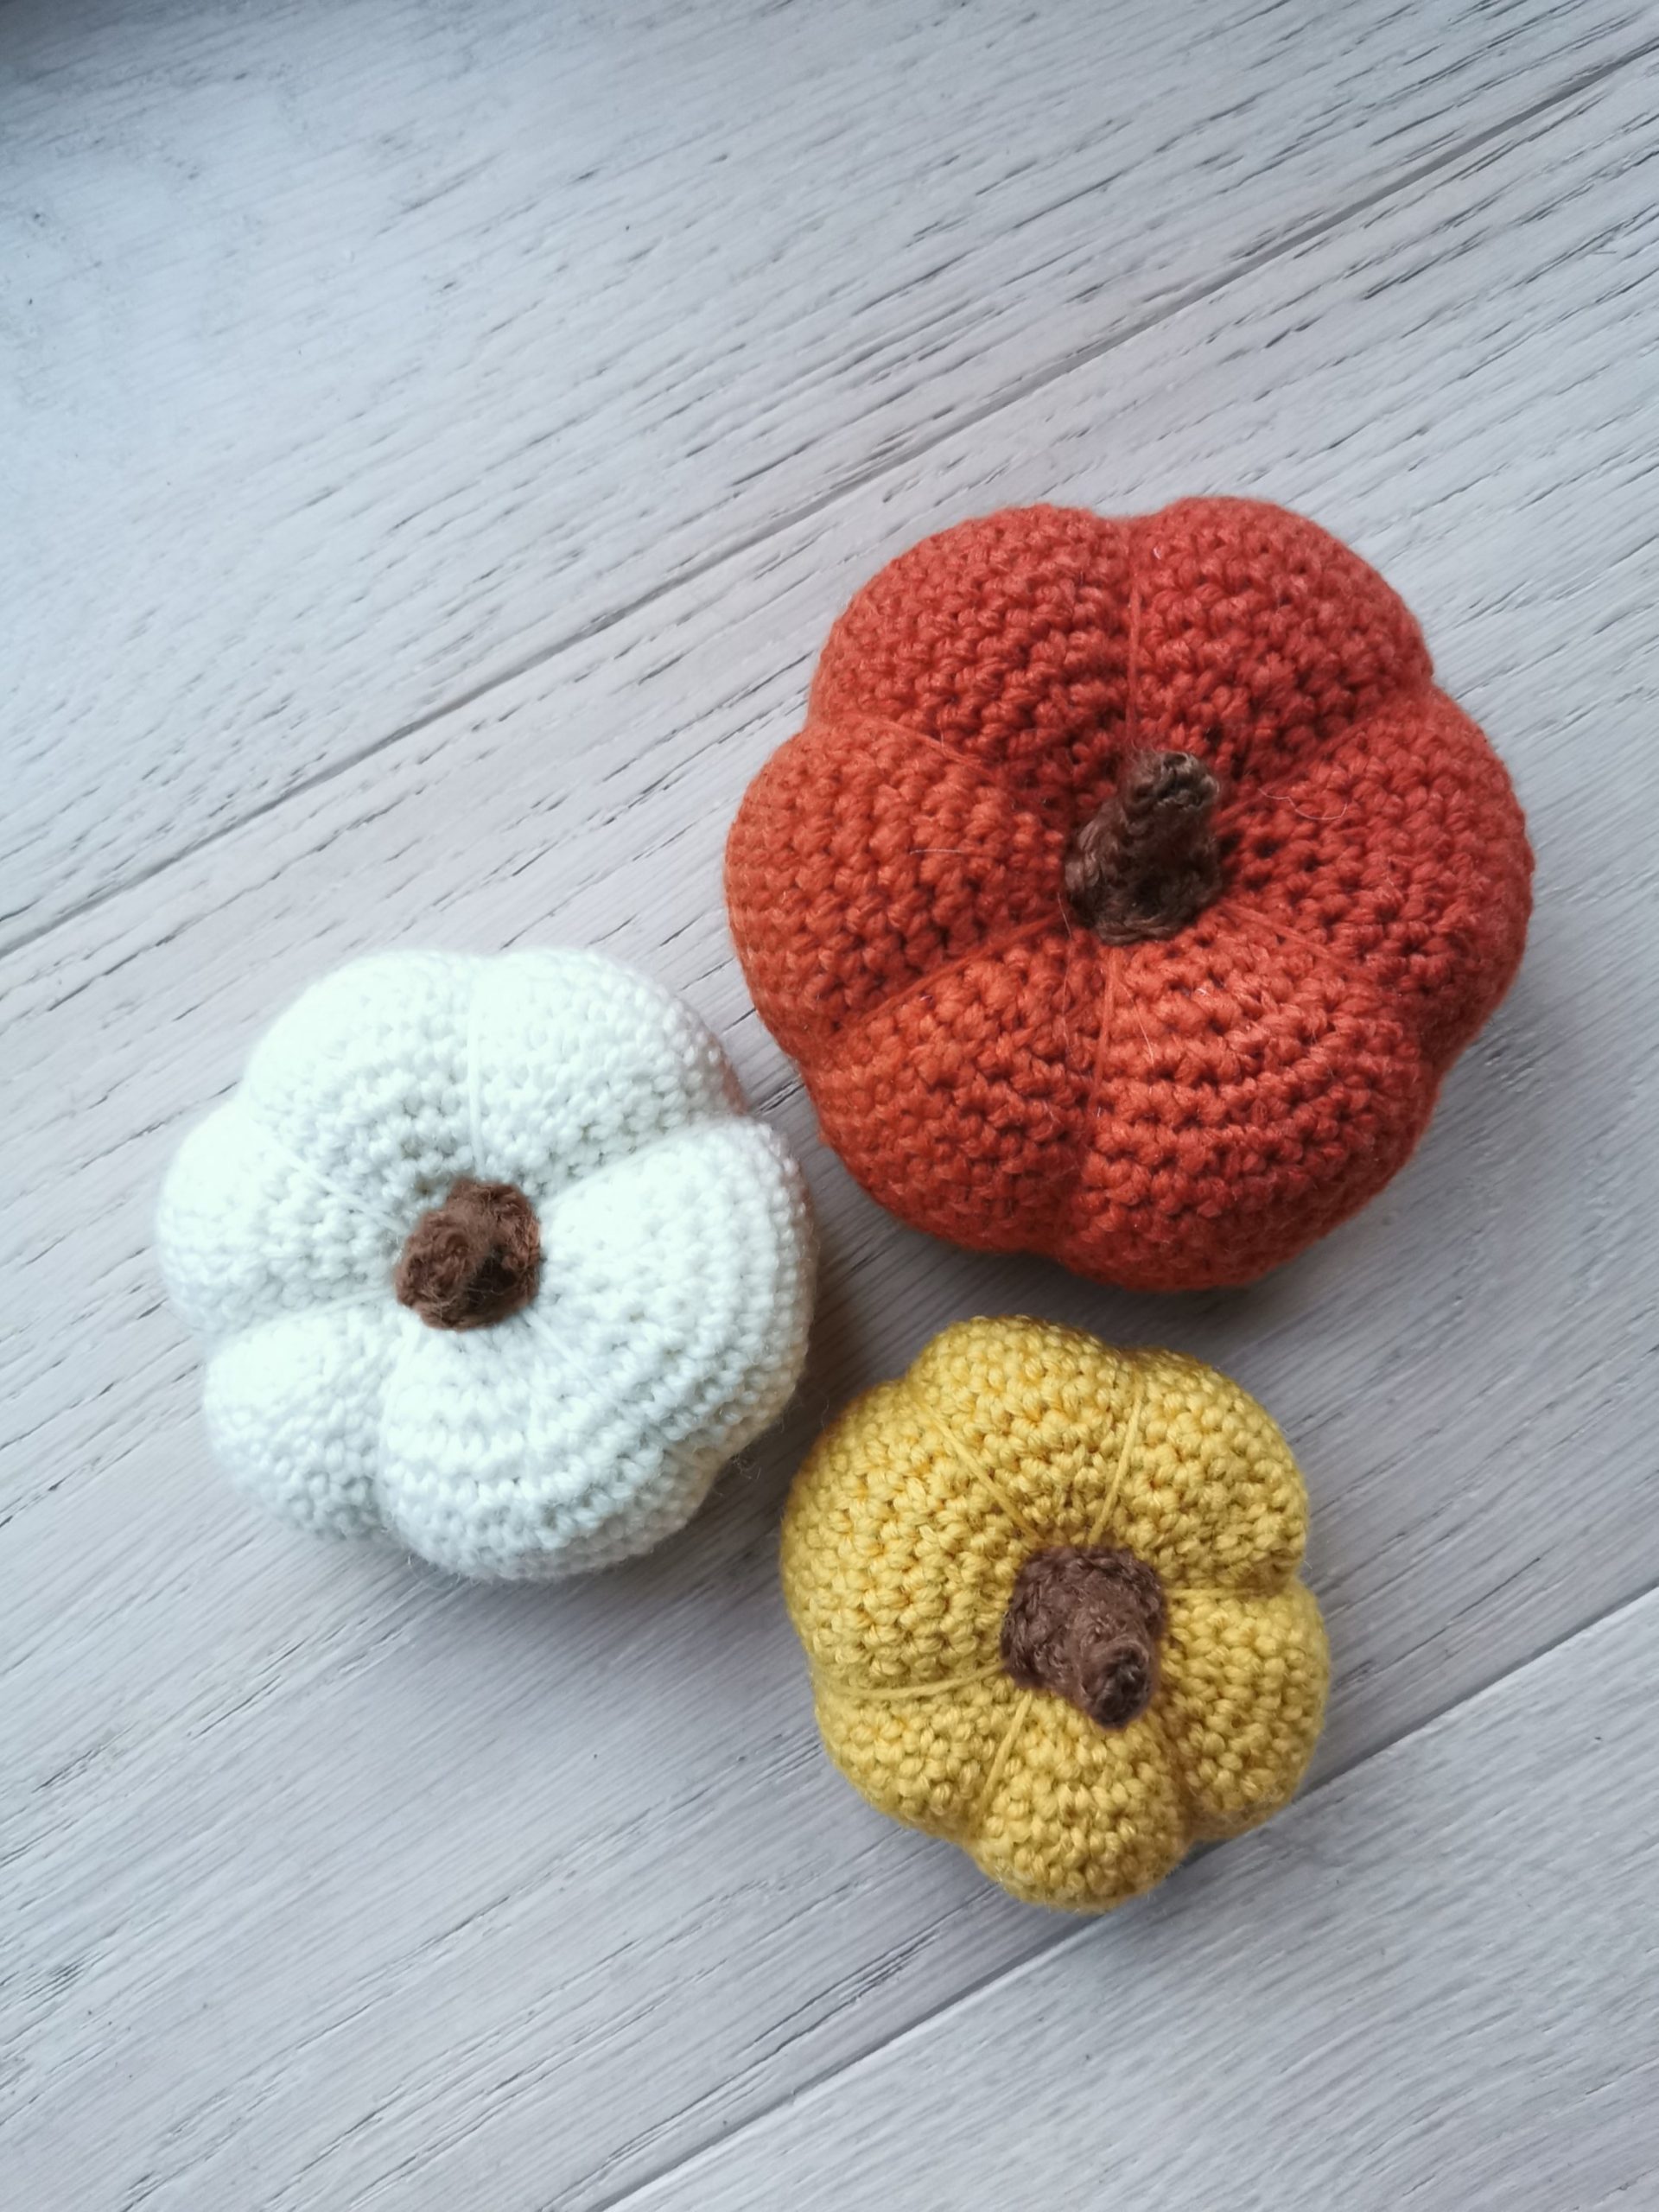
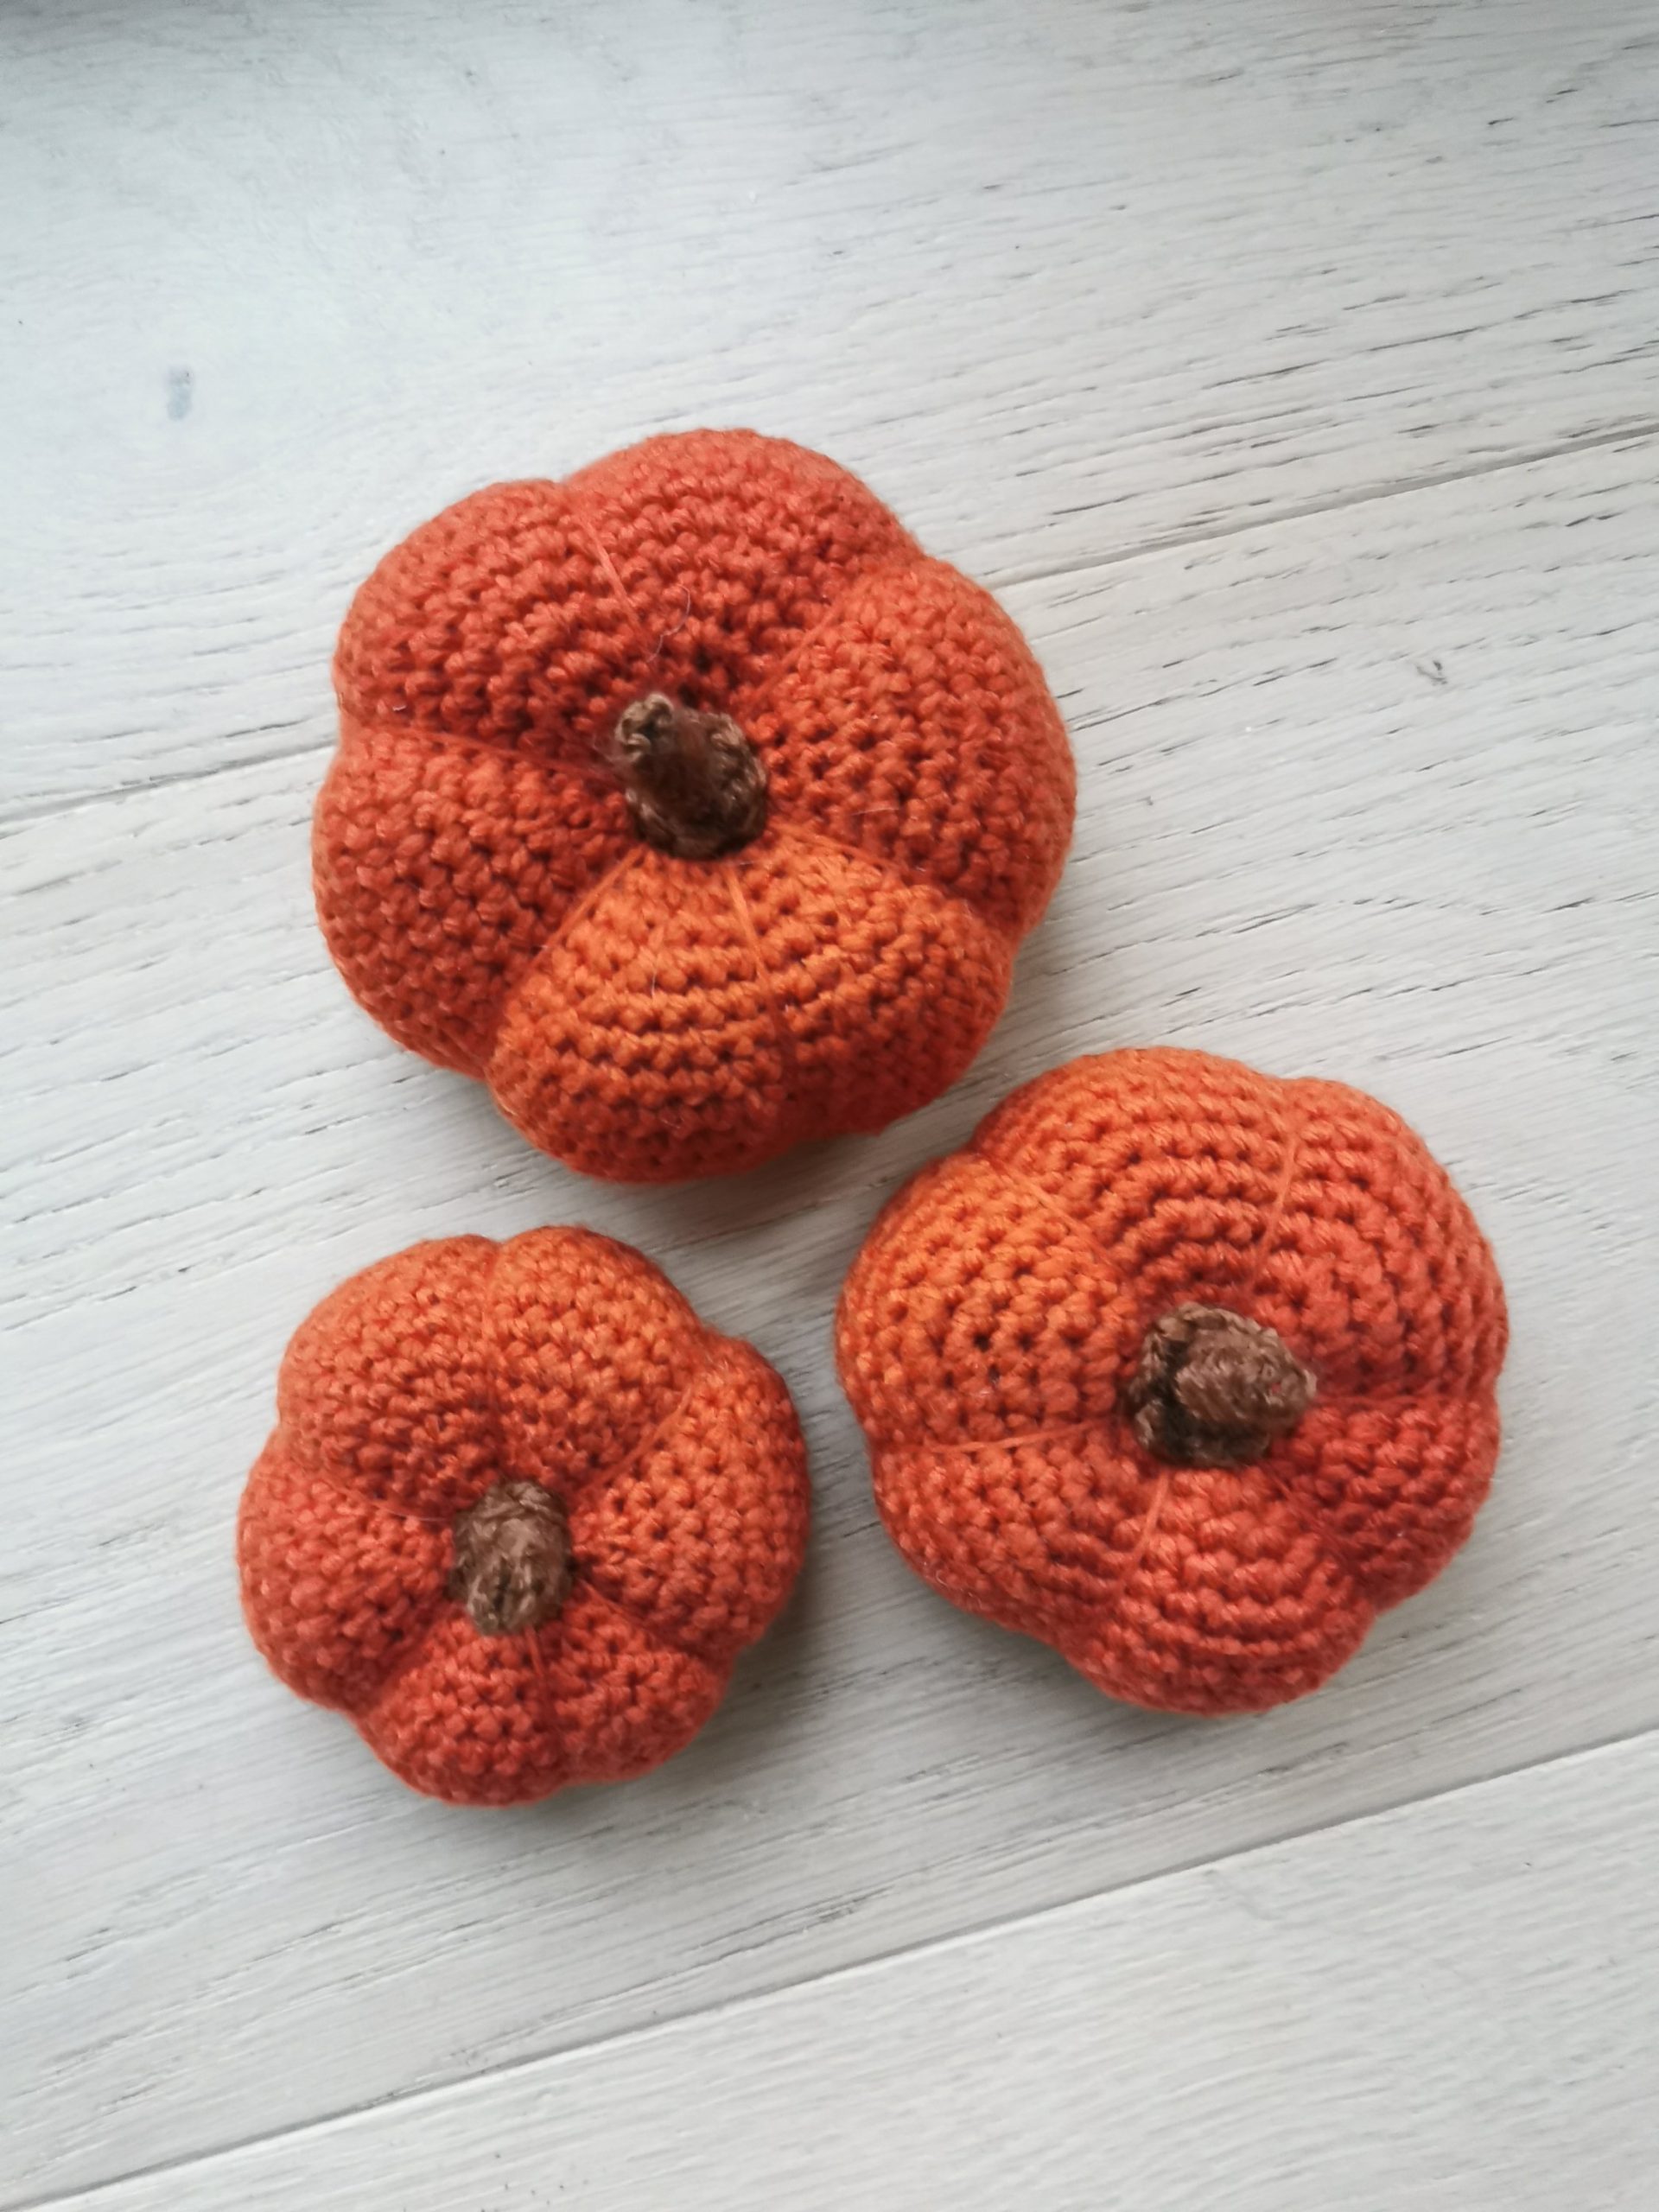
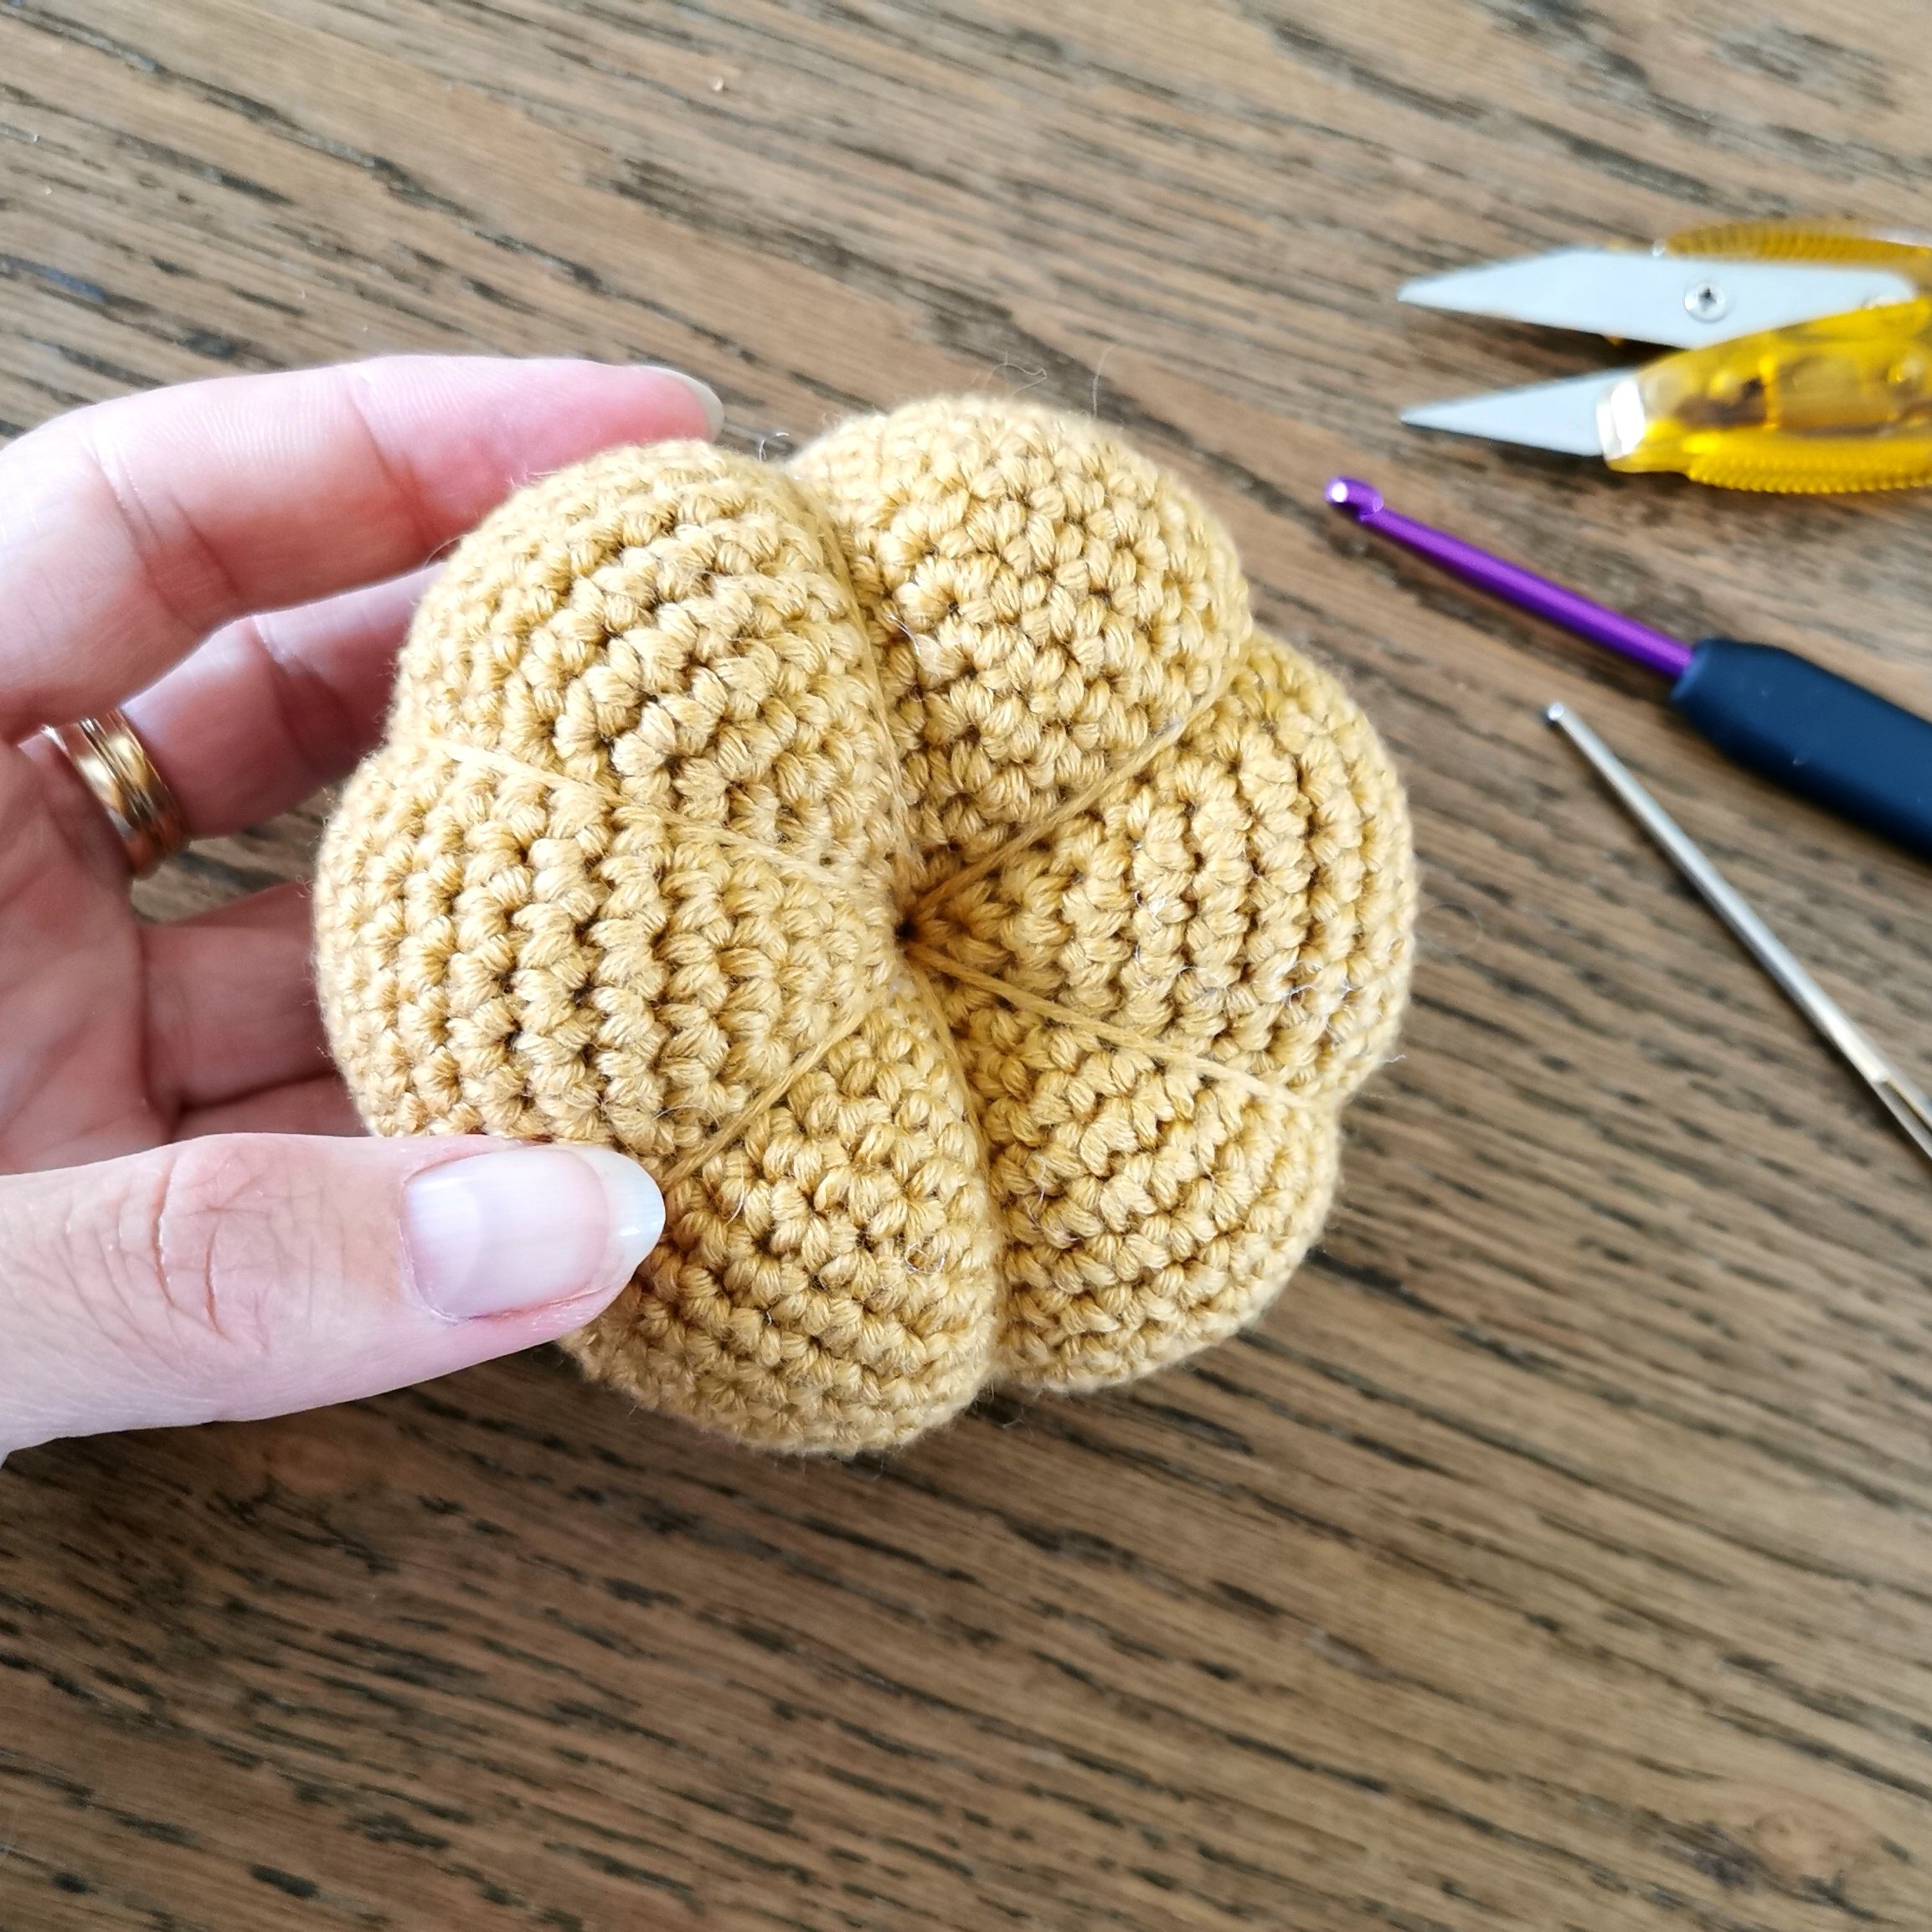
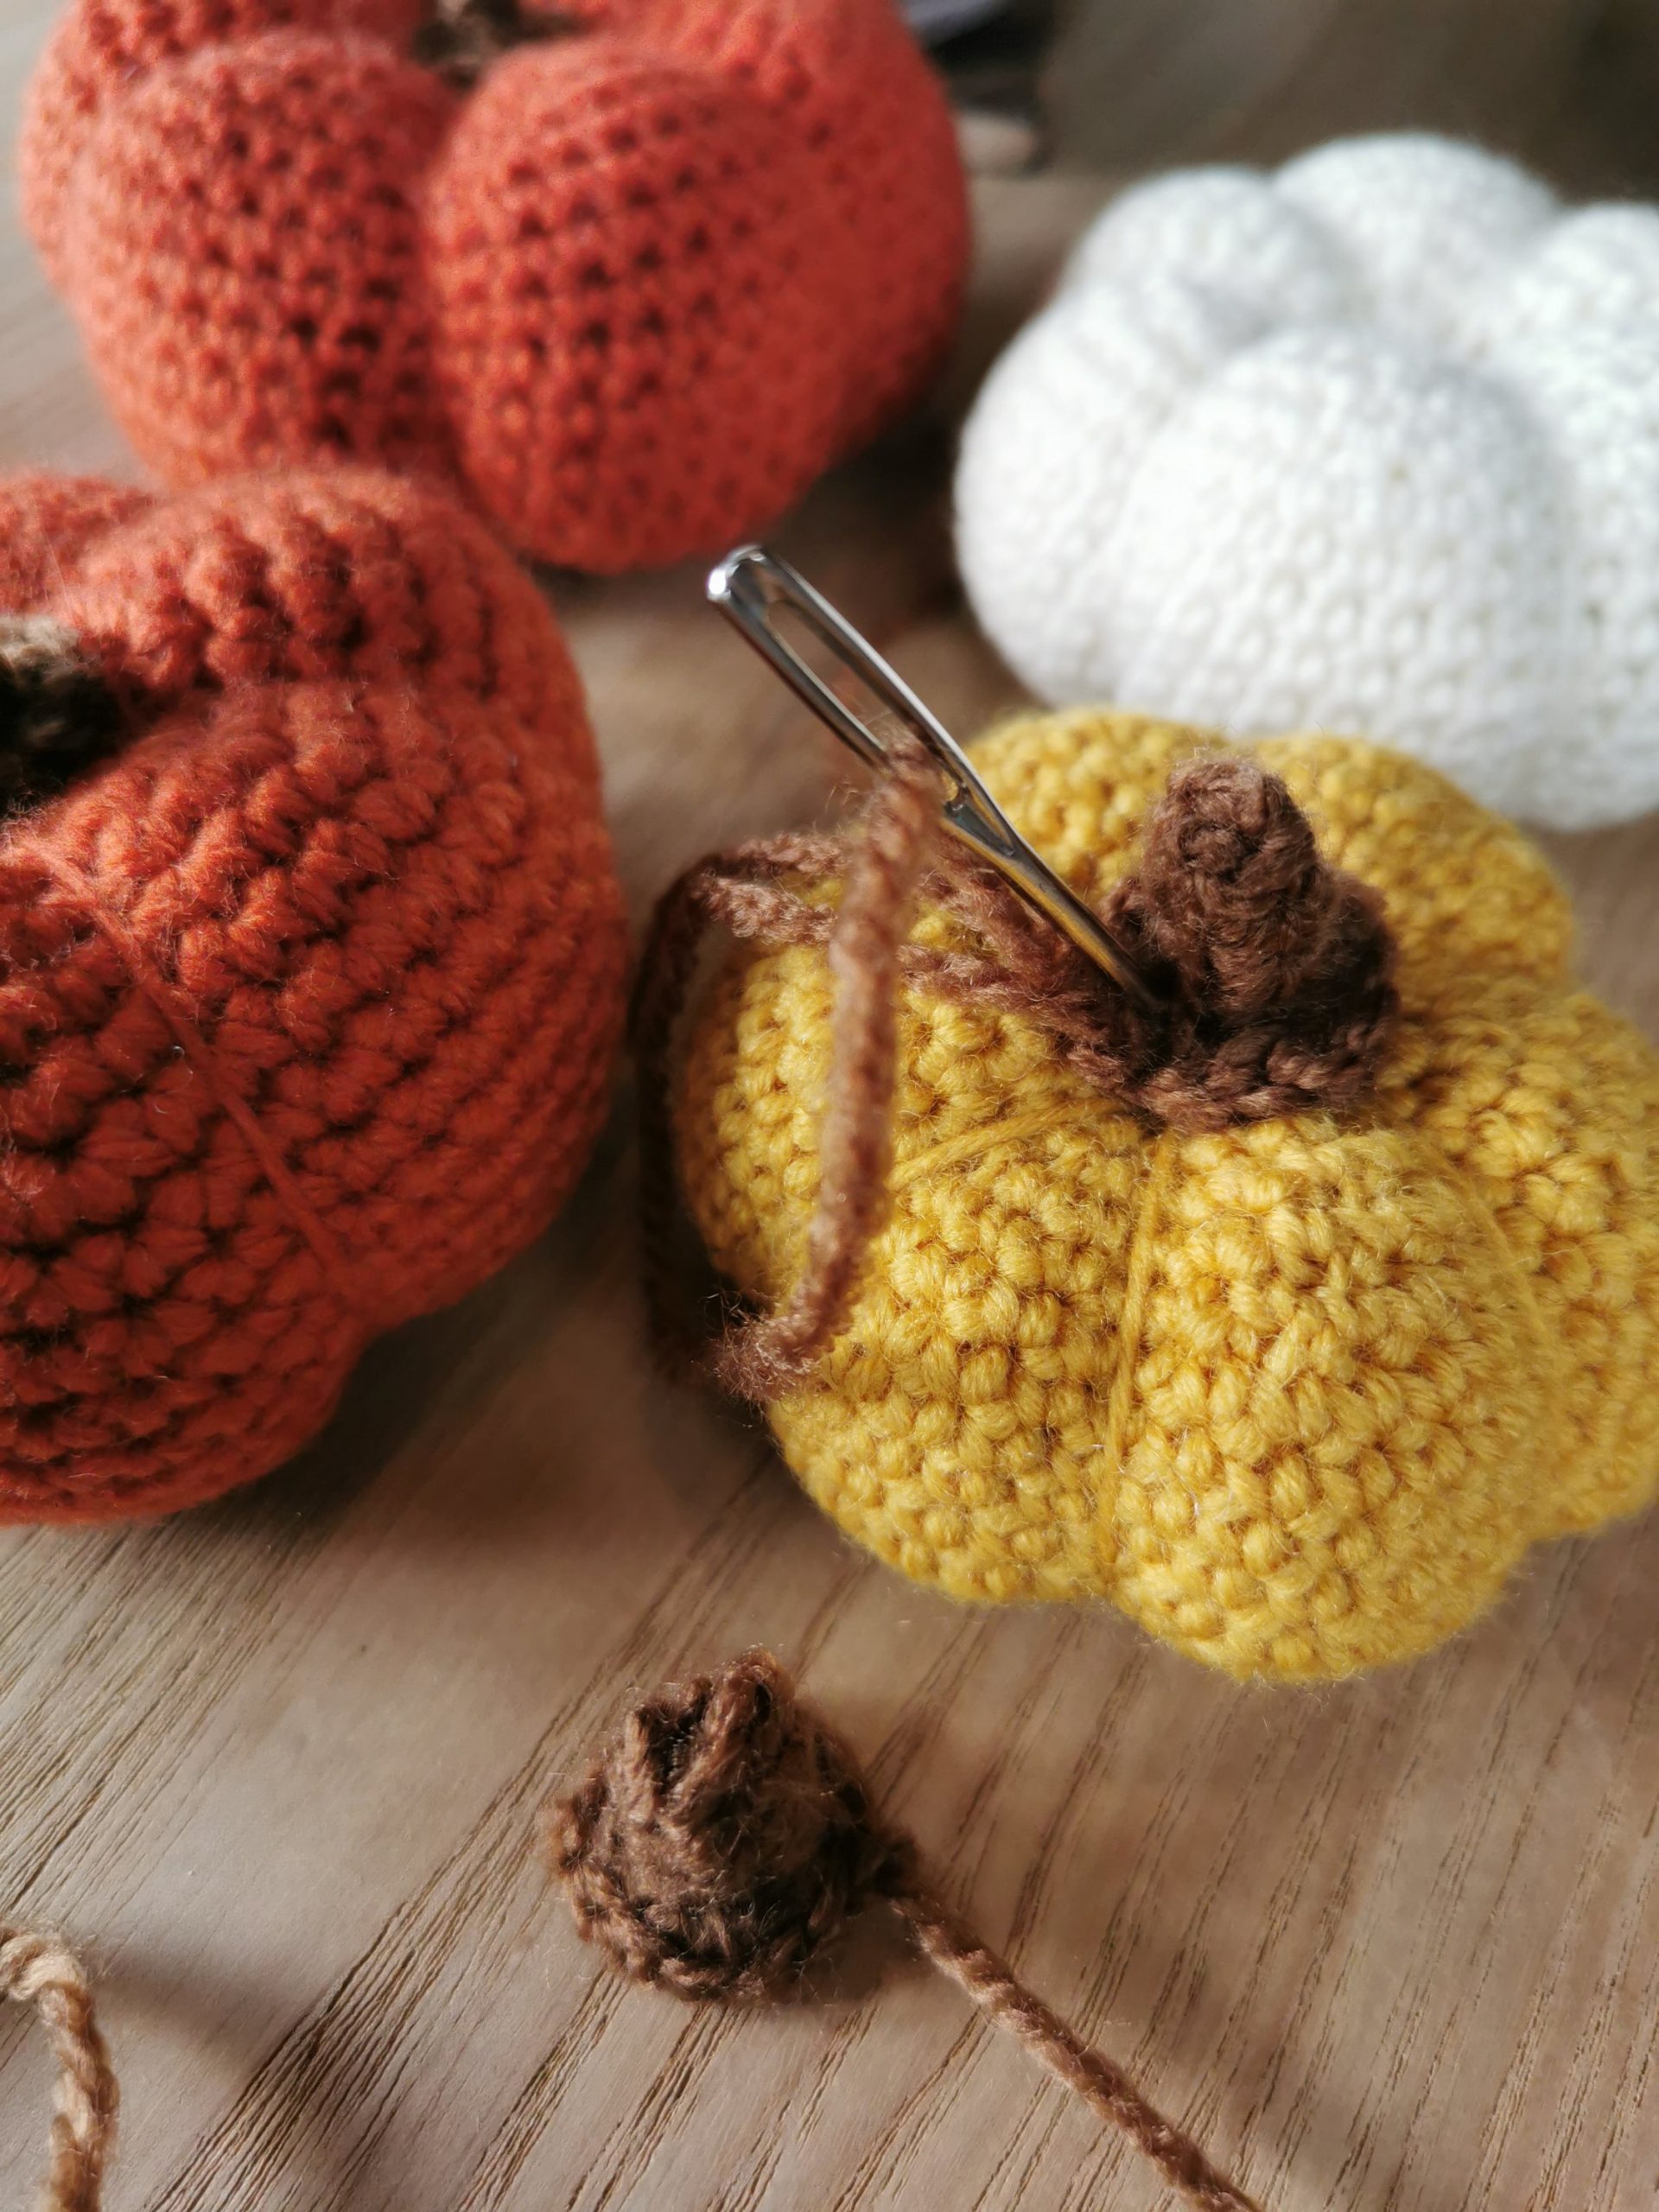
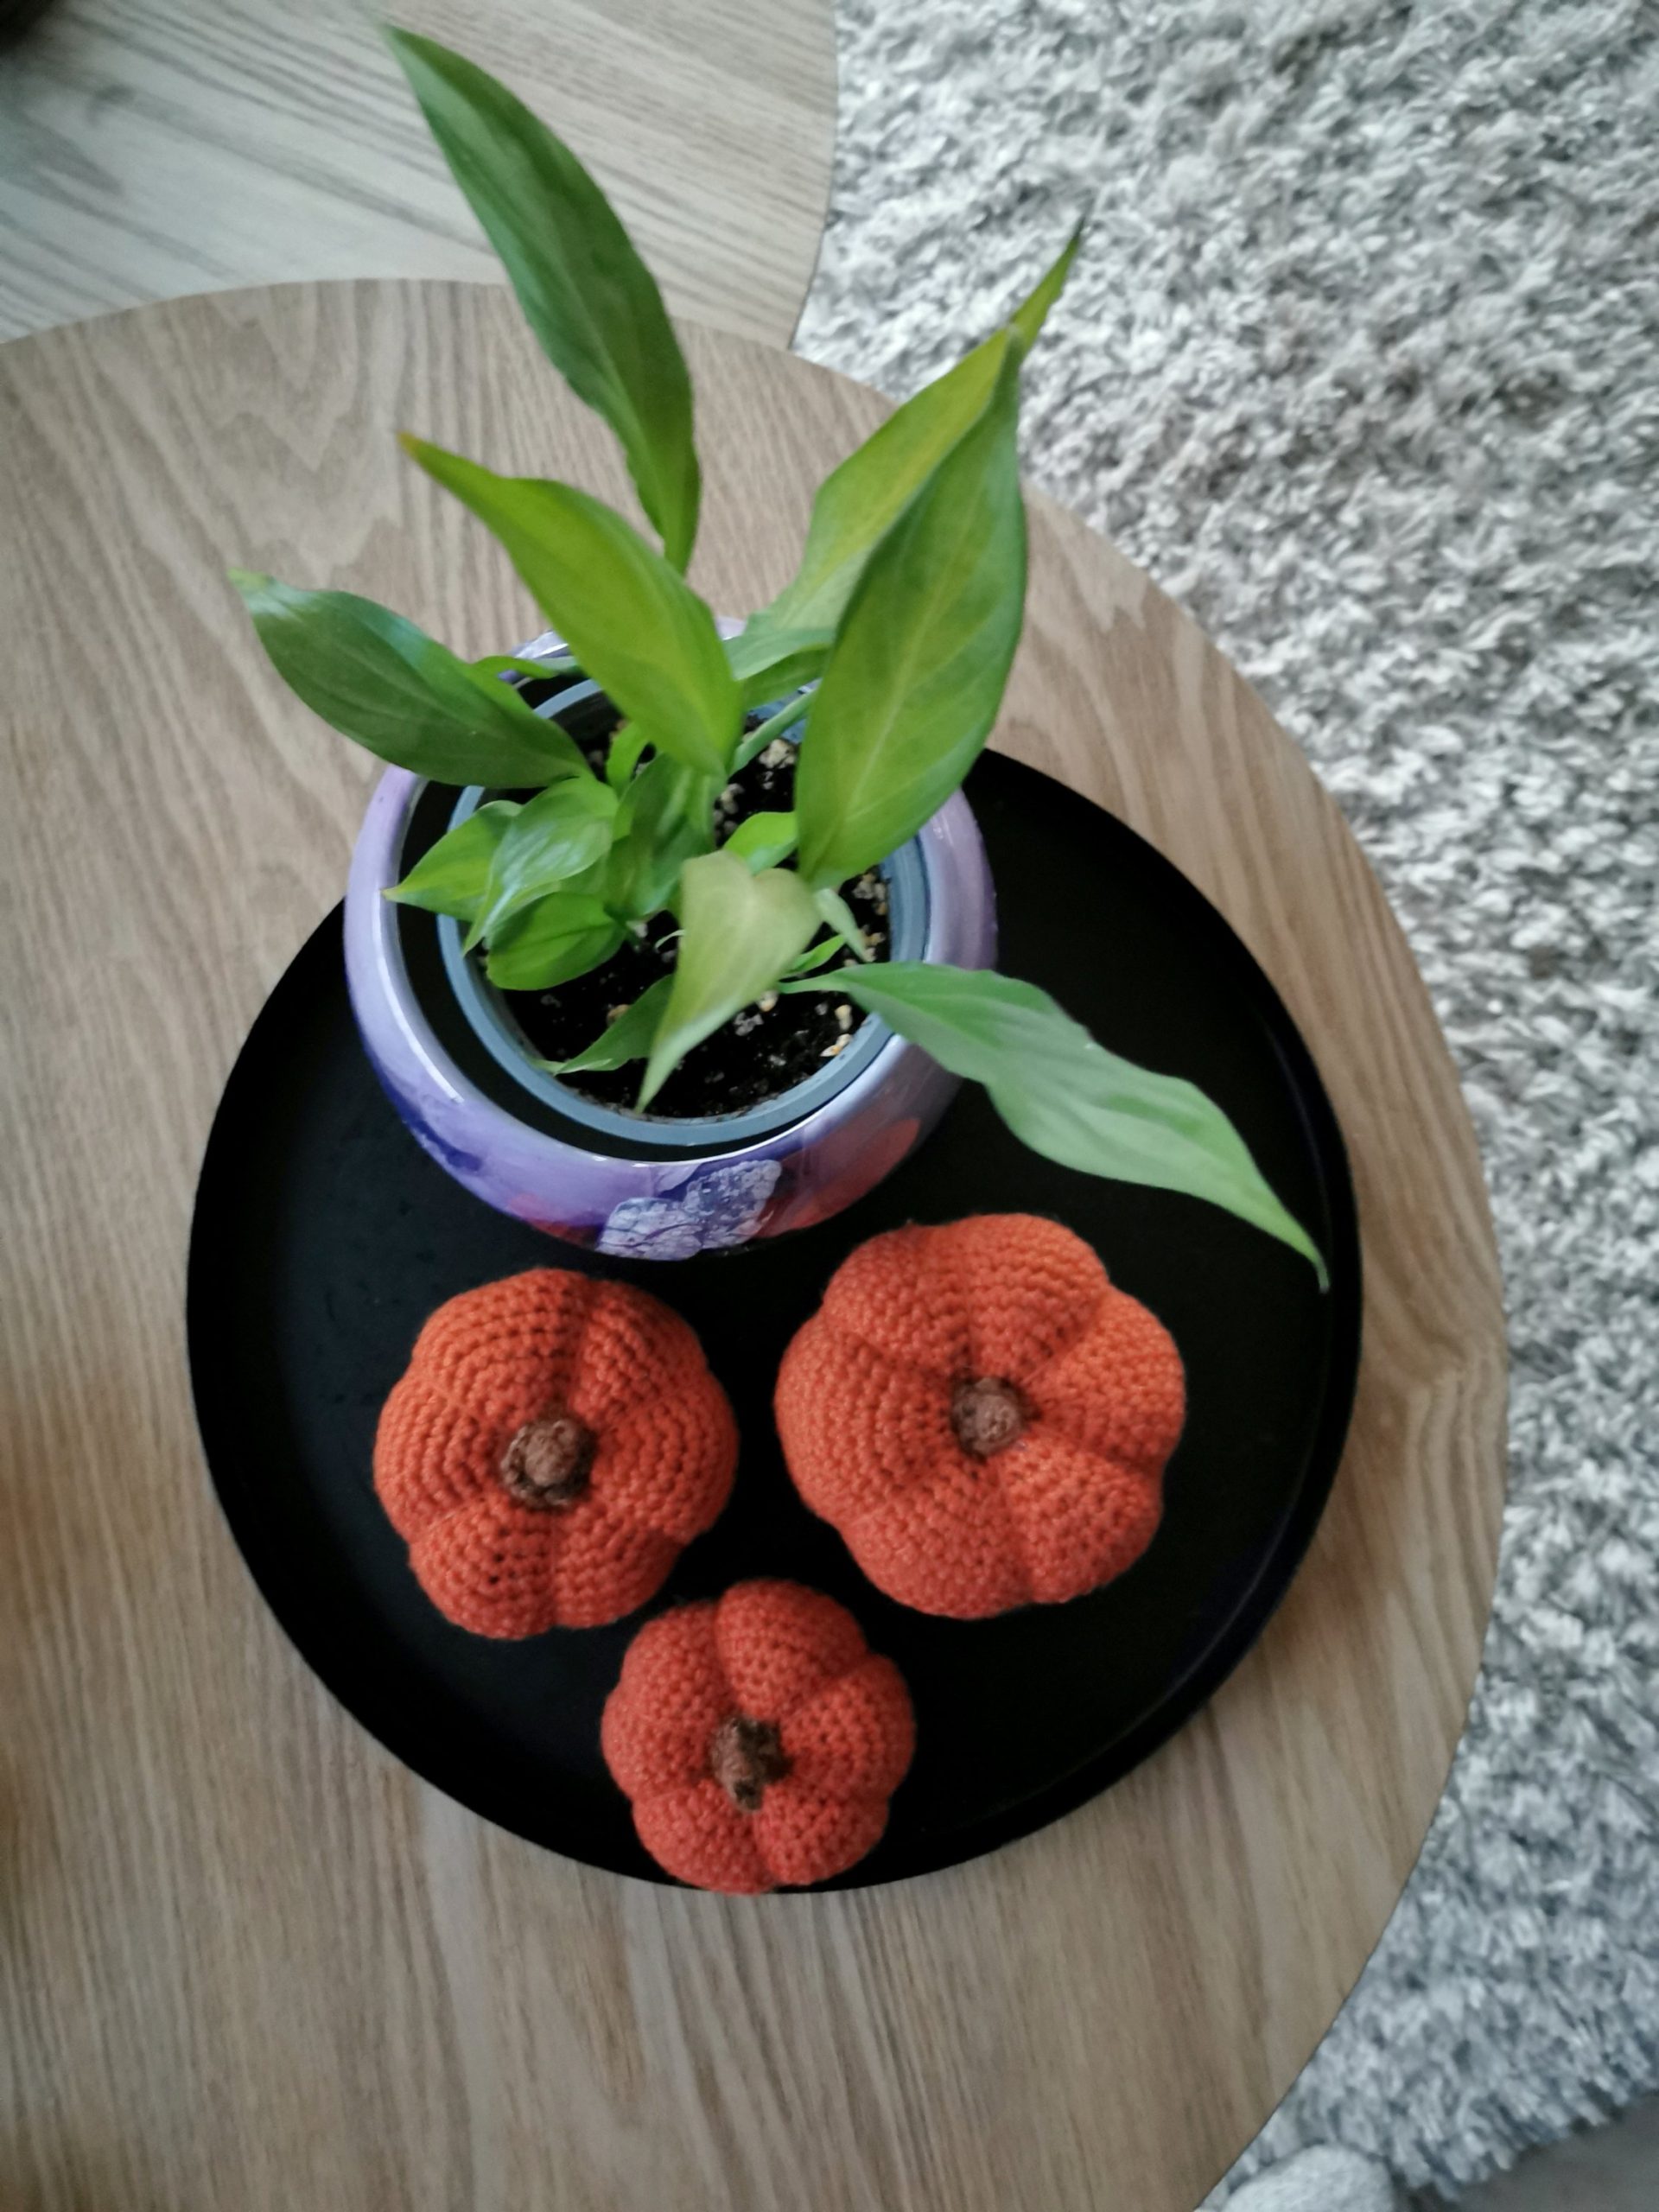
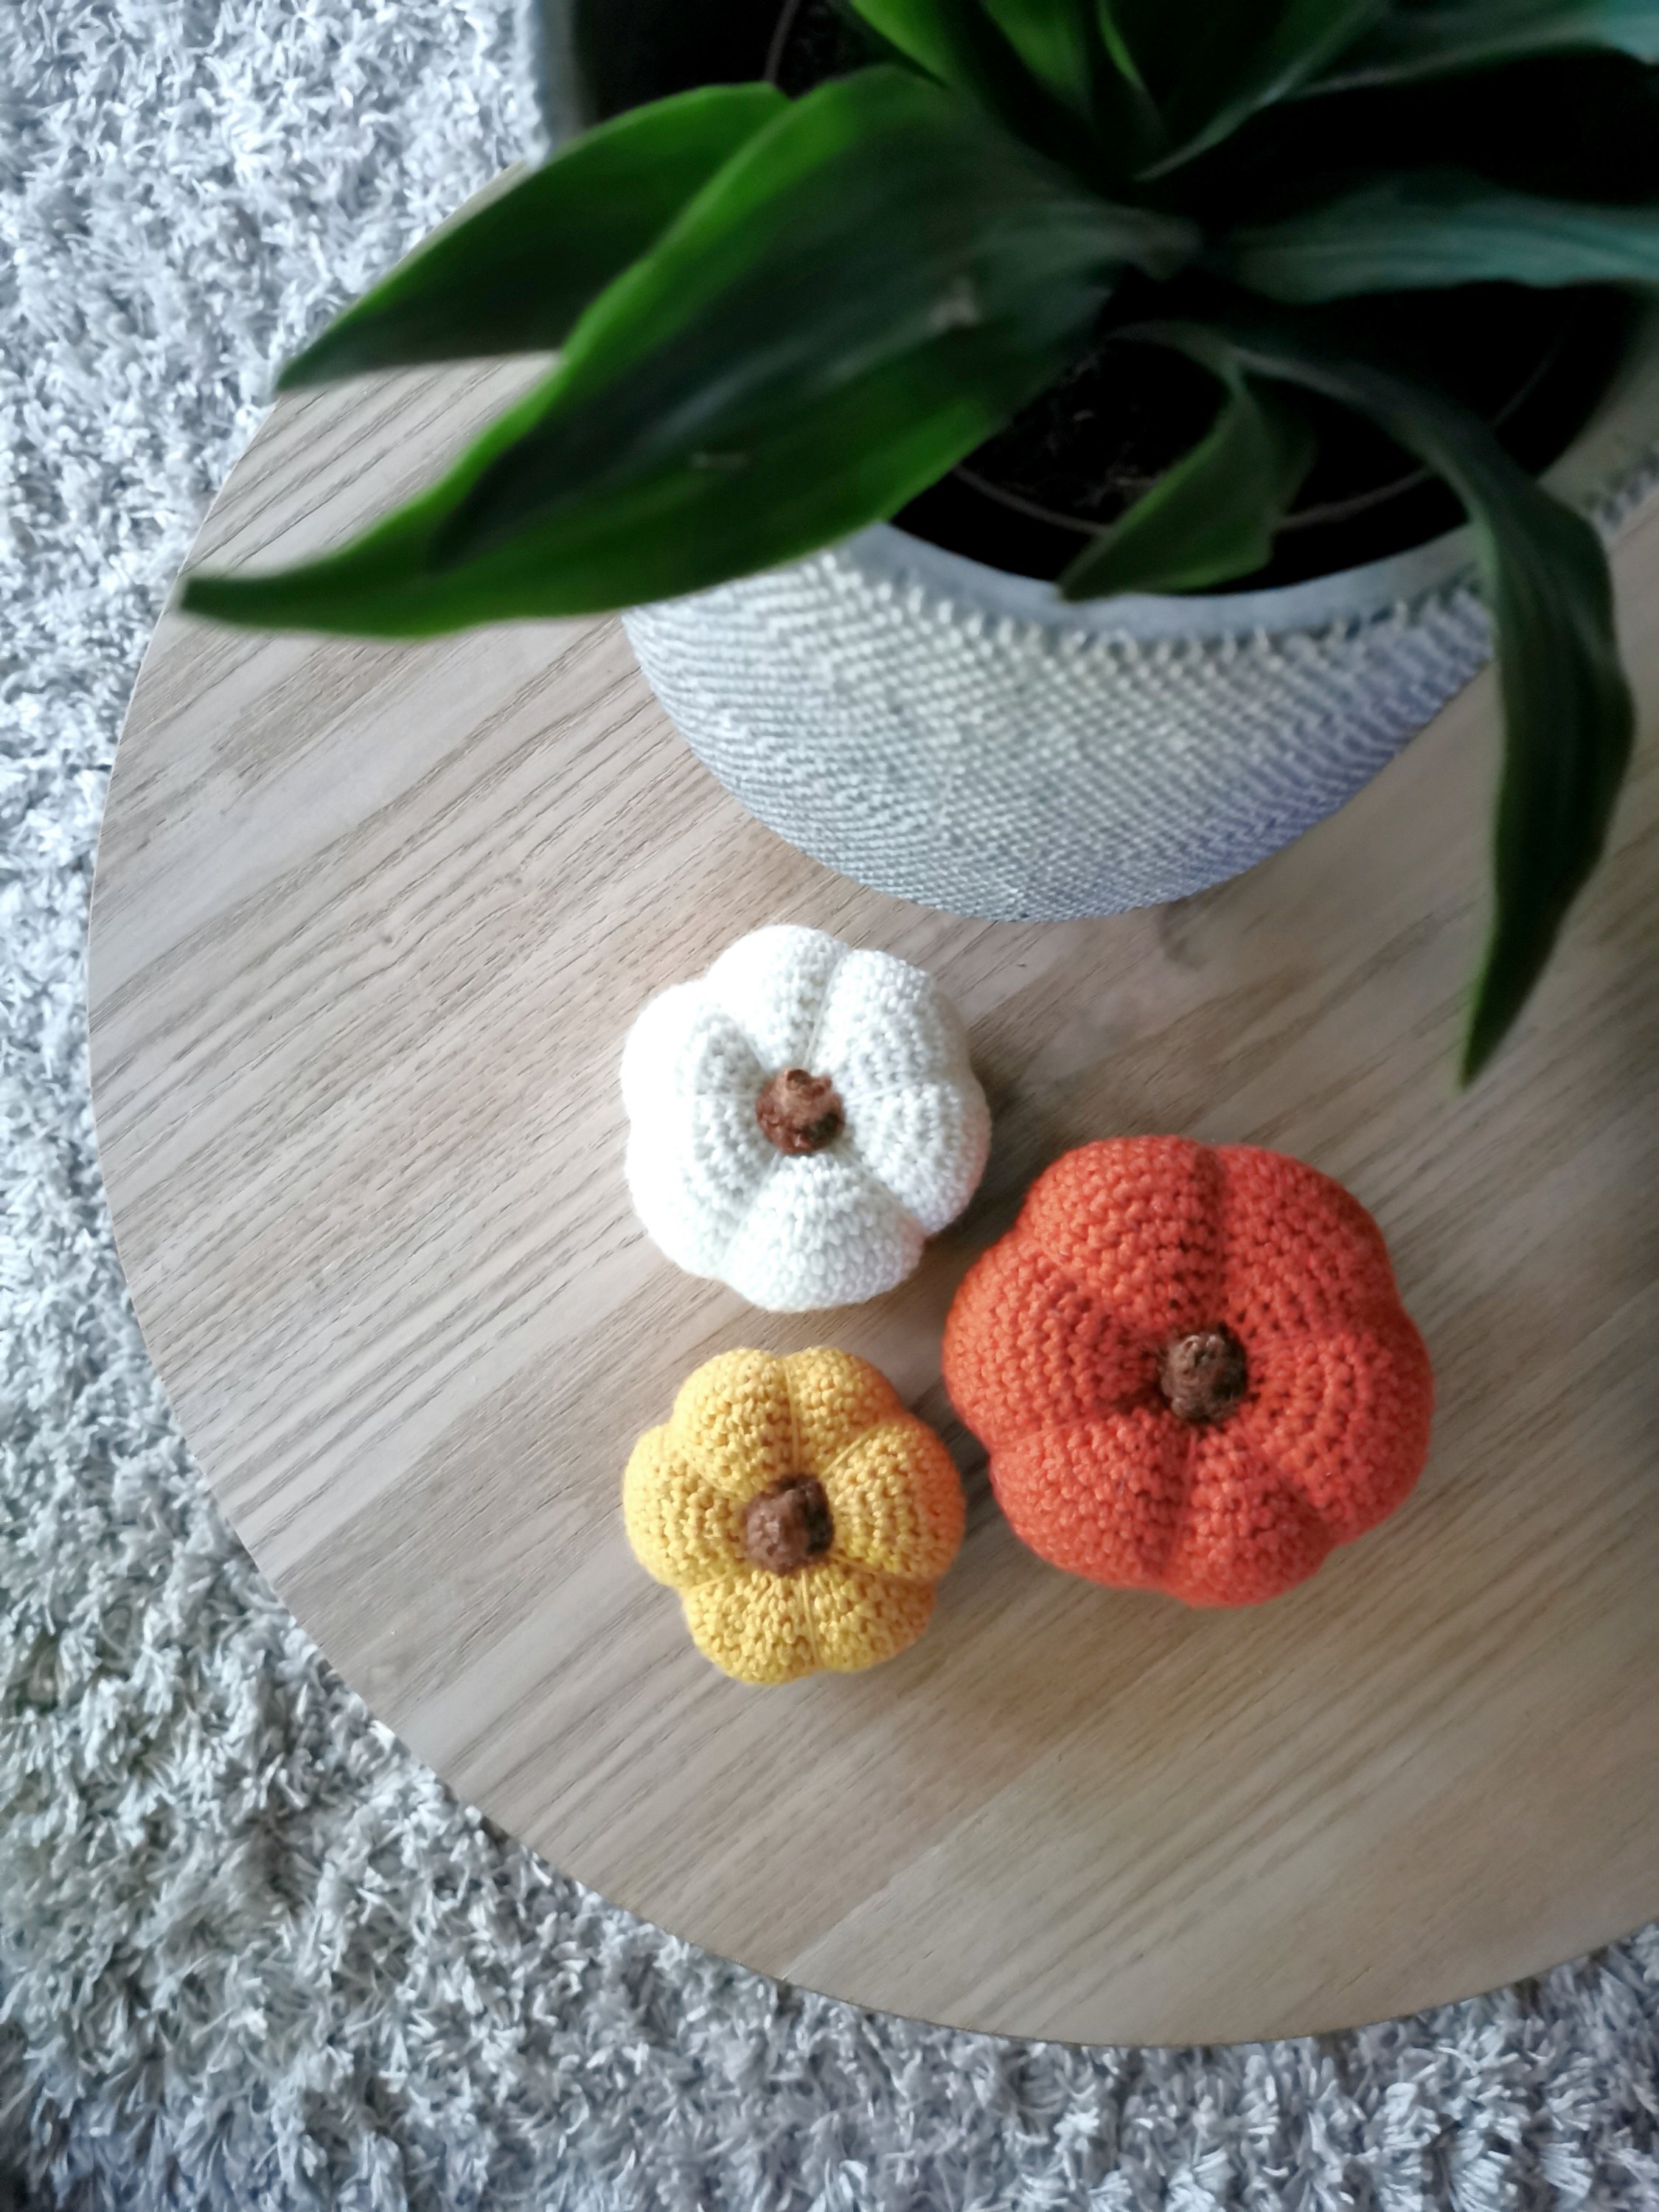
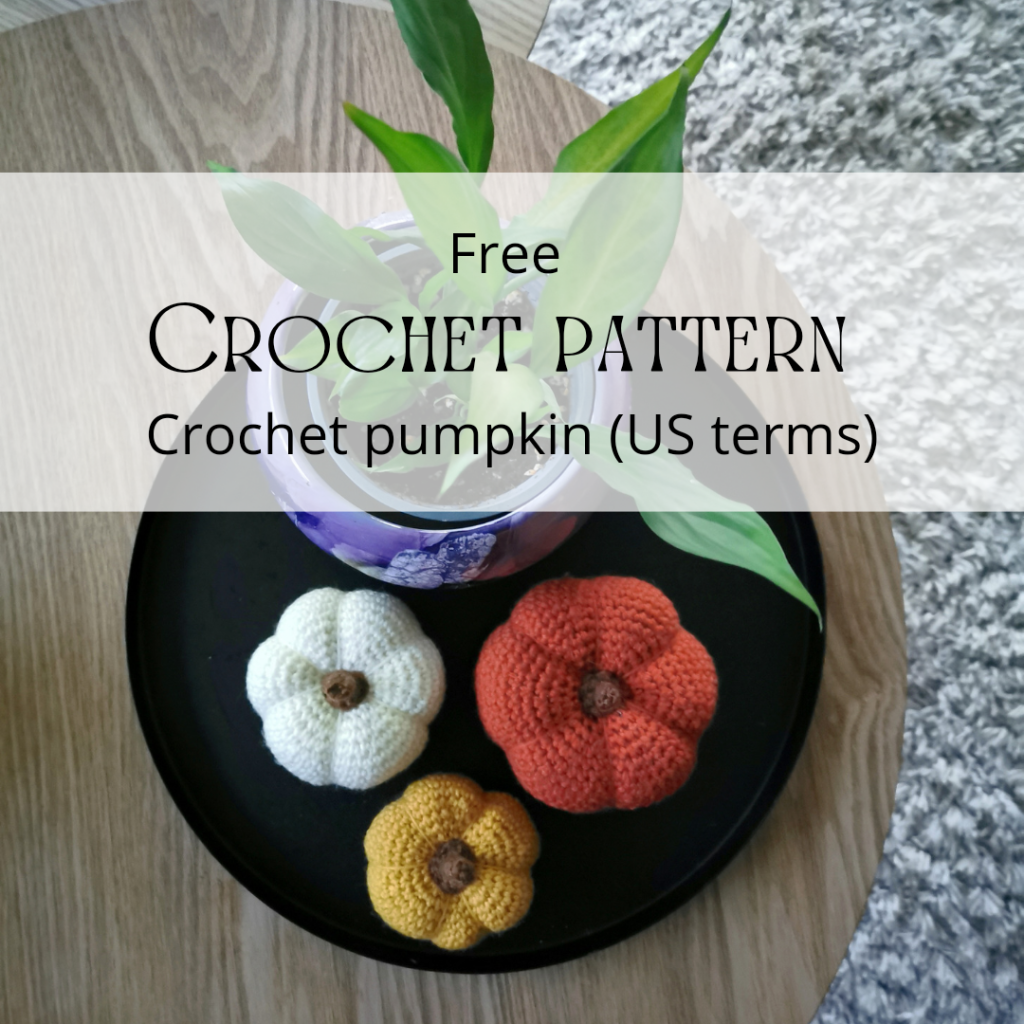
When autumn arrives I like to decorate my home with pumpkins, and last year I made a simple crochet pattern for a crochet pumpkin in three different sizes. There are numerous patterns like this on the internet, but I thought I’d share my pattern with you anyways. The pumpkins can be made in any type of yarn, so play around with different colours, sizes and also thickness of the yarn. And instead of making a stem you can also use a tiny branch (as shown in photos further down on the page).

MATERIALS

  • Yarn – The pumpkin can be made in any type of yarn, so choose the yarn that suits you best
  • Crochet Hook – The size that goes with the yarn you’re using, and one in a smaller size
  • Filling / Wadding to stuff the pumpkins
  • Needle
  • Scissors

STITCHES / ABBREVIATIONS (UK terms)

  • R (row/round)
  • ch (chain/slip knot) – Watch video
  • sl st (slip stitch) – Watch video
  • dc (double crochet) – Watch video (video title shows US terms – sc (single crochet)
  • MR (magic ring) – Watch video
  • st (stitch)
  • tog (together)

GAUGE

No gauge is necessary for this pattern, as it’s not a piece of clothing or something that requires exact measurments.

INFORMATION

  • Read through the whole pattern before you start.
  • Increase (example): When it says «2 sc, 2 sc in next st», it means that you make 1 sc in each of the two next stitches, and then 2 sc in the next stitch (you have then worked into 3 stitches in this example, ending up with 4 stitches).
  • Decrease (example): When it says «2 sc, 2sc tog», it means that you make 1 sc in each of the next two stitches, and then you decrease the next two stitches by crocheting them together (you have then worked into 4 stitches in this example, ending up with 3 stitches).
  • When you crochet in rounds it’s hard to see where the round ends and starts, so use a stitch marker or a piece of yarn to put a mark after each round.
  • ** – Repeat everything written between * to * as many times as the pattern says, or to the end of the round.

CROCHET PATTERN

Crochet hook: Use the size that fits the yarn you’ve chosen.

CROCHET PUMPKIN – big size

R1: 6 dc in MR (6 dc).
Tip: hold off tightening the ring until you’re done with R2.
R2: 2 dc in each st (12 dc)
R3: *1 dc, 2 dc in next st* Repeat from * to * til the end of the round (18 dc)
R4
: *2 dc, 2 dc in next st* (24 dc)
R5:
*3 dc, 2 dc in next st* (30 dc)
R6:
*4 dc, 2 dc in next st* (36 dc)
R7: *5 dc, 2 dc in next st* (42 dc)
R8: *6 dc, 2 dc in next st* (48 dc)
R9: *7 dc, 2 dc in next st* (54 dc)
R10-R18: 1 dc in each st (54 dc) 
R19: *7 dc, 2 dc tog* (48 dc)
R20:
 *6 dc, 2 dc tog* (42 dc)
R21: *5 dc, 2 dc tog* (36 dc)
R22: *4 dc, 2 dc tog* (30 dc)
R23: *3 dc, 2 dc tog* (24 dc)
R24: *2 dc, 2 dc tog* (18 dc). Stuff the pumpkin.
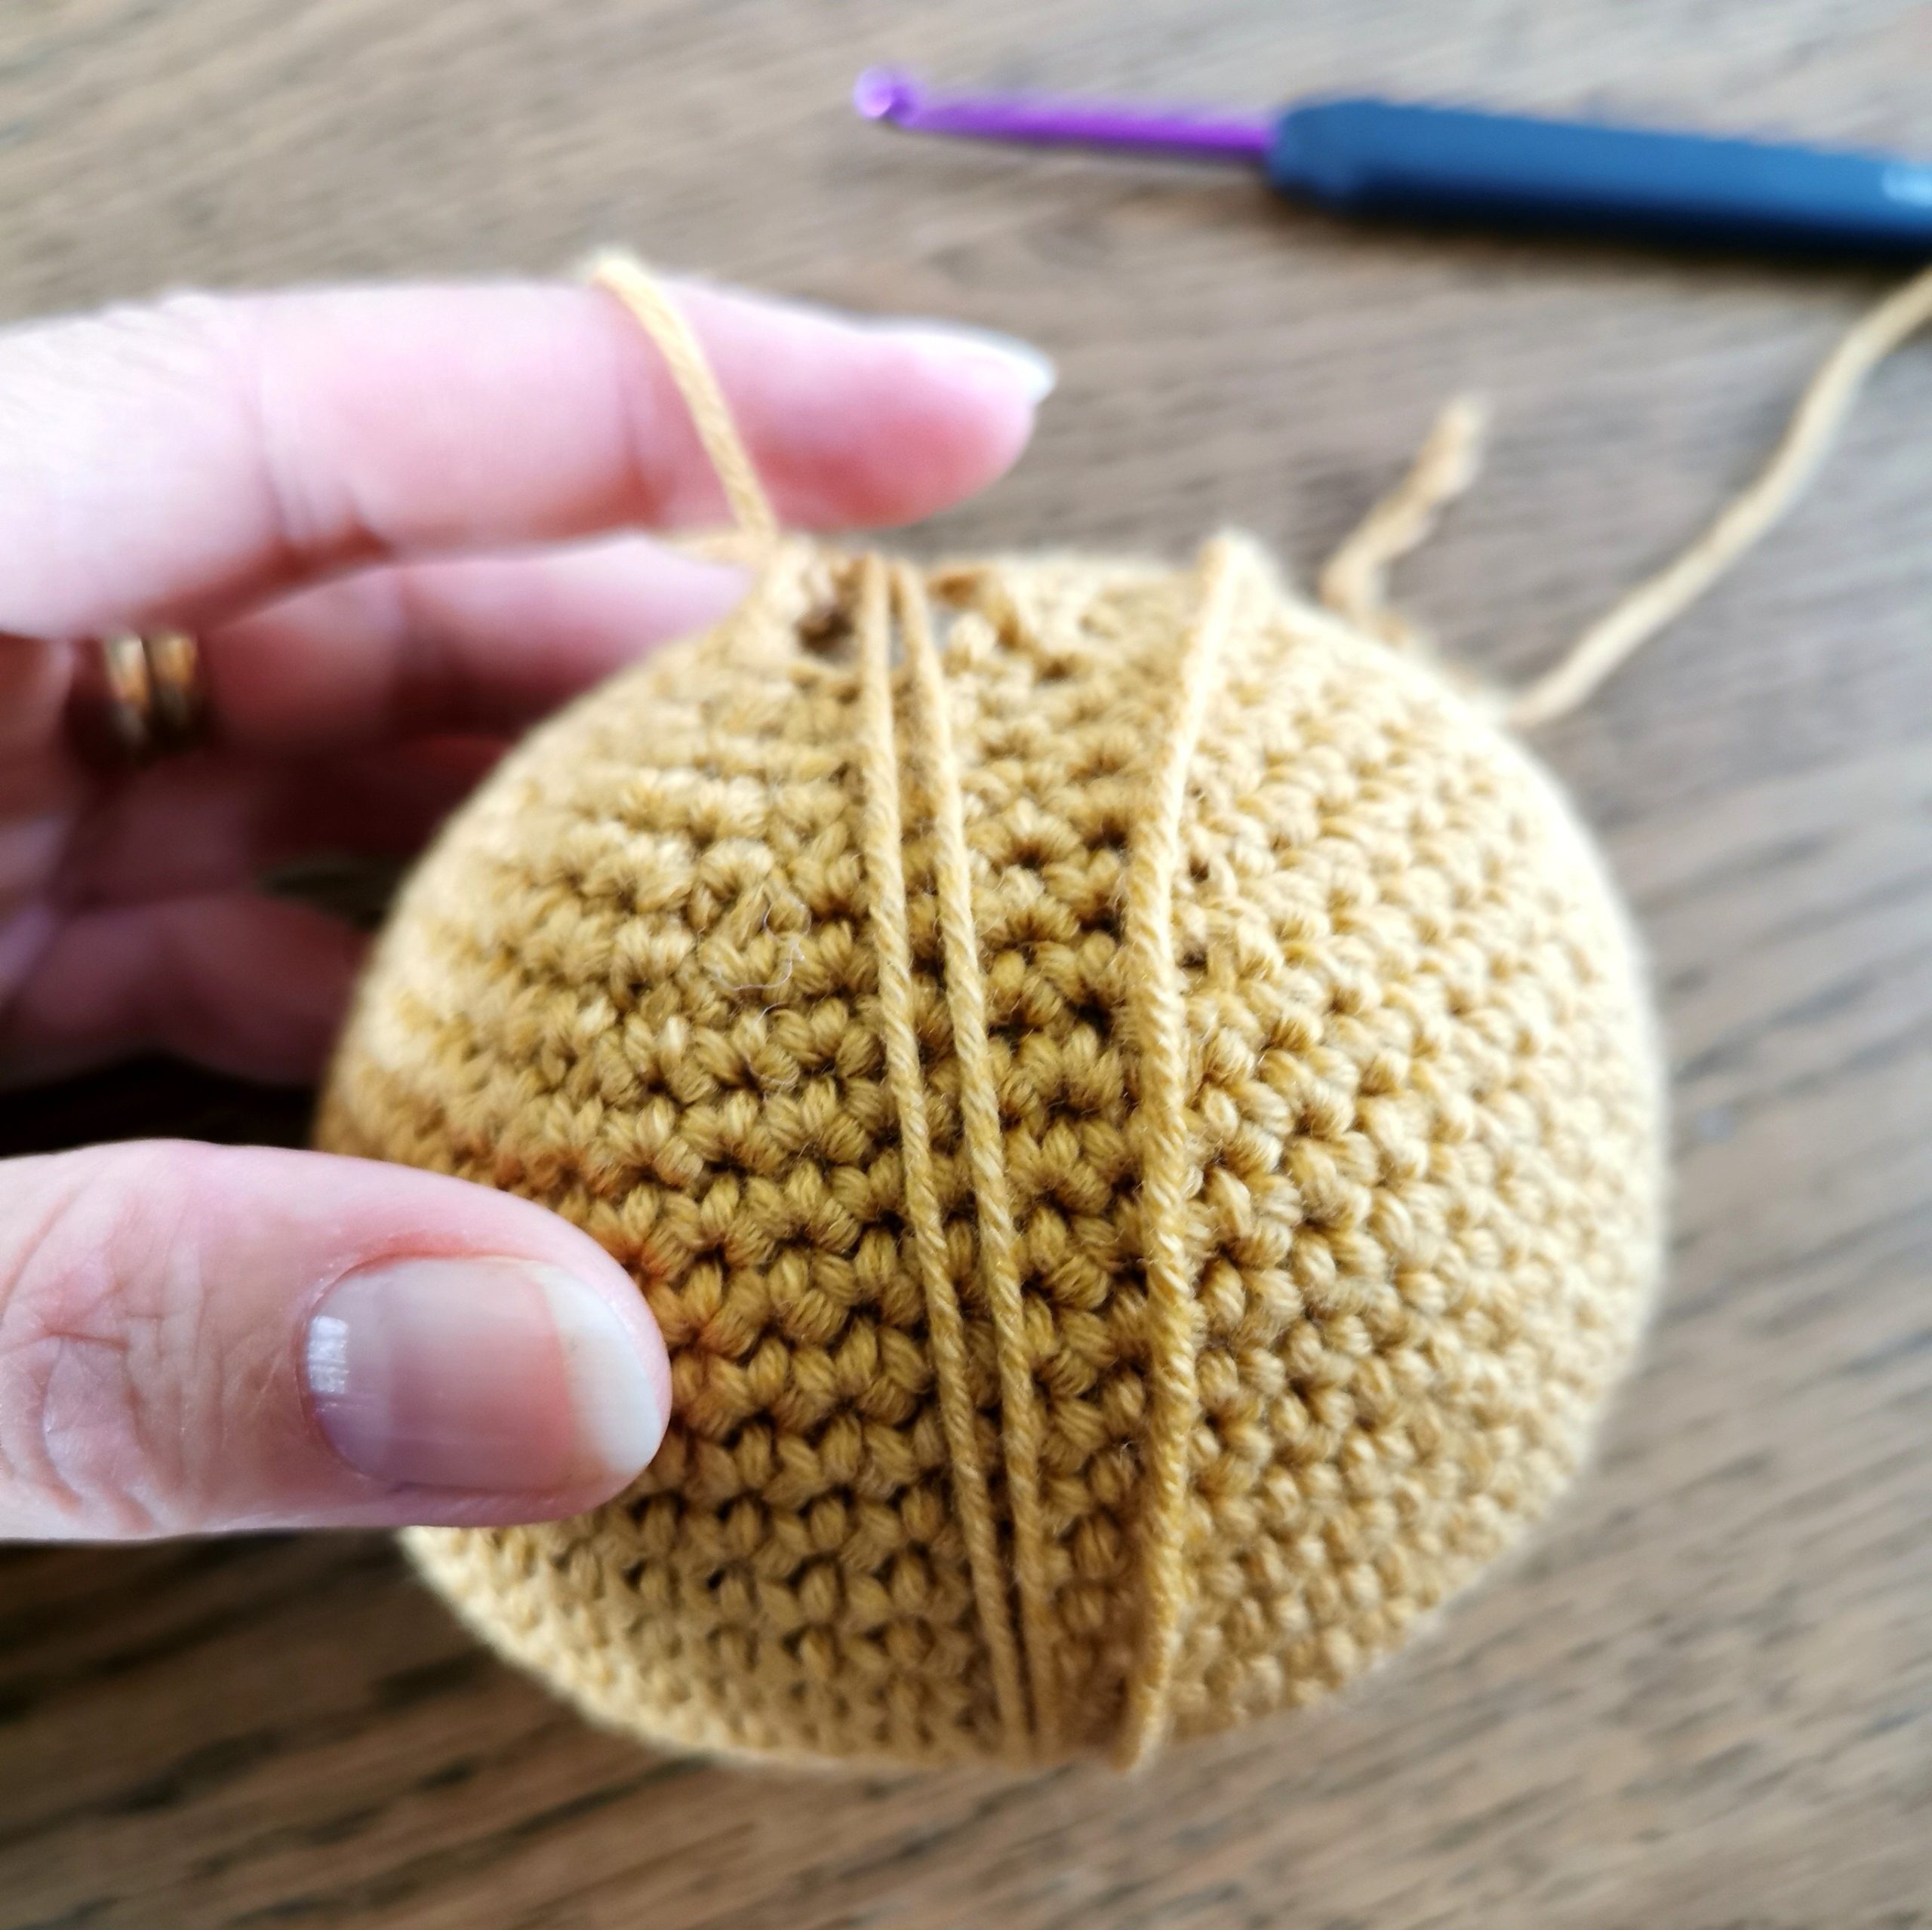
R25: *1 dc, 2 dc tog* (12 dc). Leave a long enough tail to shape the pumpkin (long enough to go around the ball about three times), cut the yarn and sew it through the remaining 12 dc, tighten together and fasten.

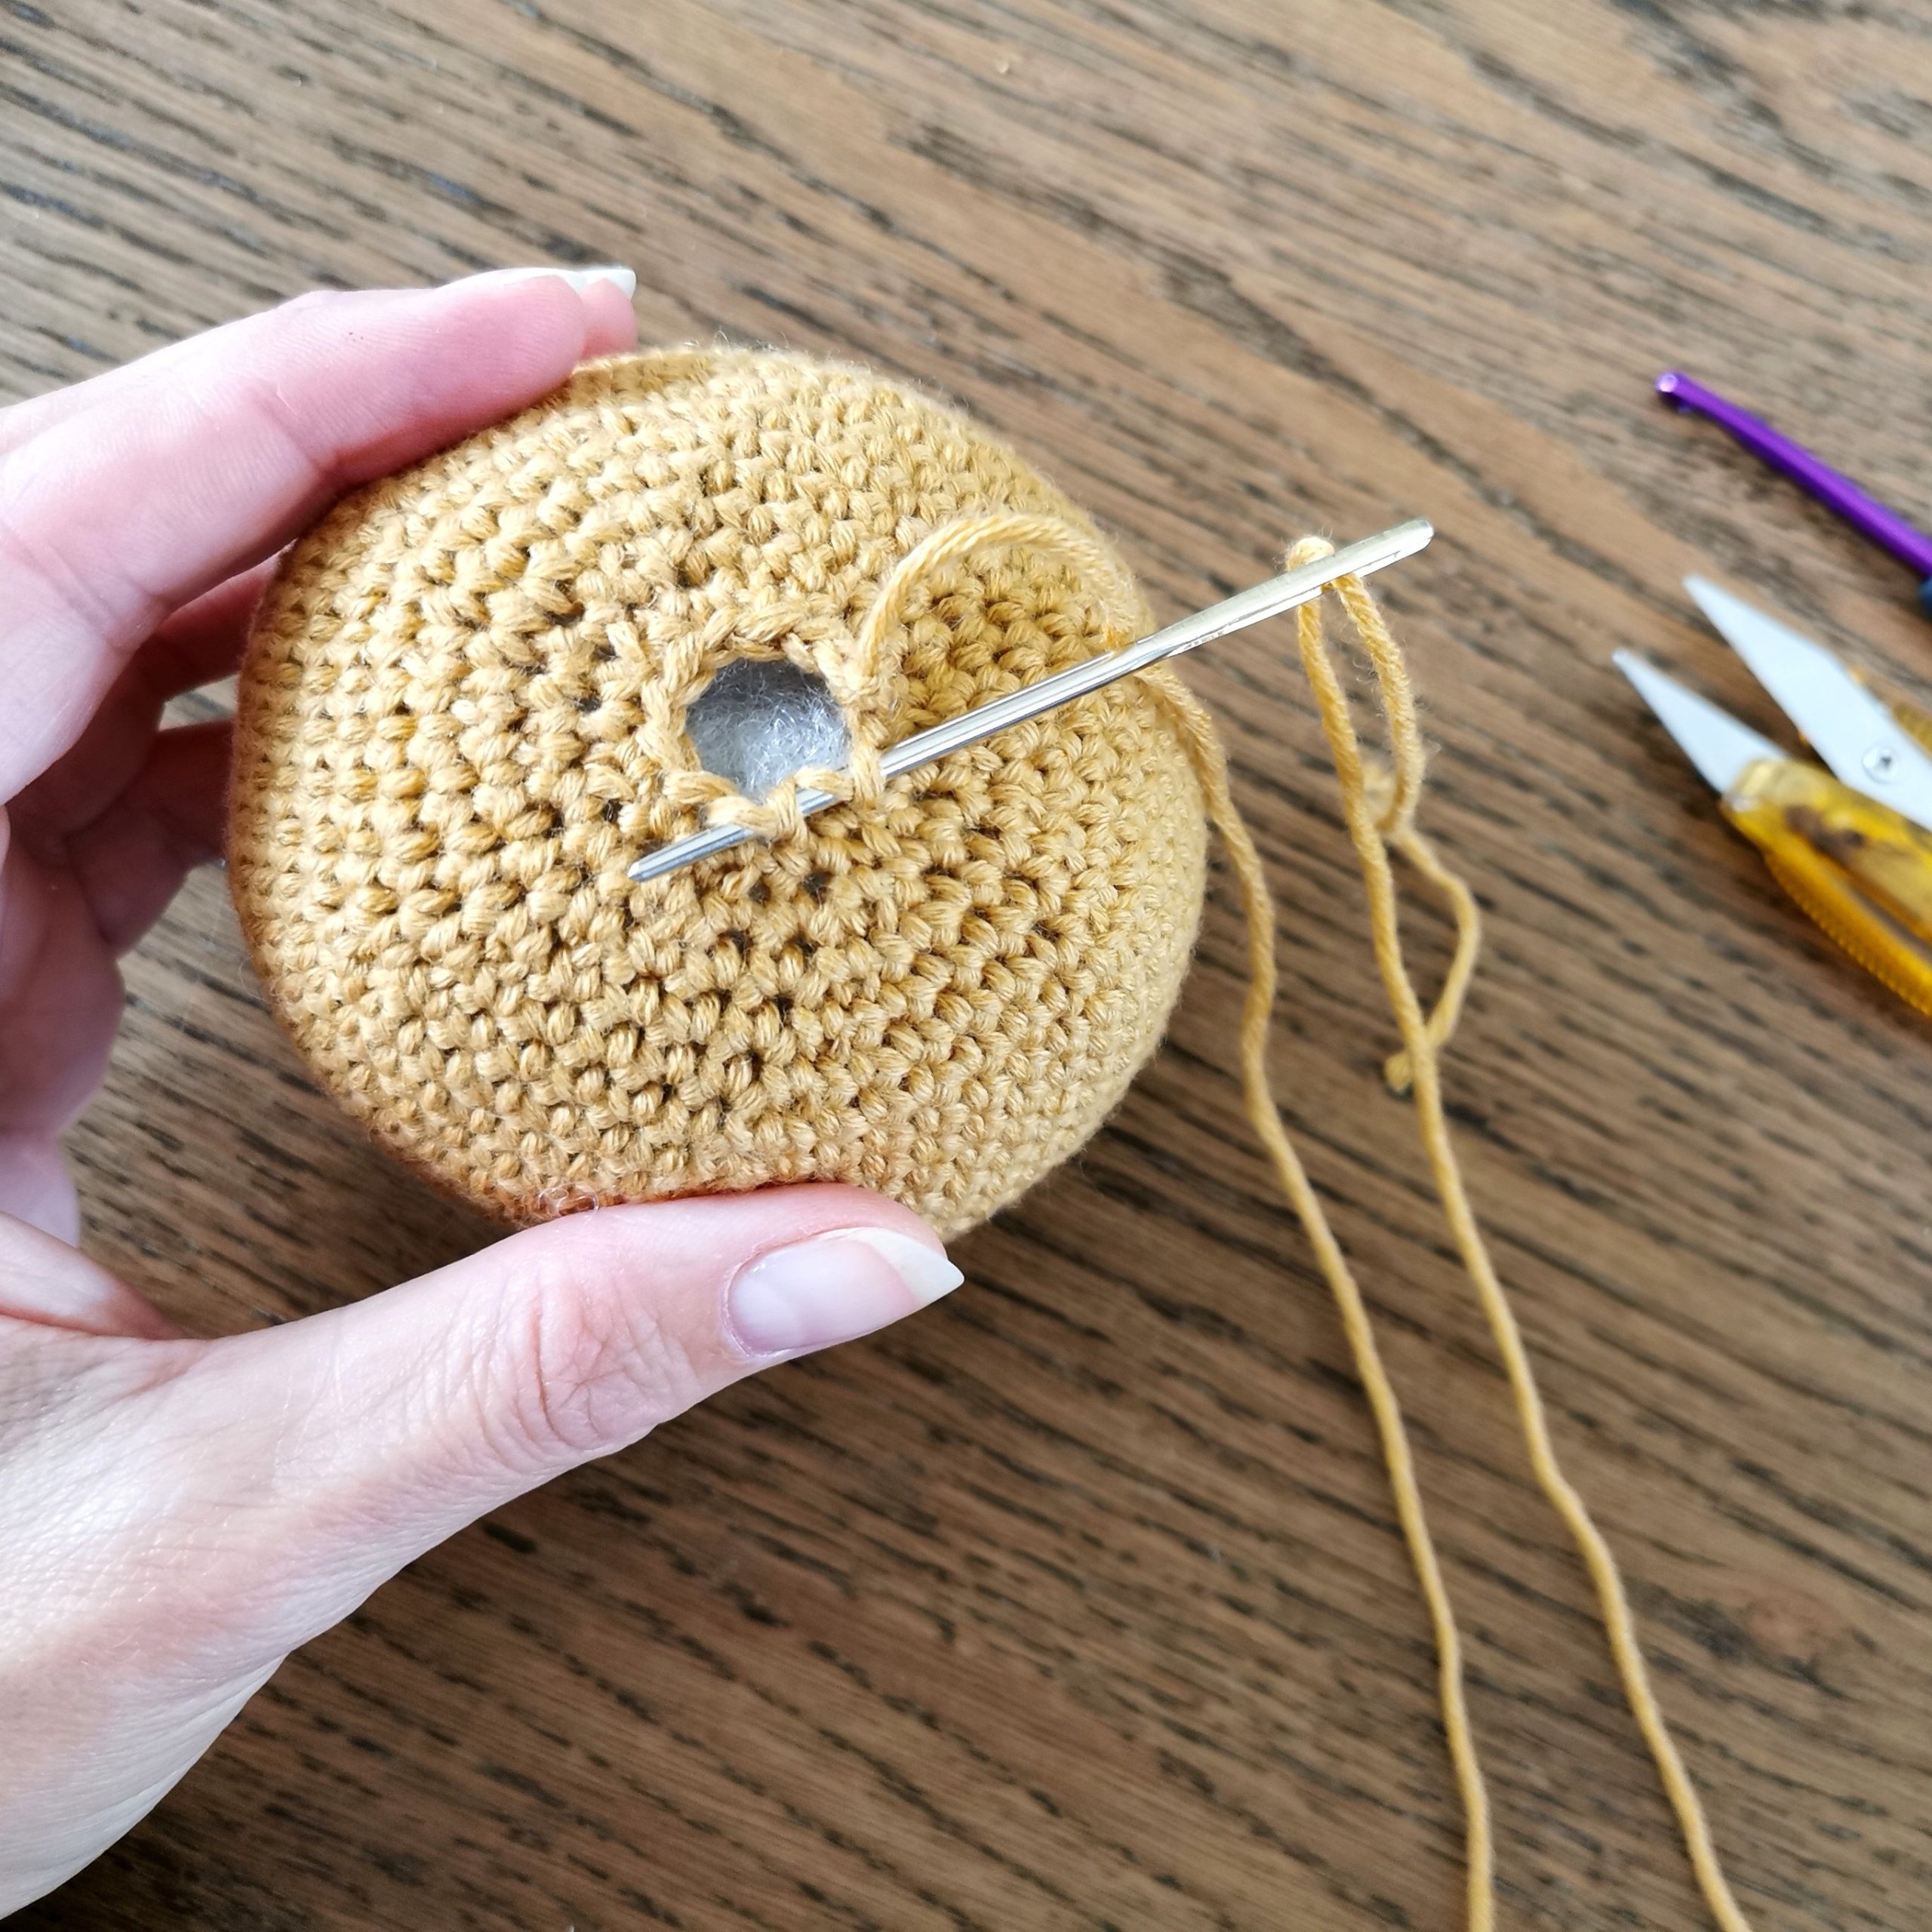
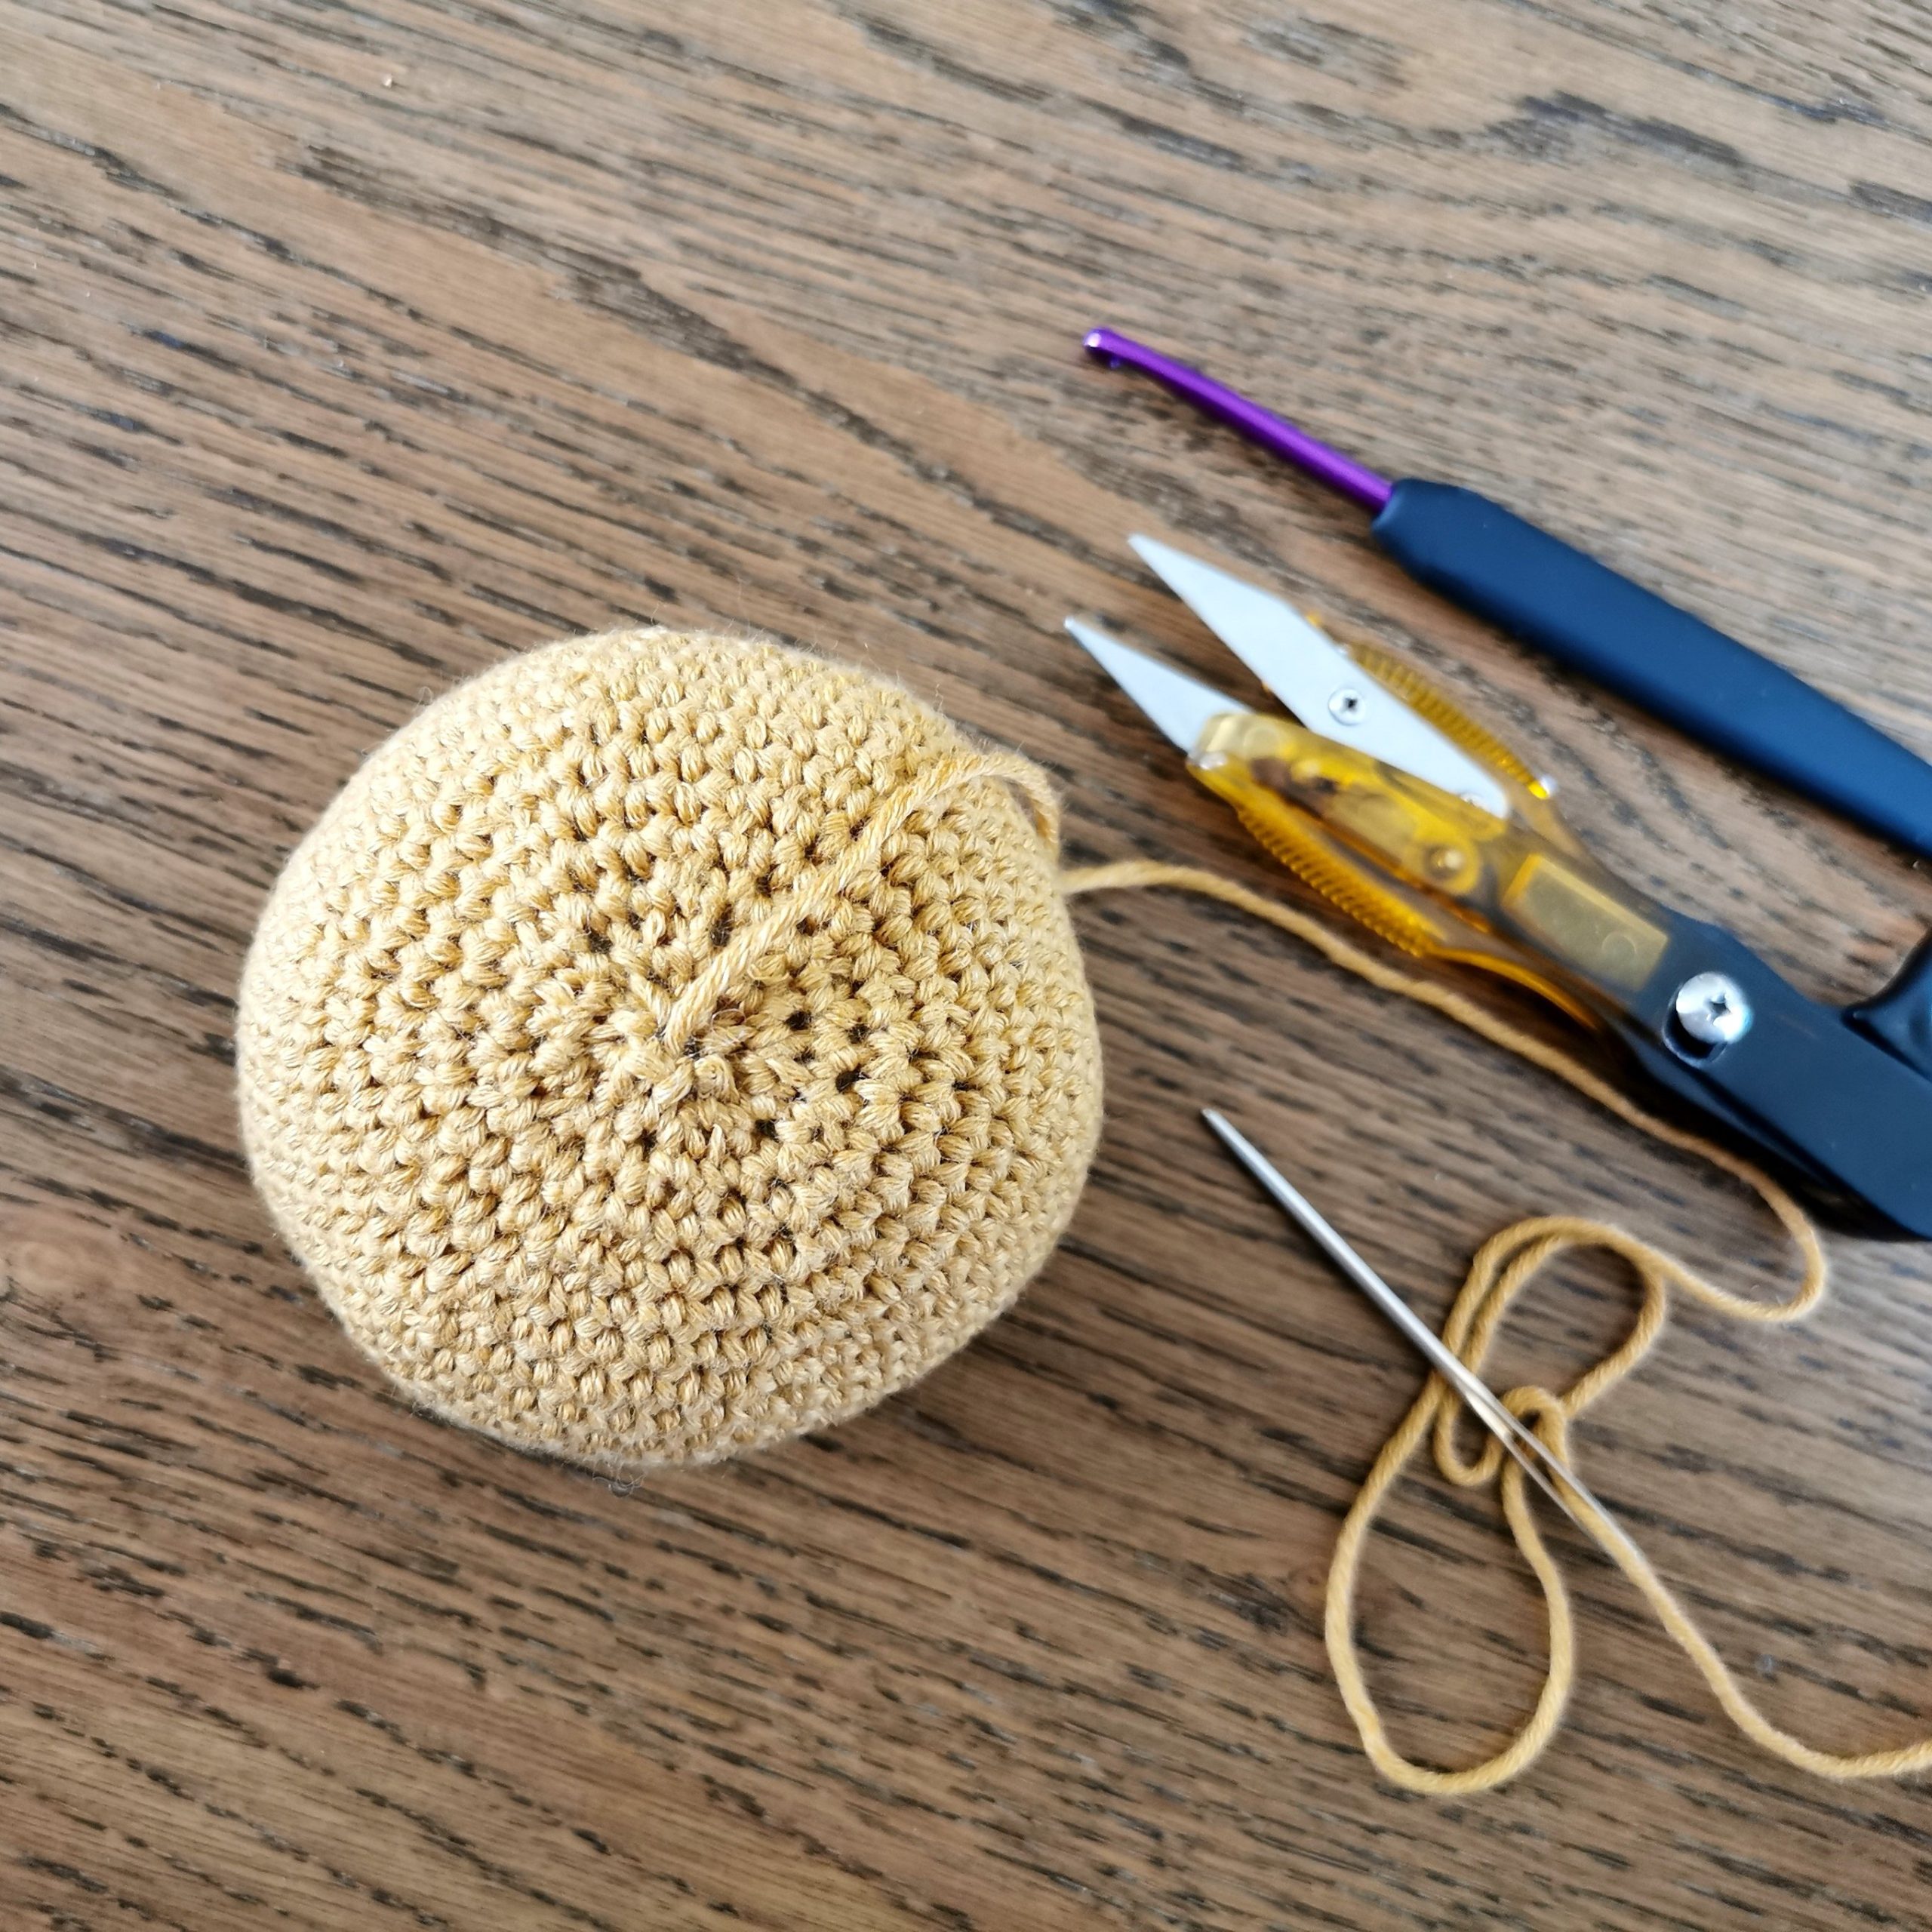
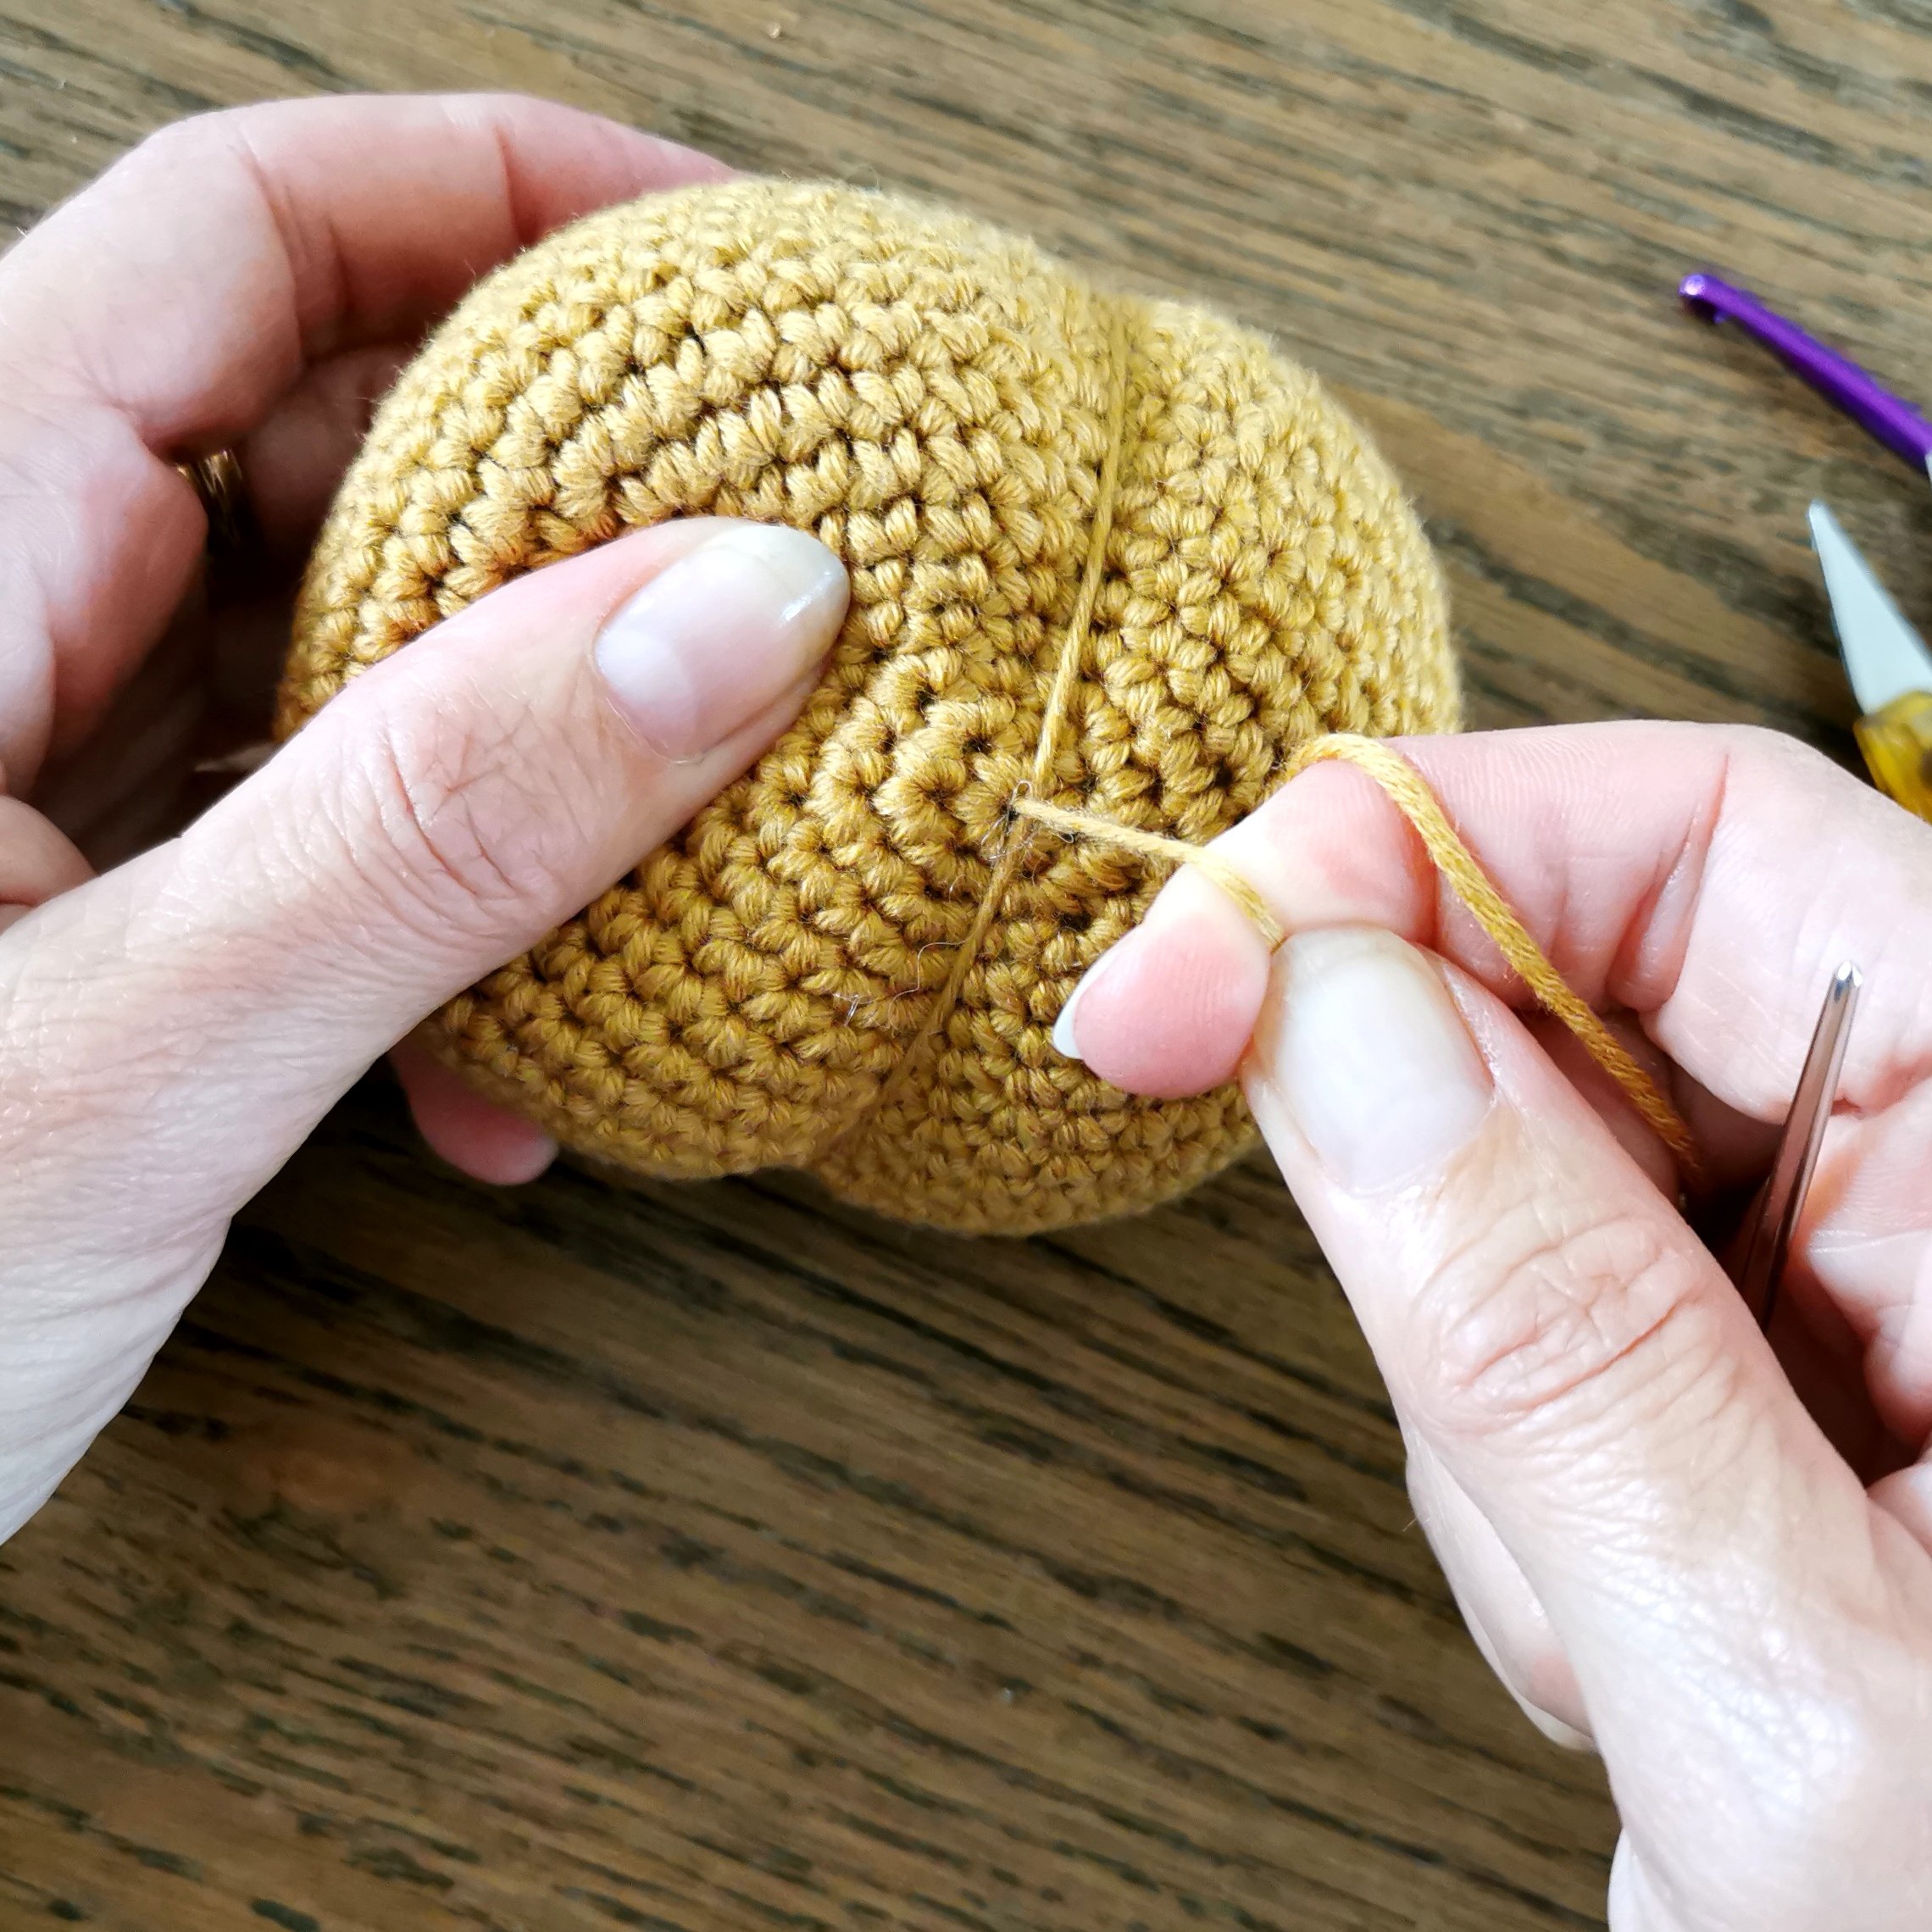
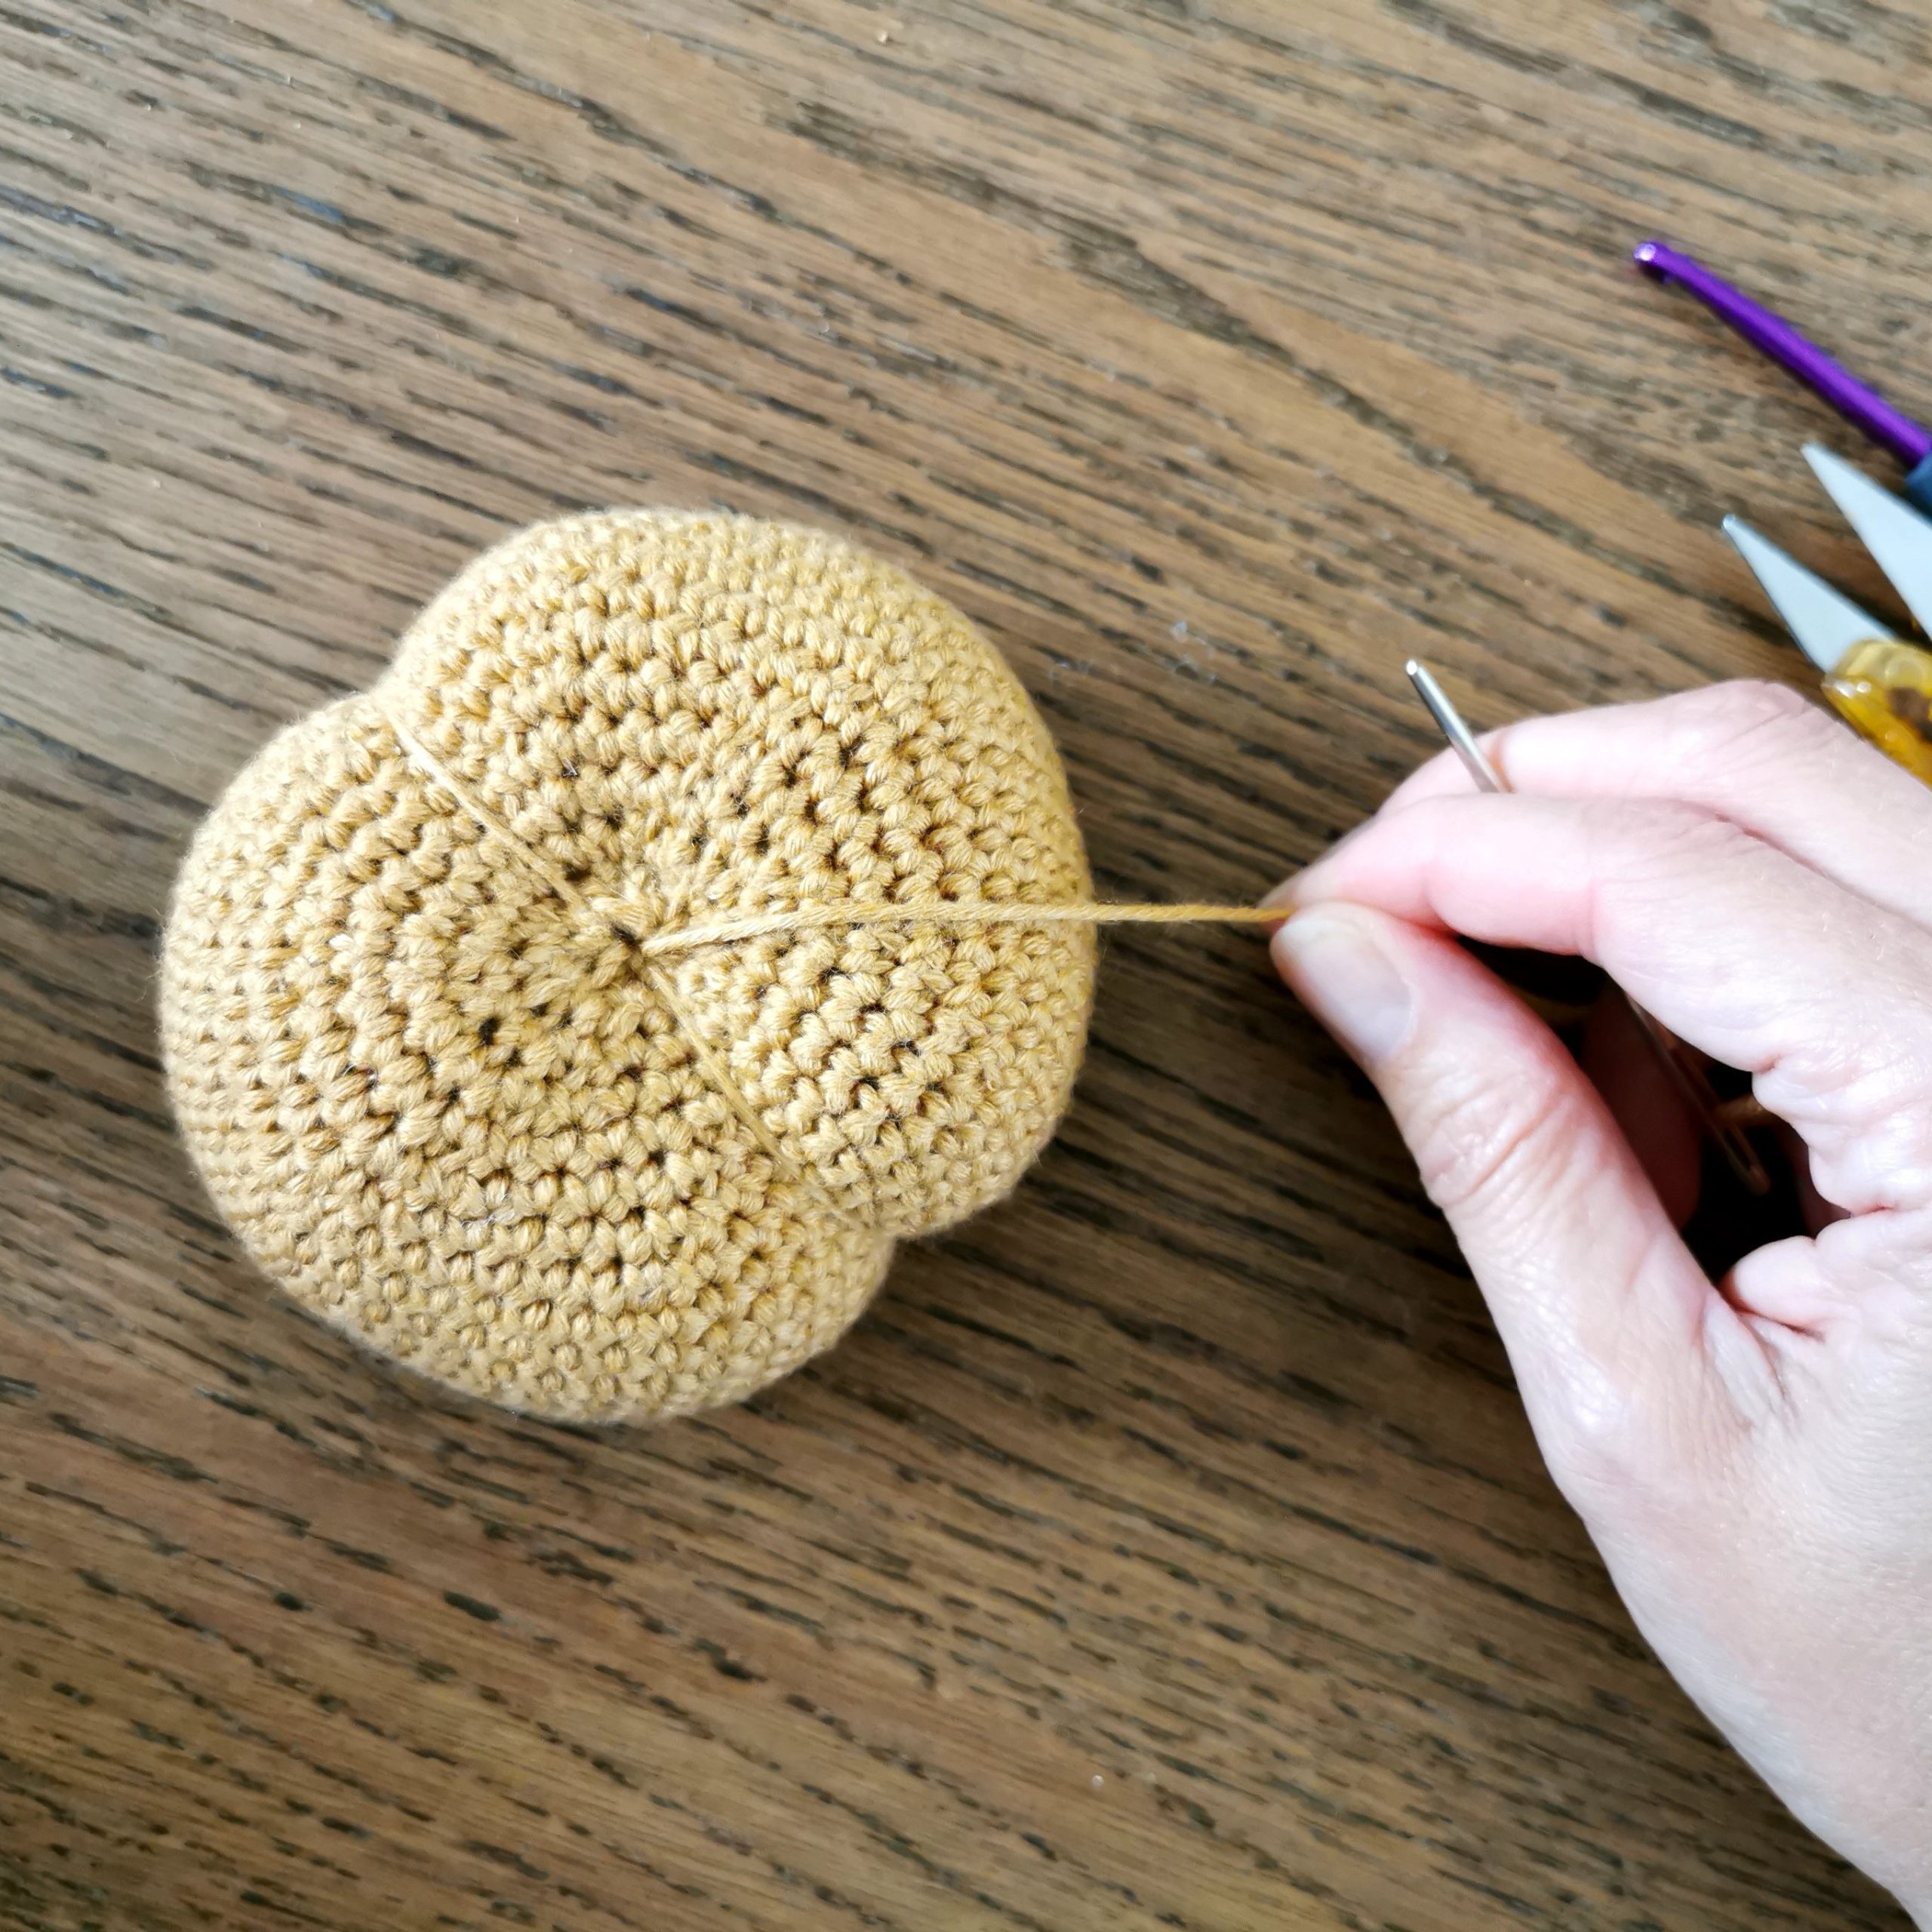
Shape the pumpkin as shown in the photos and video below.


CROCHET PUMPKIN – medium size

R1: 6 dc in MR (6 dc).
Tip: hold off tightening the ring until you’re done with R2.
R2: 2 dc in each st (12 dc)
R3: *1 dc, 2 dc in next st* Repeat from * to * til the end of the round (18 dc)
R4
: *2 dc, 2 dc in next st* (24 dc)
R5:
*3 dc, 2 dc in next st* (30 dc)
R6:
*4 dc, 2 dc in next st* (36 dc)
R7: *5 dc, 2 dc in next st* (42 dc)
R8: *6 dc, 2 dc in next st* (48 dc)
R9-R16: 1 dc in each st (48 dc) 
R17:  *6 dc, 2 dc tog* (42 dc)
R18: *5 dc, 2 dc tog* (36 dc)
R19: *4 dc, 2 dc tog* (30 dc)
R20: *3 dc, 2 dc tog* (24 dc)
R21: *2 dc, 2 dc tog* (18 dc). Stuff the pumpkin.
R22: *1 dc, 2 dc tog* (12 dc). Leave a long enough tail to shape the pumpkin (long enough to go around the ball about three times), cut the yarn and sew it through the remaining 12 dc, tighten together and fasten.

Shape the pumpkin as showed under the big size.


CROCHET PUMPKIN – small size

R1: 6 dc in MR (6 dc).
Tip: hold off tightening the ring until you’re done with R2.
R2: 2 dc in each st (12 dc)
R3: *1 dc, 2 dc in next st* Repeat from * to * til the end of the round (18 dc)
R4
: *2 dc, 2 dc in next st* (24 dc)
R5:
*3 dc, 2 dc in next st* (30 dc)
R6:
*4 dc, 2 dc in next st* (36 dc)
R7: *5 dc, 2 dc in next st* (42 dc)
R8-R14: 1 dc in each st (42 dc) 
R15:  *5 dc, 2 dc tog* (36 dc)
R16: *4 dc, 2 dc tog* (30 dc)
R17: *3 dc, 2 dc tog* (24 dc)
R18: *2 dc, 2 dc tog* (18 dc). Stuff the pumpkin.
R19: *1 dc, 2 dc tog* (12 dc). Leave a long enough tail to shape the pumpkin (long enough to go around the ball about three times), cut the yarn and sew it through the remaining 12 dc, tighten together and fasten.

Shape the pumpkin as showed under the big size.


STEM – make one for each size

Crochet hook: Use one size smaller than the one you used for the pumpkins.

Chain 5
R1: 1 dc in second chain from hook, 3 dc, turn (4 dc)
R2-R4: 1 ch, 4 dc, turn (4 dc)

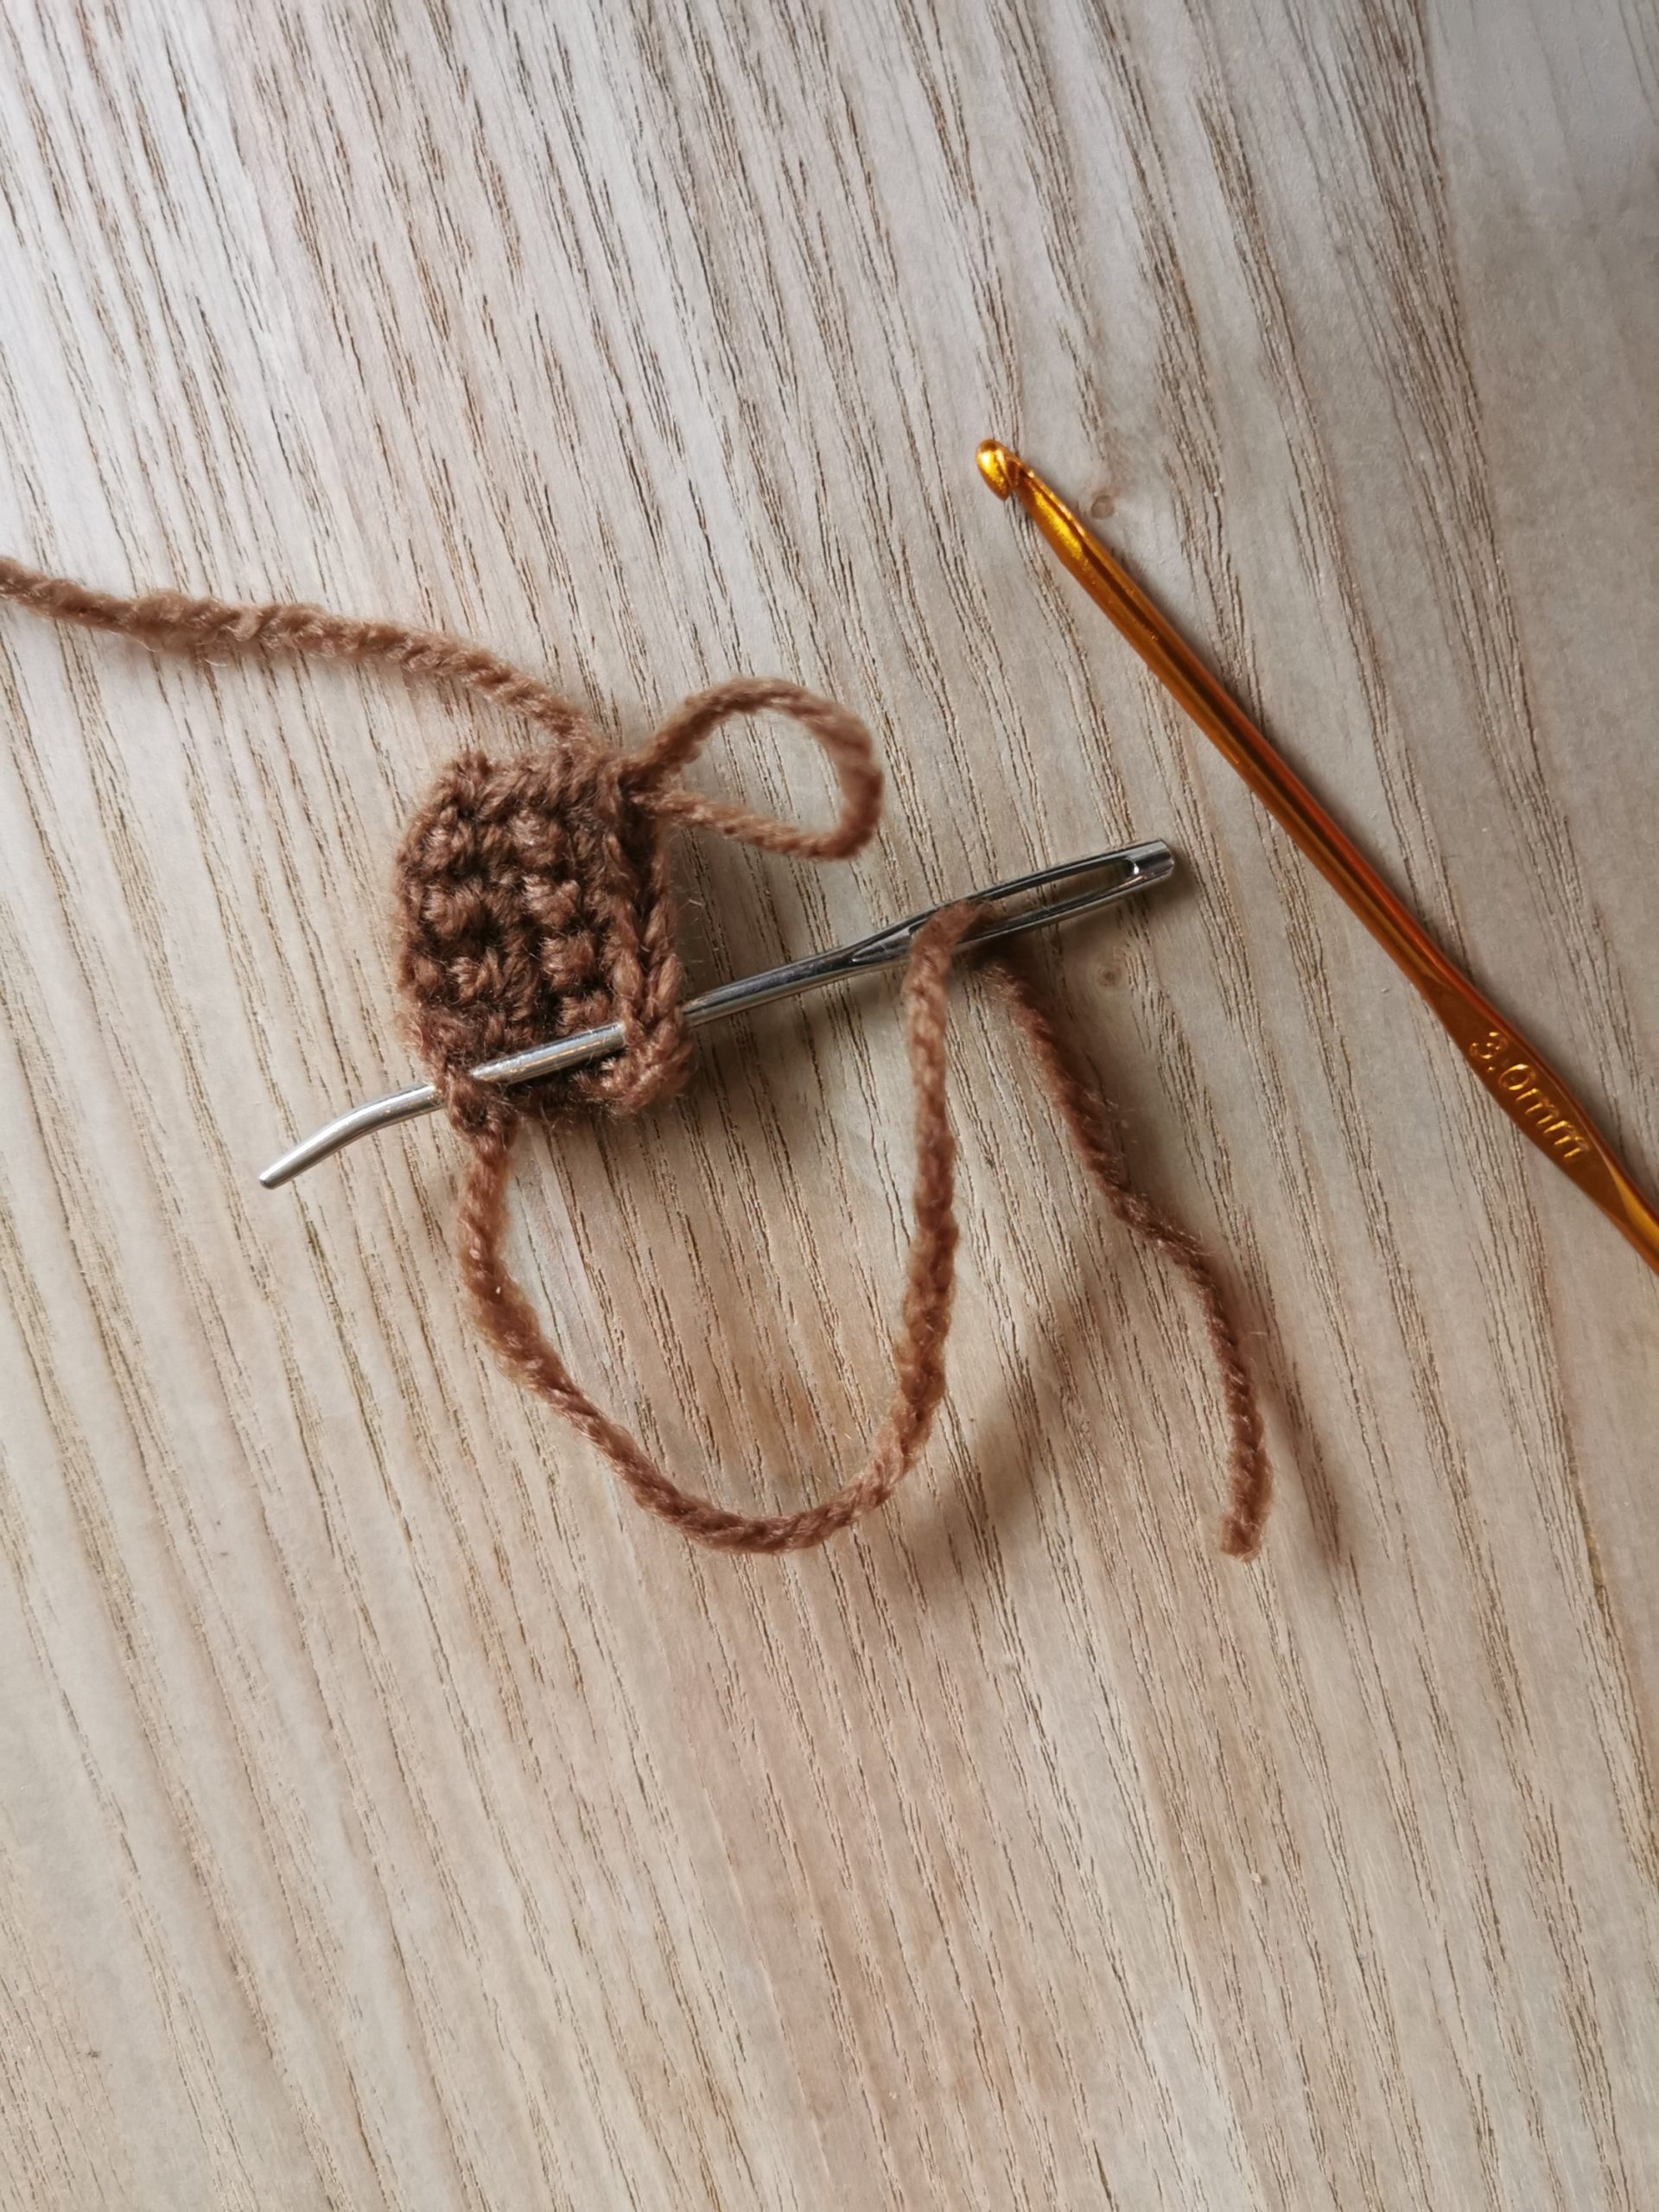
Don’t fasten the yarn, you’ll come back to it after you’re finished sewing the stem (photo 1). With the tail, sew 4 stitches down the side through the first and last row at the same time (photo 2). Weave in the end.

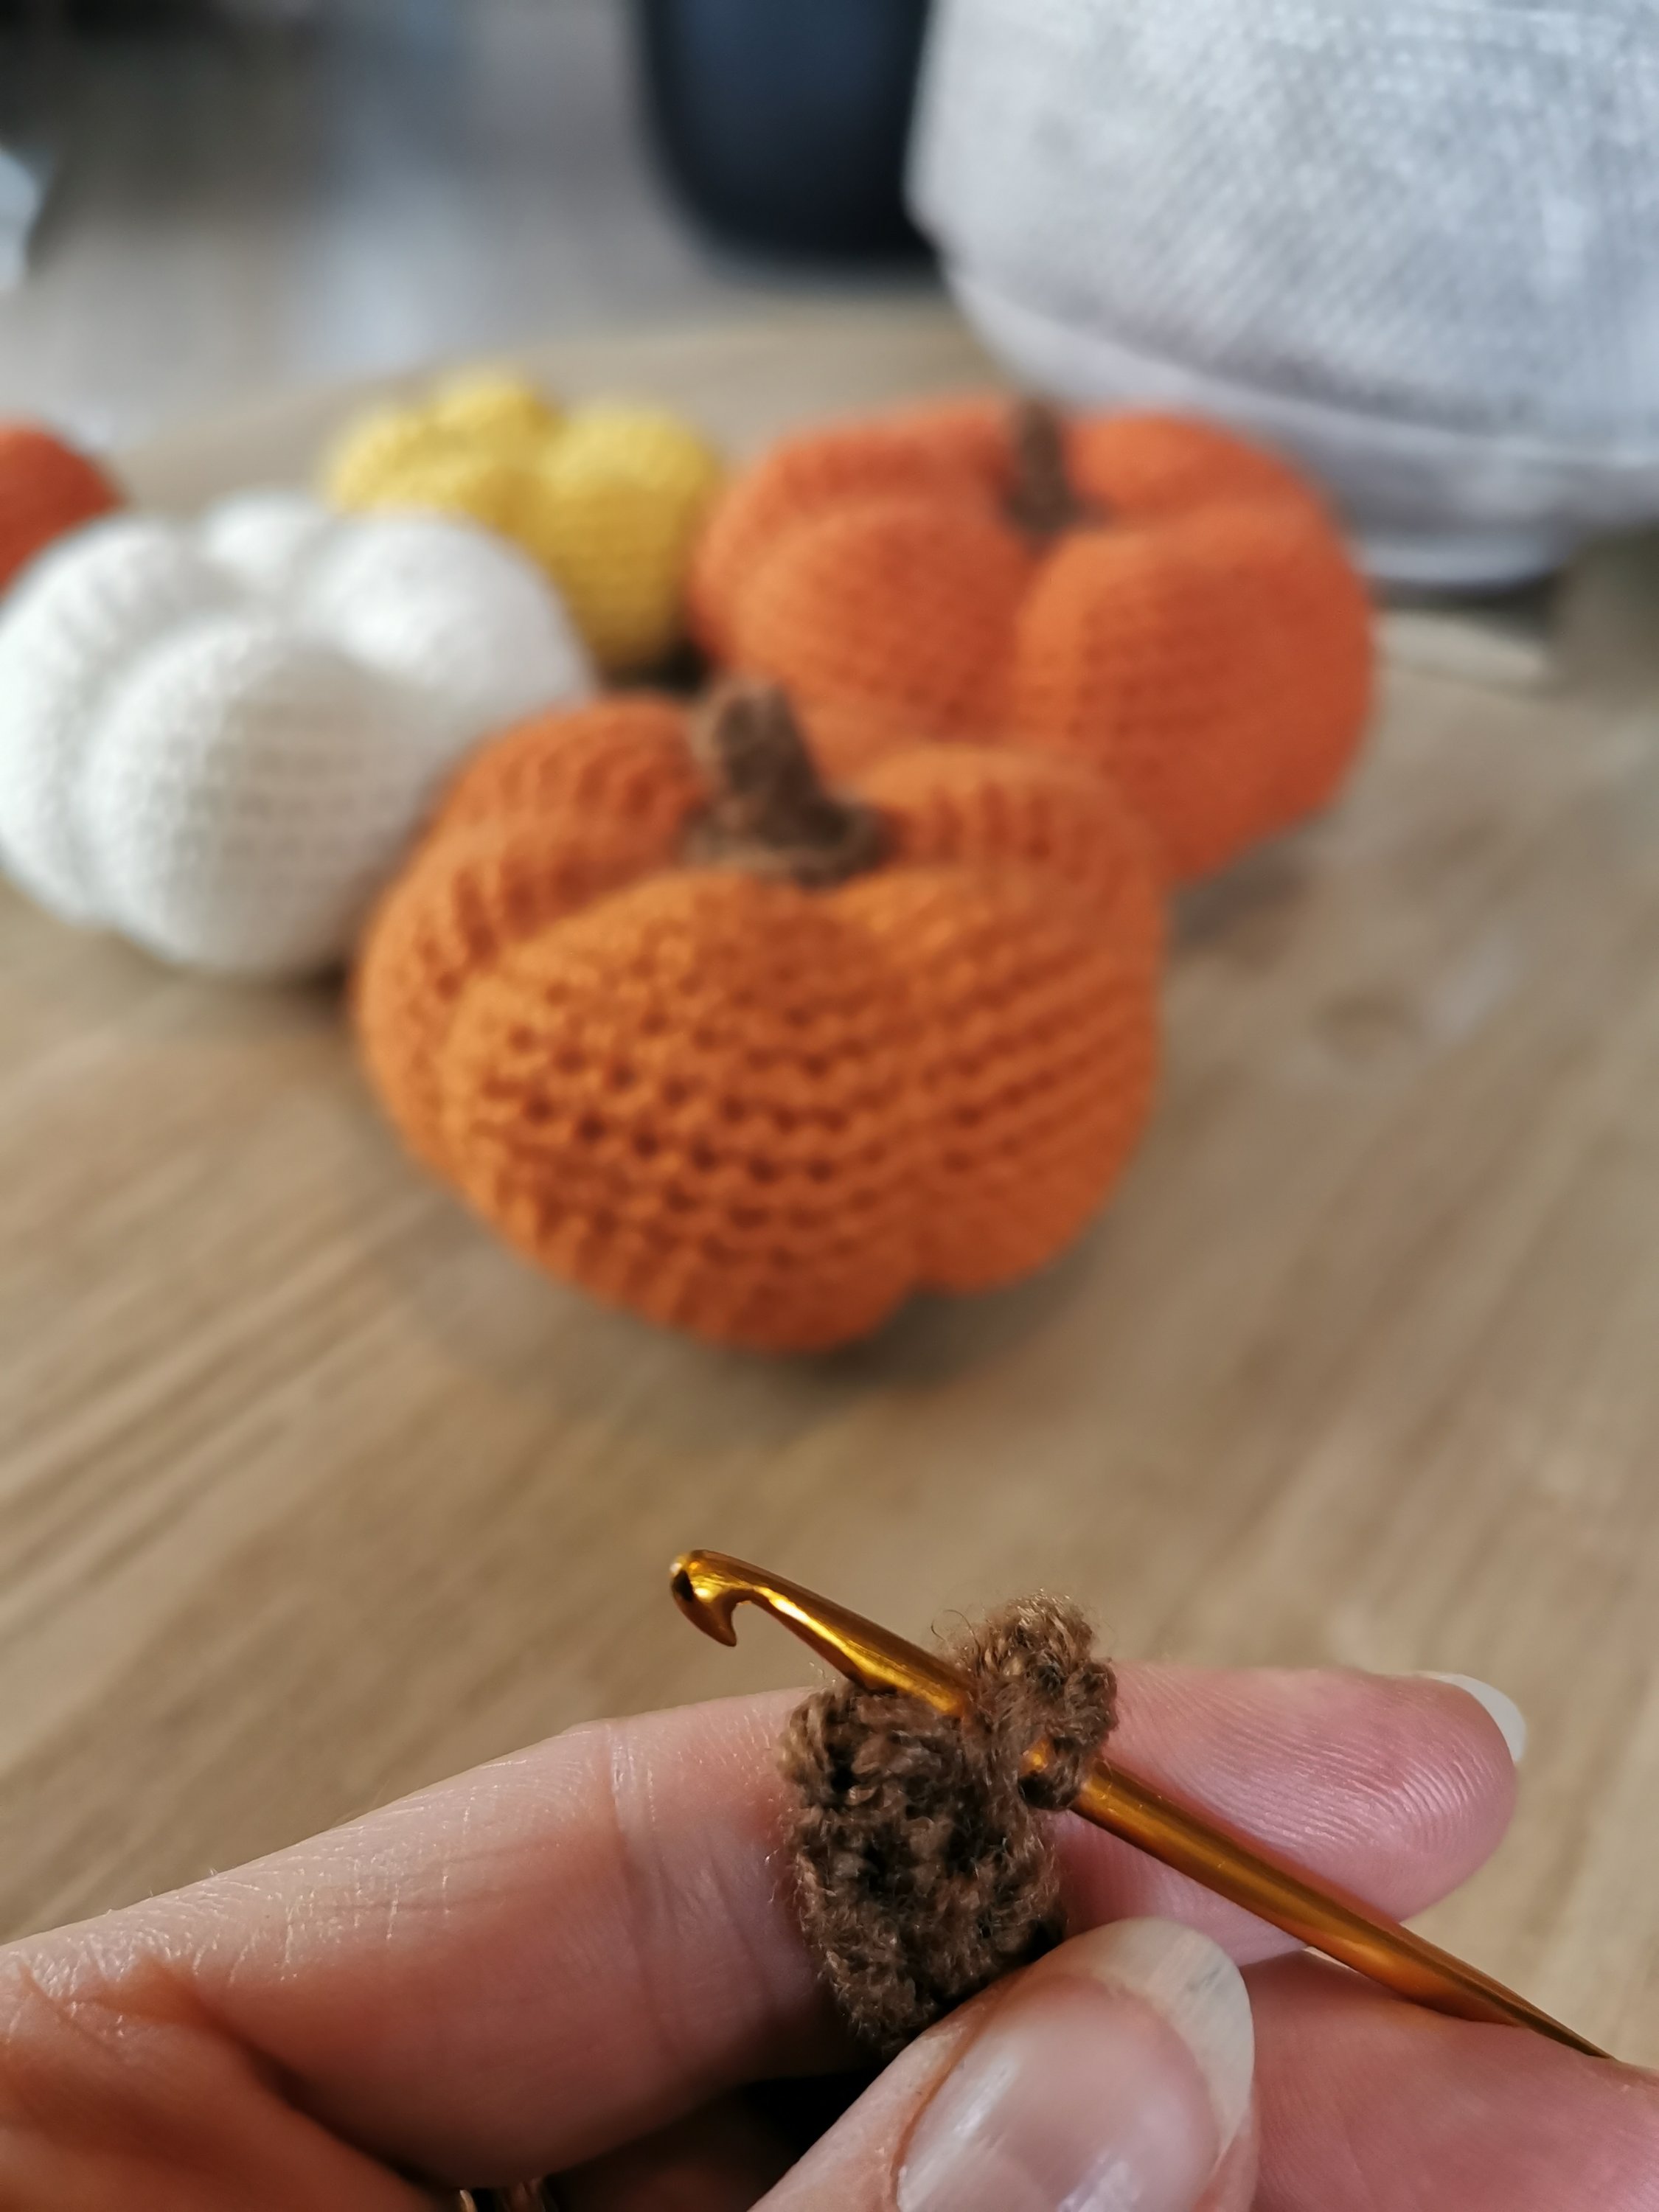
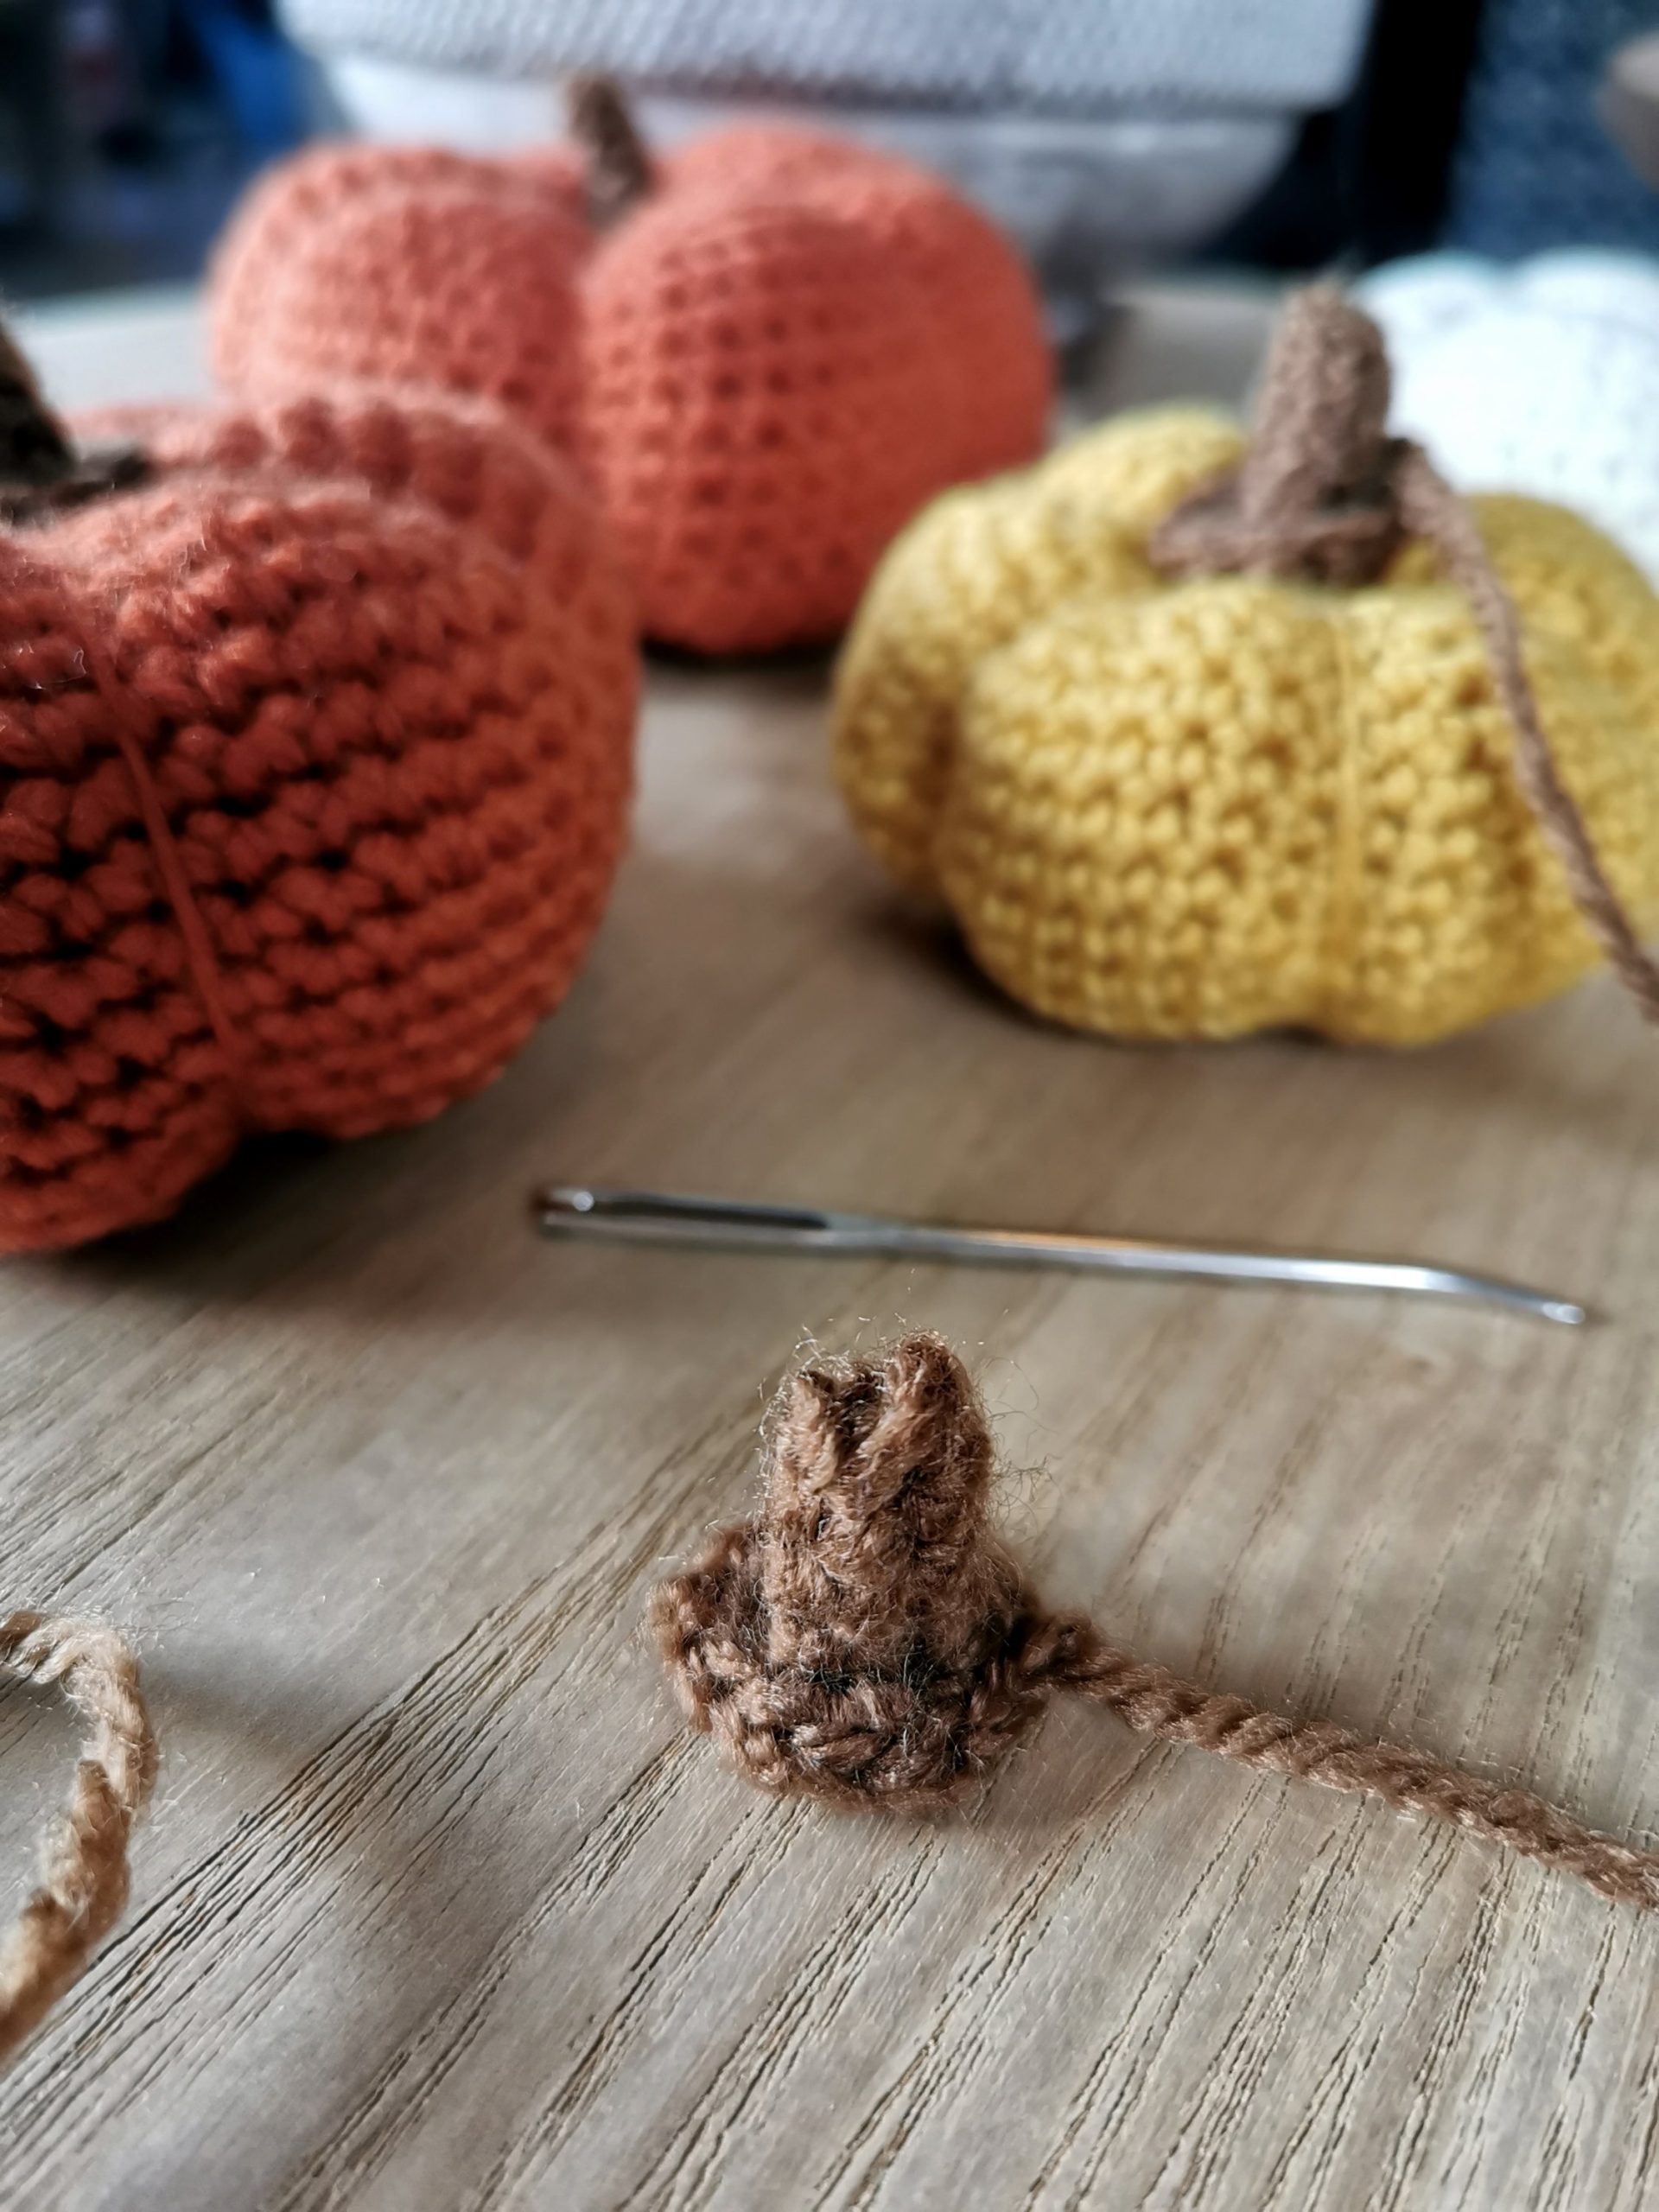
R5: Continue with the yarn from R4 (photo 3), 1 ch, 10 dc around the opening, fasten with sl st in first st (photo 4 and 5). Cut off the yarn, but leave a tail in order to sew the stem to the pumpkin (photo 6).


I hope you enjoyed my pattern, and that you now have one or more pumpkins to decorate your home with.


If you use my patterns please link back to www.HELdesign.com.
And I would love to see your finished pumpkins, so please tag me if you post on Instagram, with #heldesign_pattern and @heldesign_crochet 🙂


Please
contact me if you have any questions.

Enjoy your crocheting! 🙂

Dette bildet mangler alt-tekst; dets filnavn er cropped-heldesign_mint3-1-300x227.png

Would you like to learn how to crochet? 

Visit my YouTube channel, there you will find videos of the basic stitches and in time there will also come special stitches, various projects and requests.

CROCHET PUMPKIN – Free crochet pattern (US terms)

CROCHET PUMPKIN – Free crochet pattern (US terms)


DESIGN AND PATTERN:  Hege Espeland Lygrewww.HELdesign.com
Please read the Terms of use for my crochet patterns.


CROCHET PUMPKIN- big, medium and small

When autumn arrives I like to decorate my home with pumpkins, and last year I made a simple crochet pattern for a crochet pumpkin in three different sizes. There are numerous patterns like this on the internet, but I thought I’d share my pattern with you anyways. The pumpkins can be made in any type of yarn, so play around with different colours, sizes and also thickness of the yarn. And instead of making a stem you can also use a tiny branch (as shown in photos further down on the page).


MATERIALS

  • Yarn – The pumpkin can be made in any type of yarn, so choose the yarn that suits you best.
  • Crochet Hook – The size that goes with the yarn you’re using, and one in a smaller size.
  • Filling / Wadding to stuff the pumpkins
  • Needle
  • Scissors

STITCHES / ABBREVIATIONS (US terms)

GAUGE

No gauge is necessary for this pattern, as it’s not a piece of clothing or something that requires exact measurments.

INFORMATION

  • Read through the whole pattern before you start.
  • Increase (example): When it says «2 sc, 2 sc in next st», it means that you make 1 sc in each of the two next stitches, and then 2 sc in the next stitch (you have then worked into 3 stitches in this example, ending up with 4 stitches).
  • Decrease (example): When it says «2 sc, 2sc tog», it means that you make 1 sc in each of the next two stitches, and then you decrease the next two stitches by crocheting them together (you have then worked into 4 stitches in this example, ending up with 3 stitches).
  • When you crochet in rounds it’s hard to see where the round ends and starts, so use a stitch marker or a piece of yarn to put a mark after each round.
  • ** – Repeat everything written between * to * as many times as the pattern says, or to the end of the round.

CROCHET PATTERN

Crochet hook: Use the size that fits the yarn you’ve chosen.

CROCHET PUMPKIN – big size

R1: 6 sc in MR (6 sc).
Tip: hold off tightening the ring until you’re done with R2.
R2: 2 sc in each st (12 sc)
R3: *1 sc, 2 sc in next st* Repeat from * to * til the end of the round (18 sc)
R4
: *2 sc, 2 sc in next st* (24 sc)
R5:
*3 sc, 2 sc in next st* (30 sc)
R6:
*4 sc, 2 sc in next st* (36 sc)
R7: *5 sc, 2 sc in next st* (42 sc)
R8: *6 sc, 2 sc in next st* (48 sc)
R9: *7 sc, 2 sc in next st* (54 sc)
R10-R18: 1 sc in each st (54 sc) 
R19: *7 sc, 2 sc tog* (48 sc)
R20:
 *6 sc, 2 sc tog* (42 sc)
R21: *5 sc, 2 sc tog* (36 sc)
R22: *4 sc, 2 sc tog* (30 sc)
R23: *3 sc, 2 sc tog* (24 sc)
R24: *2 sc, 2 sc tog* (18 sc). Stuff the pumpkin.
R25: *1 sc, 2 sc tog* (12 sc). Leave a long enough tail to shape the pumpkin (long enough to go around the ball about three times), cut the yarn and sew it through the remaining 12 sc, tighten together and fasten.

Shape the pumpkin as shown in the photos and video below.


CROCHET PUMPKIN – medium size

R1: 6 sc in MR (6 sc).
Tip: hold off tightening the ring until you’re done with R2.
R2: 2 sc in each st (12 sc)
R3: *1 sc, 2 sc in next st* Repeat from * to * til the end of the round (18 sc)
R4
: *2 sc, 2 sc in next st* (24 sc)
R5:
*3 sc, 2 sc in next st* (30 sc)
R6:
*4 sc, 2 sc in next st* (36 sc)
R7: *5 sc, 2 sc in next st* (42 sc)
R8: *6 sc, 2 sc in next st* (48 sc)
R9-R16: 1 sc in each st (48 sc) 
R17:  *6 sc, 2 sc tog* (42 sc)
R18: *5 sc, 2 sc tog* (36 sc)
R19: *4 sc, 2 sc tog* (30 sc)
R20: *3 sc, 2 sc tog* (24 sc)
R21: *2 sc, 2 sc tog* (18 sc). Stuff the pumpkin.
R22: *1 sc, 2 sc tog* (12 sc). Leave a long enough tail to shape the pumpkin (long enough to go around the ball about three times), cut the yarn and sew it through the remaining 12 sc, tighten together and fasten.

Shape the pumpkin as showed under the big size.


CROCHET PUMPKIN – small size

R1: 6 sc in MR (6 sc).
Tip: hold off tightening the ring until you’re done with R2.
R2: 2 sc in each st (12 sc)
R3: *1 sc, 2 sc in next st* Repeat from * to * til the end of the round (18 sc)
R4
: *2 sc, 2 sc in next st* (24 sc)
R5:
*3 sc, 2 sc in next st* (30 sc)
R6:
*4 sc, 2 sc in next st* (36 sc)
R7: *5 sc, 2 sc in next st* (42 sc)
R8-R14: 1 sc in each st (42 sc) 
R15:  *5 sc, 2 sc tog* (36 sc)
R16: *4 sc, 2 sc tog* (30 sc)
R17: *3 sc, 2 sc tog* (24 sc)
R18: *2 sc, 2 sc tog* (18 sc). Stuff the pumpkin.
R19: *1 sc, 2 sc tog* (12 sc). Leave a long enough tail to shape the pumpkin (long enough to go around the ball about three times), cut the yarn and sew it through the remaining 12 sc, tighten together and fasten.

Shape the pumpkin as showed under the big size.


STEM – make one for each size

Crochet hook: Use one size smaller than the one you used for the pumpkins.

Chain 5
R1: 1 sc in second chain from hook, 3 sc, turn (4 sc)
R2-R4: 1 ch, 4 sc, turn (4 sc)

Don’t fasten the yarn, you’ll come back to it after you’re finished sewing the stem (photo 1). With the tail, sew 4 stitches down the side through the first and last row at the same time (photo 2). Weave in the end.

R5: Continue with the yarn from R4 (photo 3), 1 ch, 10 sc around the opening, fasten with sl st in first st (photo 4 and 5). Cut off the yarn, but leave a tail in order to sew the stem to the pumpkin (photo 6).


I hope you enjoyed my pattern, and that you now have one or more pumpkins to decorate your home with.


If you use my patterns please link back to www.HELdesign.com.
And I would love to see your finished pumpkins, so please tag me if you post on Instagram, with #heldesign_pattern and @heldesign_crochet 🙂


Please
contact me if you have any questions, or if you find any mistakes in the pattern.

Enjoy your crocheting!
Best regards, Hege 🙂

Dette bildet mangler alt-tekst; dets filnavn er cropped-heldesign_mint3-1-300x227.png

Would you like to learn how to crochet? 

Visit my YouTube channel, there you will find videos of the basic stitches and in time there will also come special stitches, various projects and requests.

CROCHET HEART for Valentine´s Day card – Free crochet pattern (UK terms)

CROCHET HEART for Valentine´s Day card – Free crochet pattern (UK terms)

Free crochet pattern UK - crochet heart - HELdesign

DESIGN AND PATTERN:  Hege Espeland Lygrewww.HELdesign.com
Please read the Terms of use for my crochet patterns.


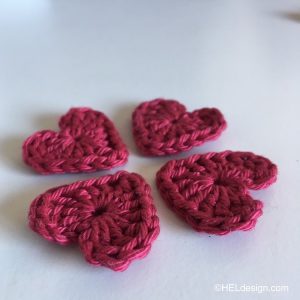
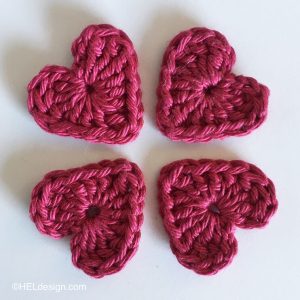
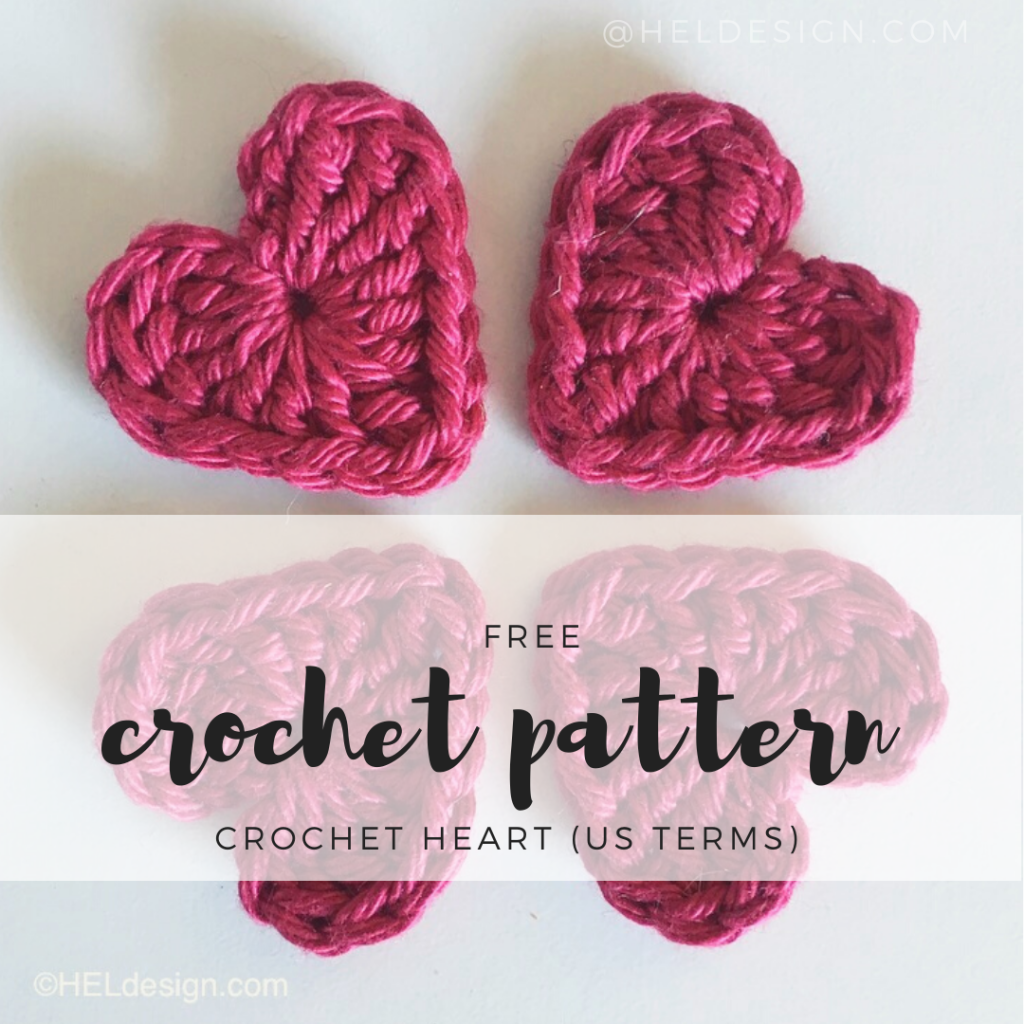
With a crochet hook and some scrap yarn you´ll make these cute, tiny crochet hearts in a few minutes. And with Valentine´s Day right around the corner, they´re perfect as decorations on a homemade card. 

MATERIALS

  • Scrap yarn
  • Crochet hook that goes with your yarn (check the label)

STITCHES / ABBREVIATIONS (UK terms)


PATTERN

Make MR. Tighten it until the ring is about 1 cm (about half an inch).
Then you crochet the following stitches in the MR:

(3 ch, 3 dbtr, 3 tr, 1 ch, 1 dbtr, 1 ch, 3 tr, 3 dbtr, 3 ch, 1 sl st)

Tighten the magic ring until the opening is closed. Cut off and sew in the ends.

heklet hjerte2_hegeespelandlygre
heklet hjerte3_hegeespelandlygre

With some thick paper (I used watercolor paper), a pen and some glue you can easily make your own card for your mom on Mother´s Day or for your love on Valentine´s Day.
I recommend using a pencil to sketch out the words before you go over it with a pen/marker. Glue on as many hearts as you want, and voila – you have your own homemade card.

IMG_1078
Crochet Heart by HELdesign

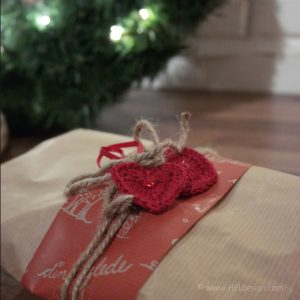
The hearts can also be used to decorate presents. On the photos they´re used on Christmas presents, but they´re just as perfect on birthday gifts and other type of presents.

IMG_1081
julehjerte_hegeespelandlygre

Good luck! 🙂 

If you use my patterns please link back to www.HELdesign.com.
And if you post on Instagram please tag photos with #heldesign_pattern and @heldesign_crochet (that way I can find you and see what you made) 🙂


Would you like to learn how to crochet? Visit my YouTube channel, there you´ll find videos of the basic stitches and with time there will also be special stitches, various projects and requests.

Contact me if you have any questions 🙂

CROCHET STAR – Free crochet pattern (UK terms)

CROCHET STAR – Free crochet pattern (UK terms)

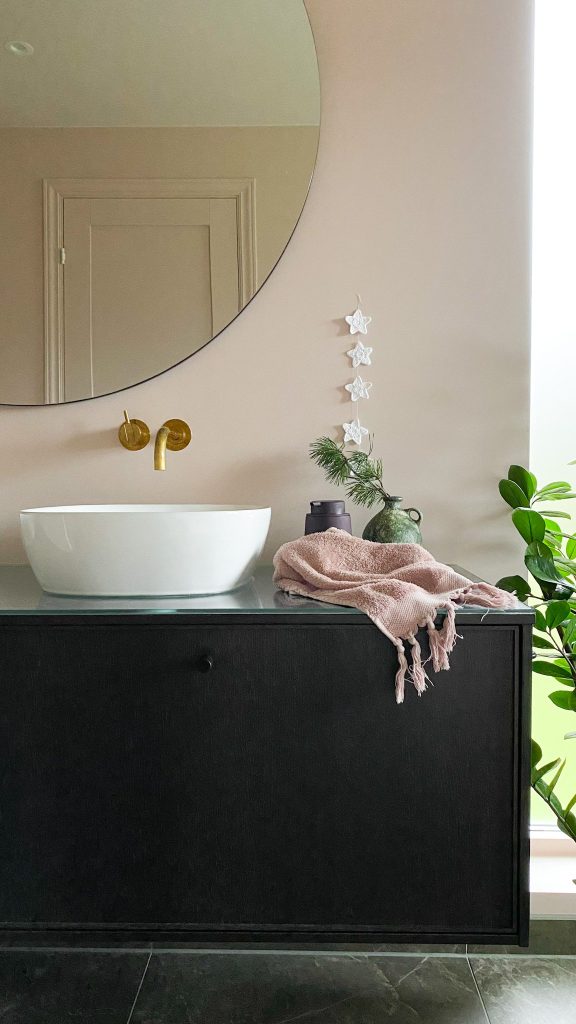
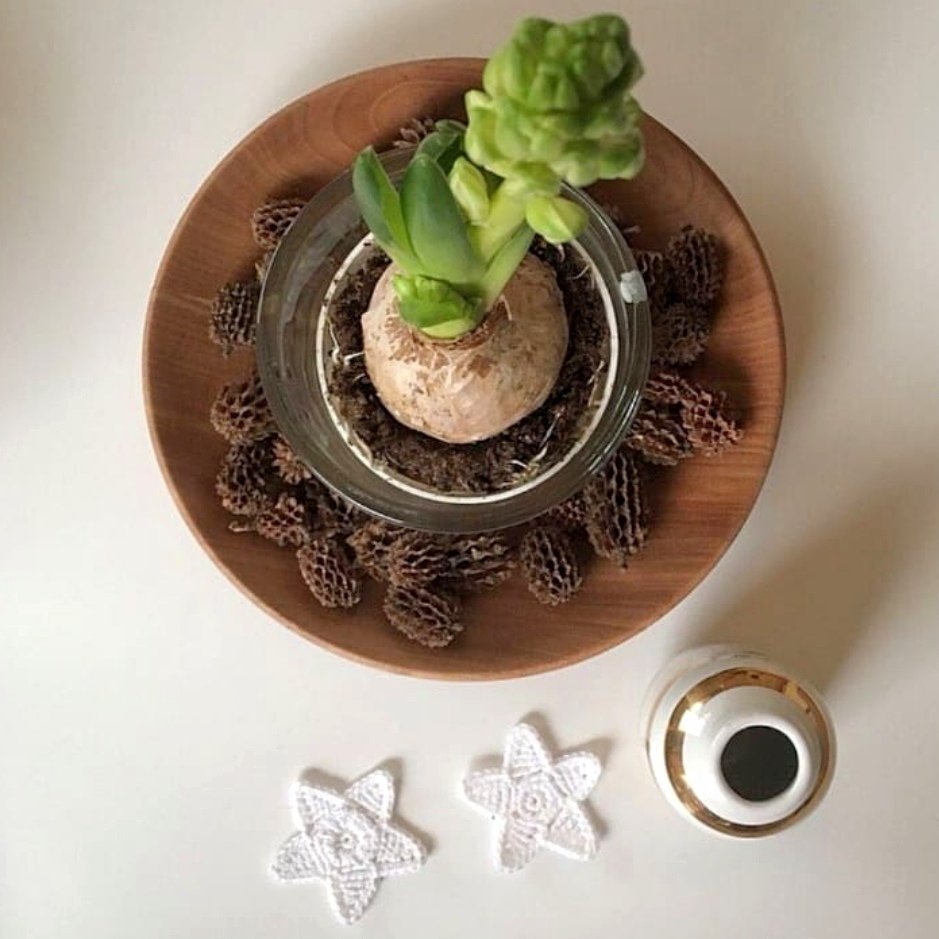
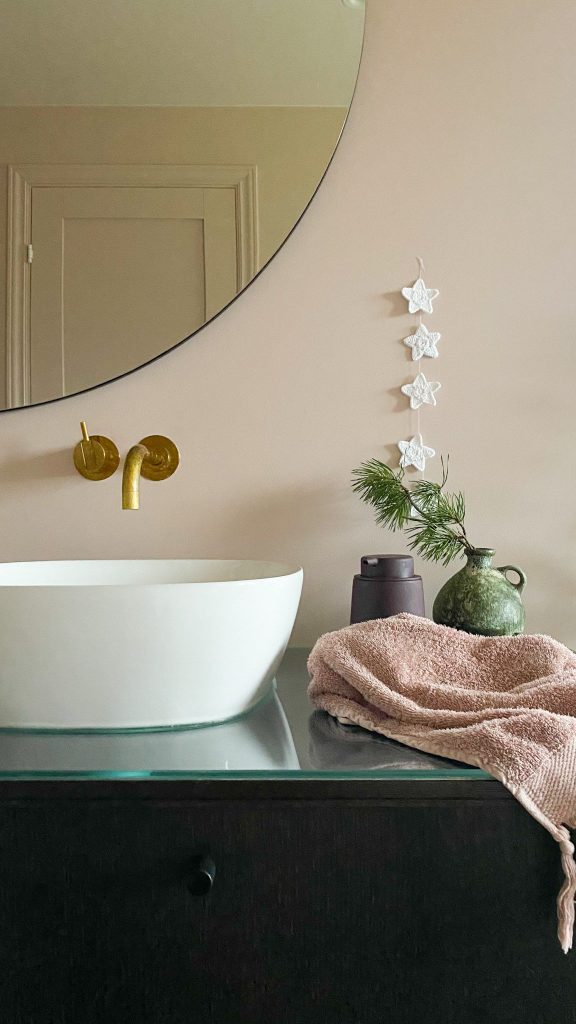
Photo: Anne Djupvik Andersen – @husetidjupviken

DESIGN AND PATTERN:  Hege Espeland Lygrewww.HELdesign.com
Please read the Terms of use for my crochet patterns.


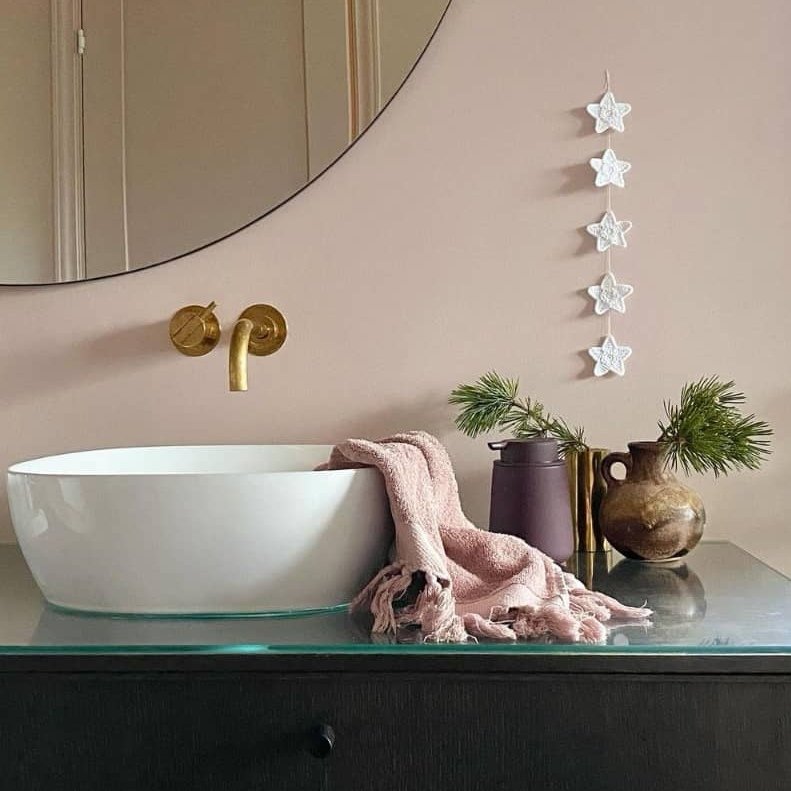
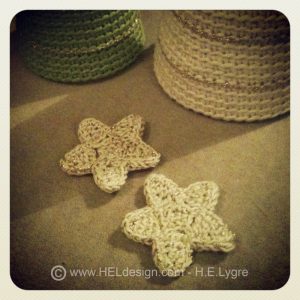
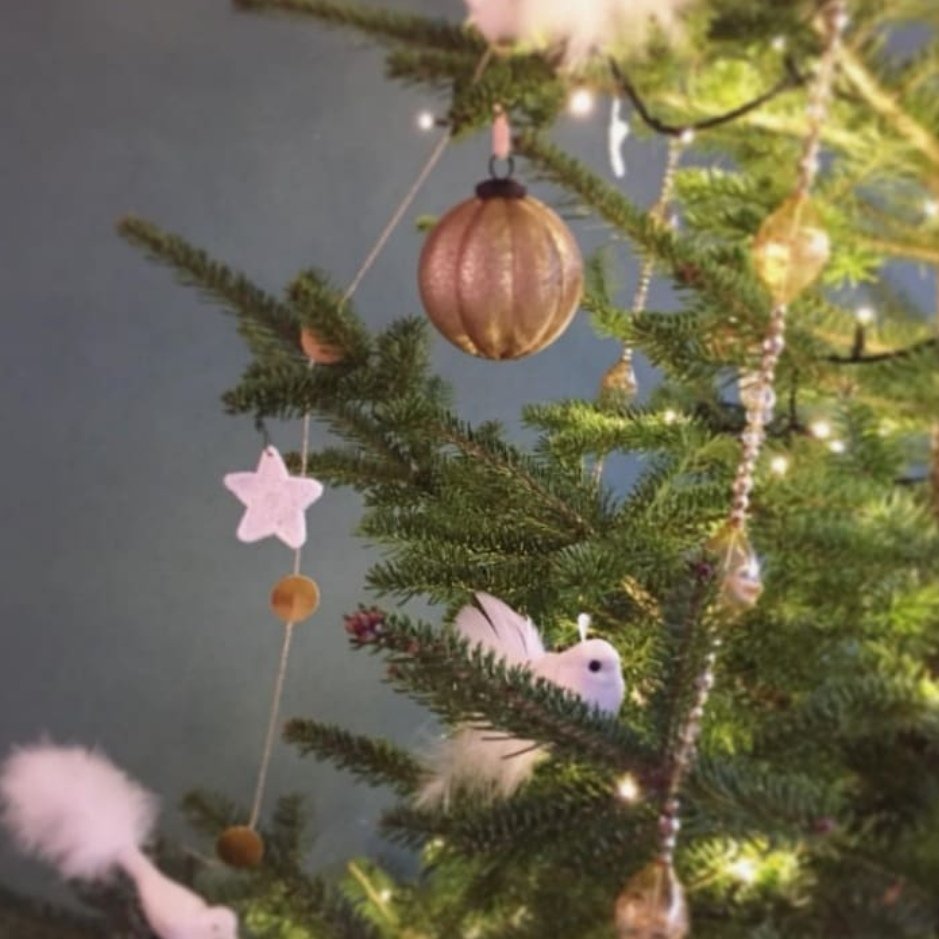
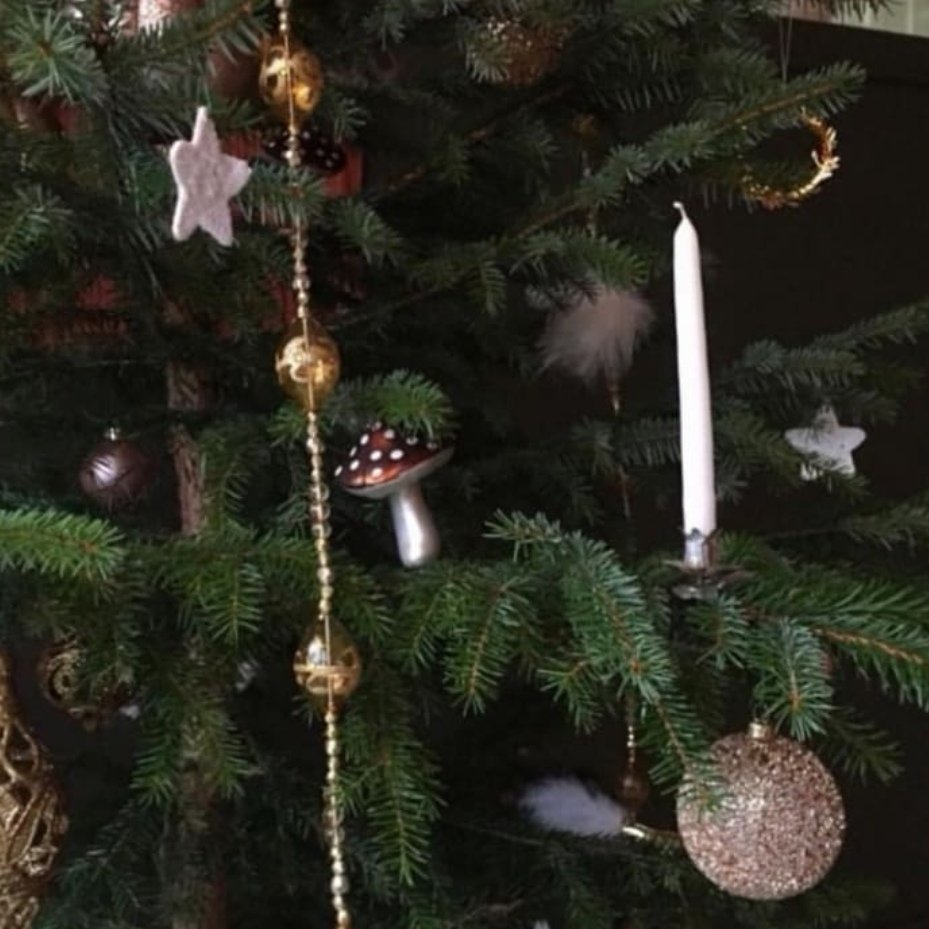
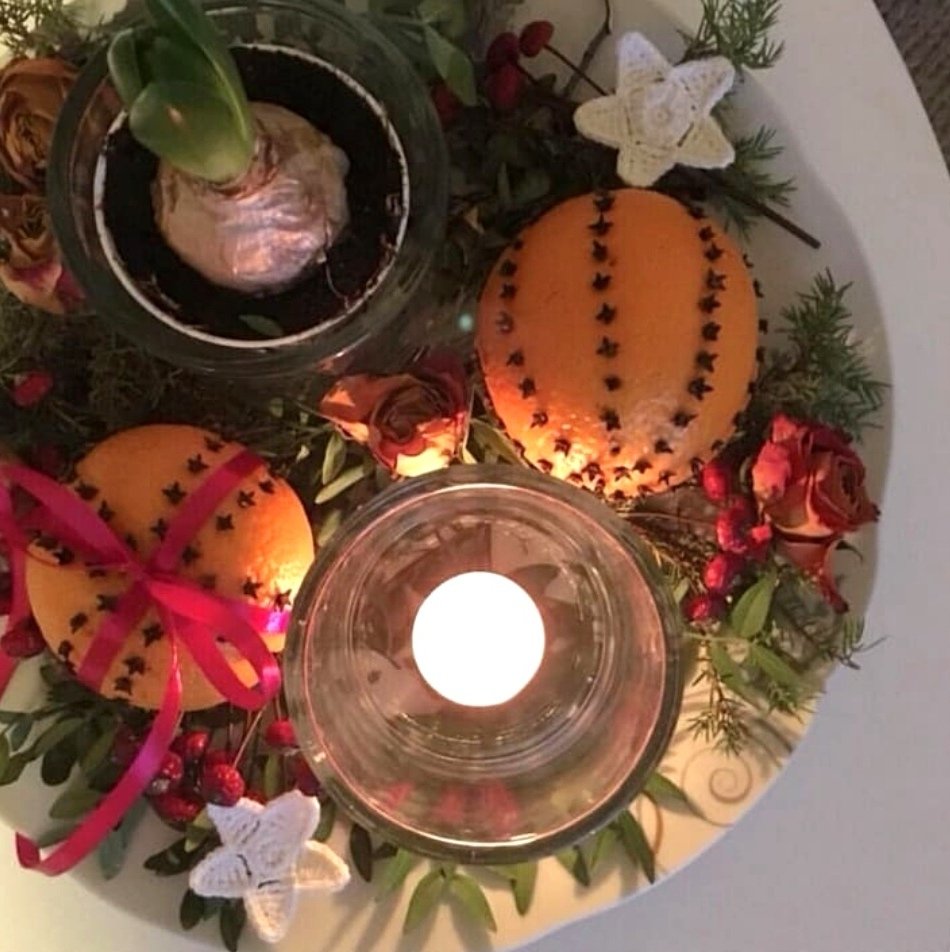
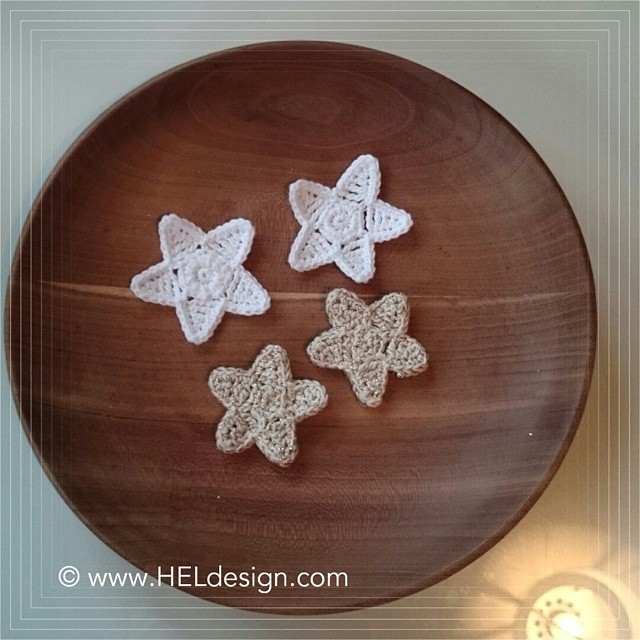
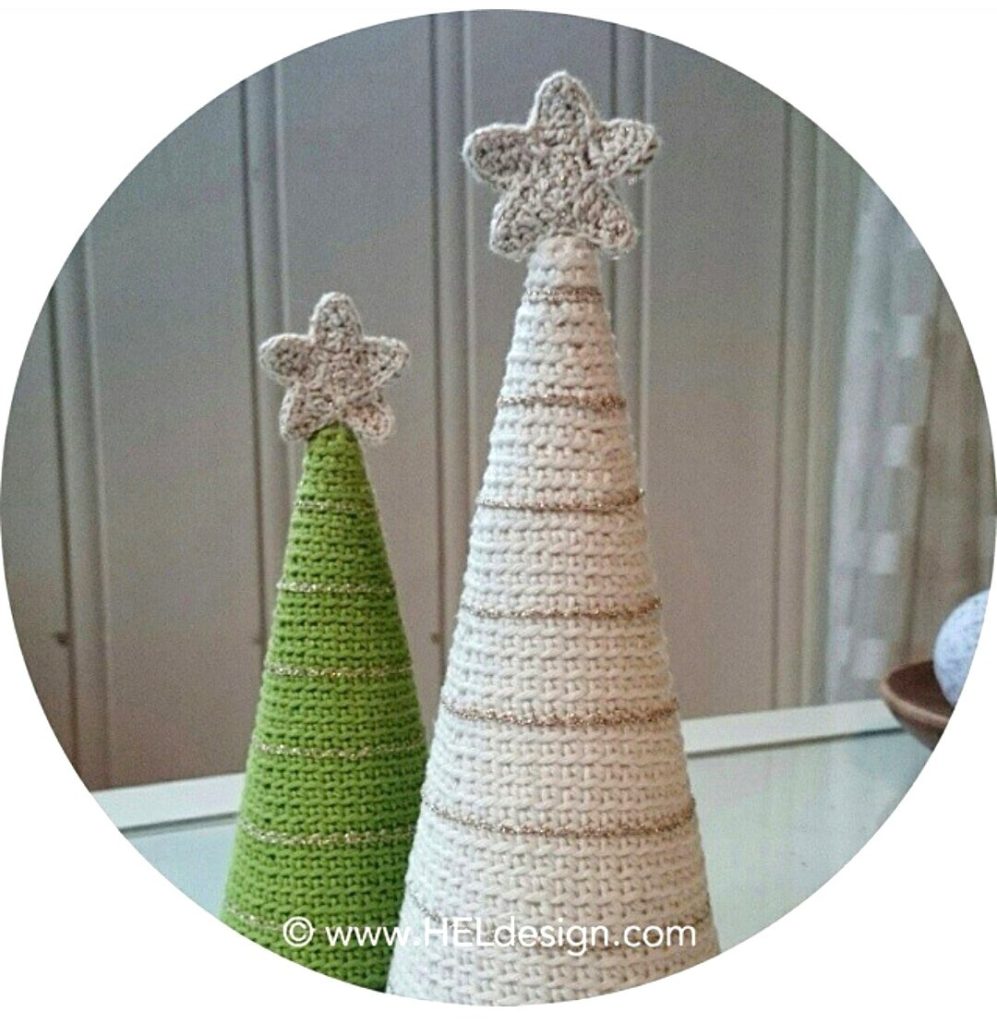
Crochet a little star to put on your Christmas cards or attach it on top of a cute little Christmas tree. Make several together as a garland, hang them on the Christmas tree or use them as table decorations. Your imagination is the only thing stopping you.

MATERIALS:

  • Yarn – Thin cotton
  • Crochet Hook – 1,75 mm (or the hook that goes with the yarn you´re using)

STITCHES / ABBREVIATIONS (UK terms)

  • ch (chain/slip knot) – Watch video
  • sl st (slip stitch) – Watch video
  • dc (double crochet) – Watch video (video title shows US terms – sc (single crochet)
  • htr (half treble) – Watch video (video title shows US terms – hdc (half double crochet)
  • tr (treble) – Watch video (video title shows US terms – dc (double crochet)
  • trtr (triple treble) – Watch video (video title shows US terms – tr (treble/triple crochet)
  • MR (magic ring) – Watch video
  • YO (yarn over)
  • st (stitch)
  • R (row/round)

CROCHET PATTERN

R1: Start with 5 sc in MR,
R1: 2 sc in each of 5 st = 10 sc
R3: *5 sc, (the following st is crocheted back on the 5 ch you just made), 1 sc in second ch from hook, 1 hdc, 1 dc, 1 tr. Skip 1 st, 1 sc in next st*.
Repeat from * to * 4 times. Fasten with sl st.
R4: *3 sc going up the star tip, 3 sc in the top, 3 sc going down the tip, 1 sl st in sc*.
Repeat from * to * on all the star tips. Fasten with sl st in first st. Cut off yarn. 

Photo: Anne Djupvik Andersen – @husetidjupviken

ASSEMBLING / SEWING

You can choose to keep the star as it is, or you can make it double as shown below. Put two stars together with wrong sides facing each other and sew them together. 

heklet_stjerne_hegeespelandlygre
heklet_stjerne_4_hegeespelandlygre
heklet_stjerne_5_hegeespelandlygre

INSPIRATION 

Photo: Anne Djupvik Andersen – @husetidjupviken

If you use my patterns please link back to www.HELdesign.com.
And if you post on Instagram please tag photos with #heldesign_pattern and @heldesign_crochet (that way I can find you and see what you made) 🙂


Please
contact me if you have any questions.

Enjoy your crocheting! 🙂

Dette bildet mangler alt-tekst; dets filnavn er cropped-heldesign_mint3-1-300x227.png

Would you like to learn how to crochet? 

Visit my YouTube channel, there you will find videos of the basic stitches and in time there will also come special stitches, various projects and requests.

CROCHET STAR – Free crochet pattern (US terms)

CROCHET STAR – Free crochet pattern (US terms)

Photo: Anne Djupvik Andersen – @husetidjupviken

DESIGN AND PATTERN:  Hege Espeland Lygrewww.HELdesign.com
Please read the Terms of use for my crochet patterns.


Crochet a little star to put on your Christmas cards or attach it on top of a cute little Christmas tree. Make several together as a garland, hang them on the Christmas tree or use them as table decorations. Your imagination is the only thing stopping you.

MATERIALS:

  • Yarn – Thin cotton
  • Crochet Hook – 1,75 mm (or the hook that goes with the yarn you´re using)

STITCHES / ABBREVIATIONS (US terms)


CROCHET PATTERN

R1: Start with 5 sc in MR,
R1: 2 sc in each of 5 st = 10 sc
R3: *5 sc, (the following st is crocheted back on the 5 ch you just made), 1 sc in second ch from hook, 1 hdc, 1 dc, 1 tr. Skip 1 st, 1 sc in next st*.
Repeat from * to * 4 times. Fasten with sl st.
R4: *3 sc going up the star tip, 3 sc in the top, 3 sc going down the tip, 1 sl st in sc*.
Repeat from * to * on all the star tips. Fasten with sl st in first st. Cut off yarn. 

Photo: Anne Djupvik Andersen – @husetidjupviken

ASSEMBLING / SEWING

You can choose to keep the star as it is, or you can make it double as shown below. Put two stars together with wrong sides facing each other and sew them together. 

heklet_stjerne_hegeespelandlygre
heklet_stjerne_4_hegeespelandlygre
heklet_stjerne_5_hegeespelandlygre

INSPIRATION 

Photo: Anne Djupvik Andersen – @husetidjupviken

If you use my patterns please link back to www.HELdesign.com.
And if you post on Instagram please tag photos with #heldesign_pattern and @heldesign_crochet (that way I can find you and see what you made) 🙂


Please
contact me if you have any questions.

Enjoy your crocheting! 🙂

Dette bildet mangler alt-tekst; dets filnavn er cropped-heldesign_mint3-1-300x227.png

Would you like to learn how to crochet? 

Visit my YouTube channel, there you will find videos of the basic stitches and in time there will also come special stitches, various projects and requests.

CROCHET GINGERBREAD HOUSE

CROCHET GINGERBREAD HOUSE

[ Advertisement for own design ]

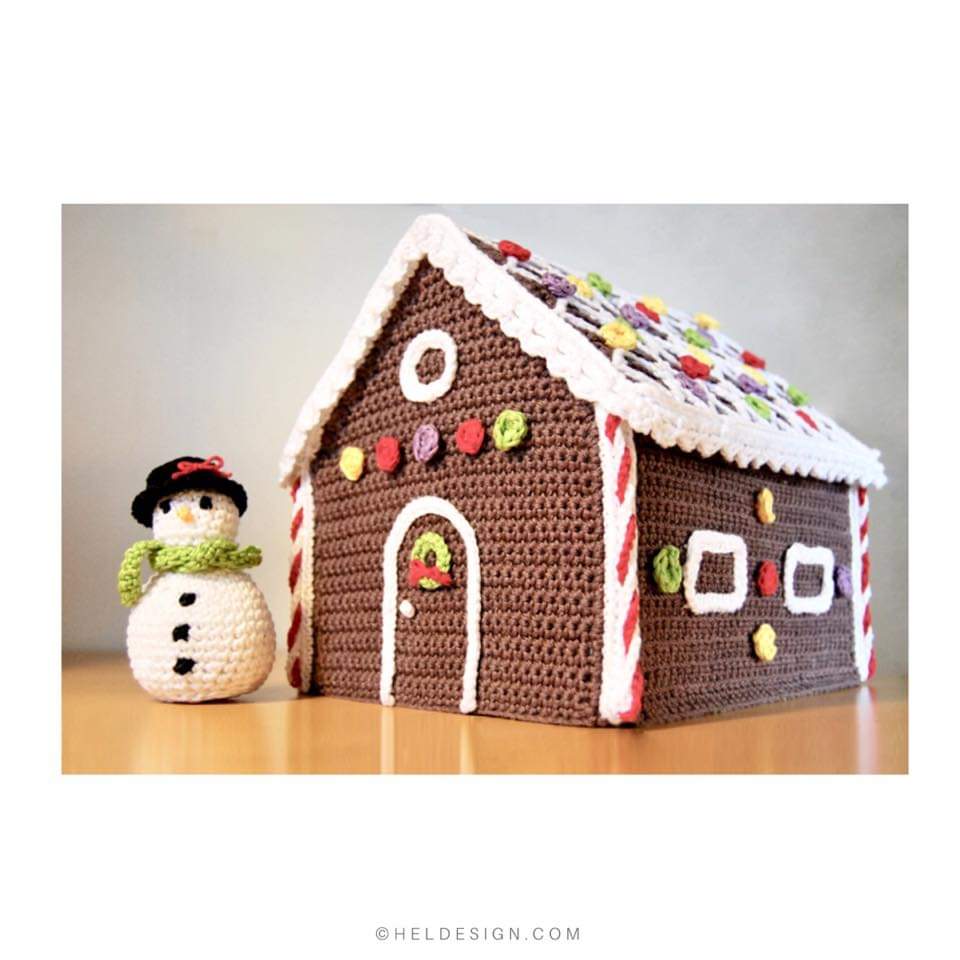
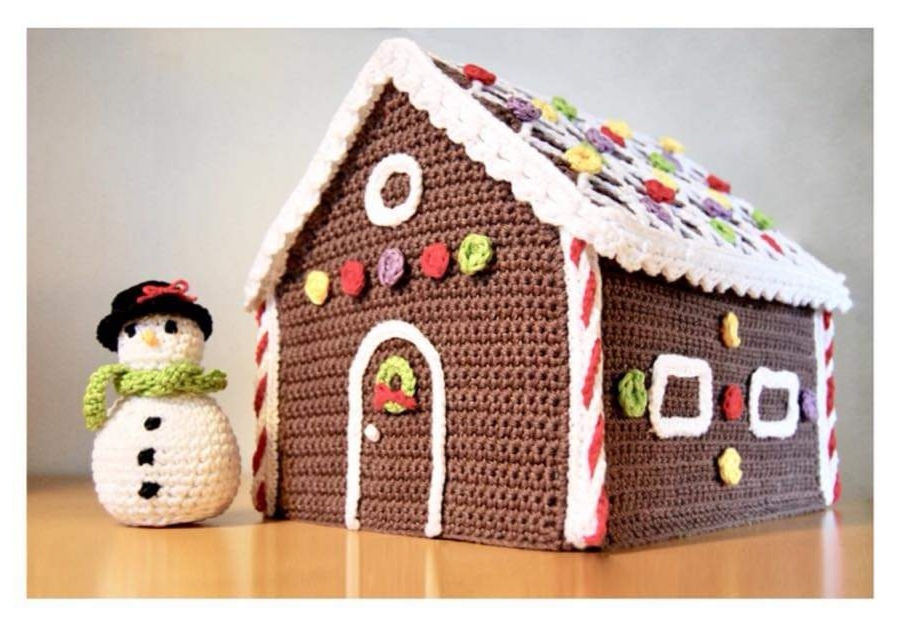
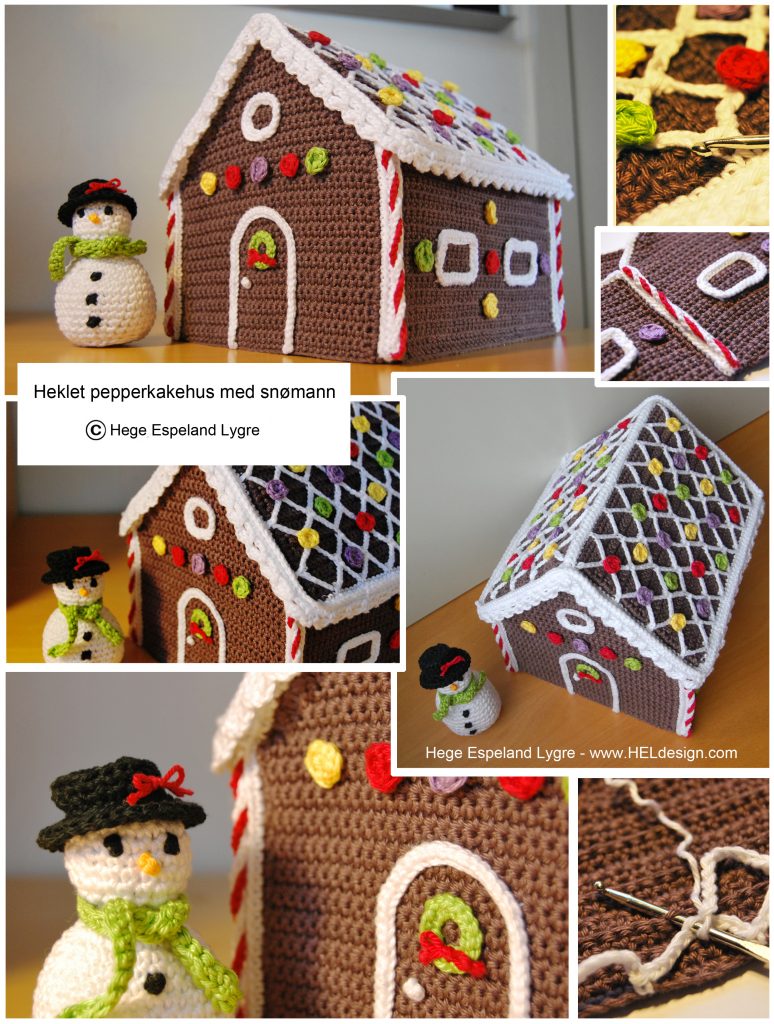
I´ve got to say that it´s just as nice to bring out my crochet gingerbread house every year. I actually designed it 8 years ago, and it still appears as new. It´s even calorie free. Can´t complain about that.

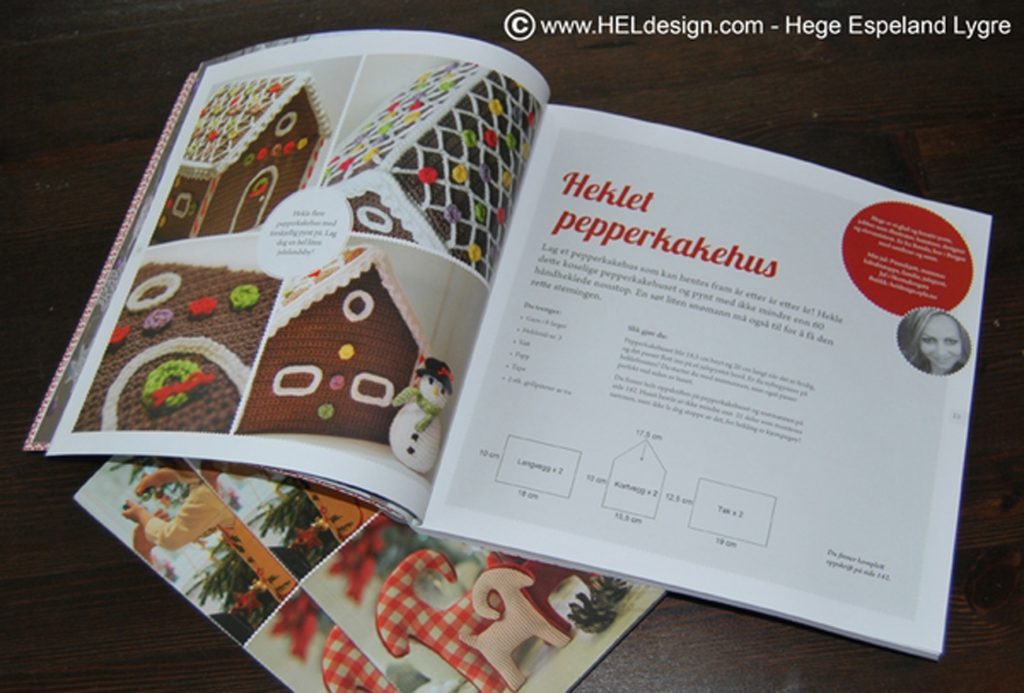
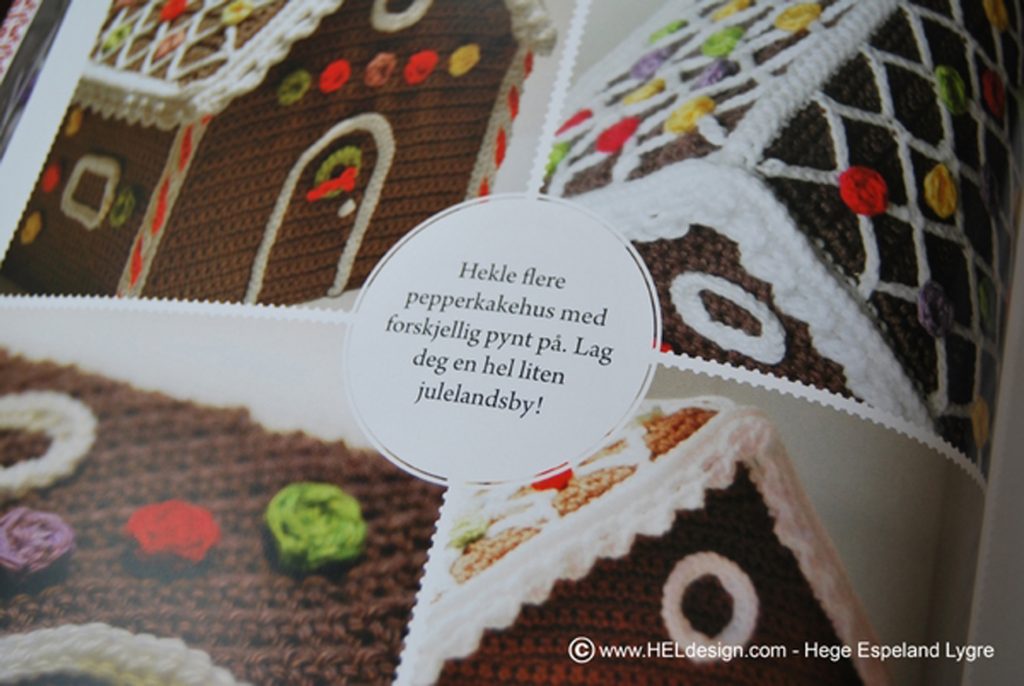
I originally designed it for a Christmas book, called «Epla´s Jul», and it was published in 2011. I had a week and a half to get it finished, so I basically crocheted every hour of the day. Transcribing takes some time as well, so I was really relieved when I sent off the finished pattern in time for printing.

The pattern is only available in Norwegian as of now, but I will publish an English version as soon as possible. Unfortunately I didn´t get it done in time for Christmas this year.

I wish you all a Merry Christmas and a Happy New Year!


If you use my patterns please link back to www.HELdesign.com.
And if you need any help just leave me a comment in the comment box below or e-mail me at: hege@heldesign.com.


Would you like to learn how to crochet? Visit my YouTube channel, there you´ll find videos of the basic stitches and with time there will also be special stitches, various projects and requests.
Contact me if you have any questions 🙂

CROCHET SCARF – Free crochet pattern (US terms)

CROCHET SCARF – Free crochet pattern (US terms)

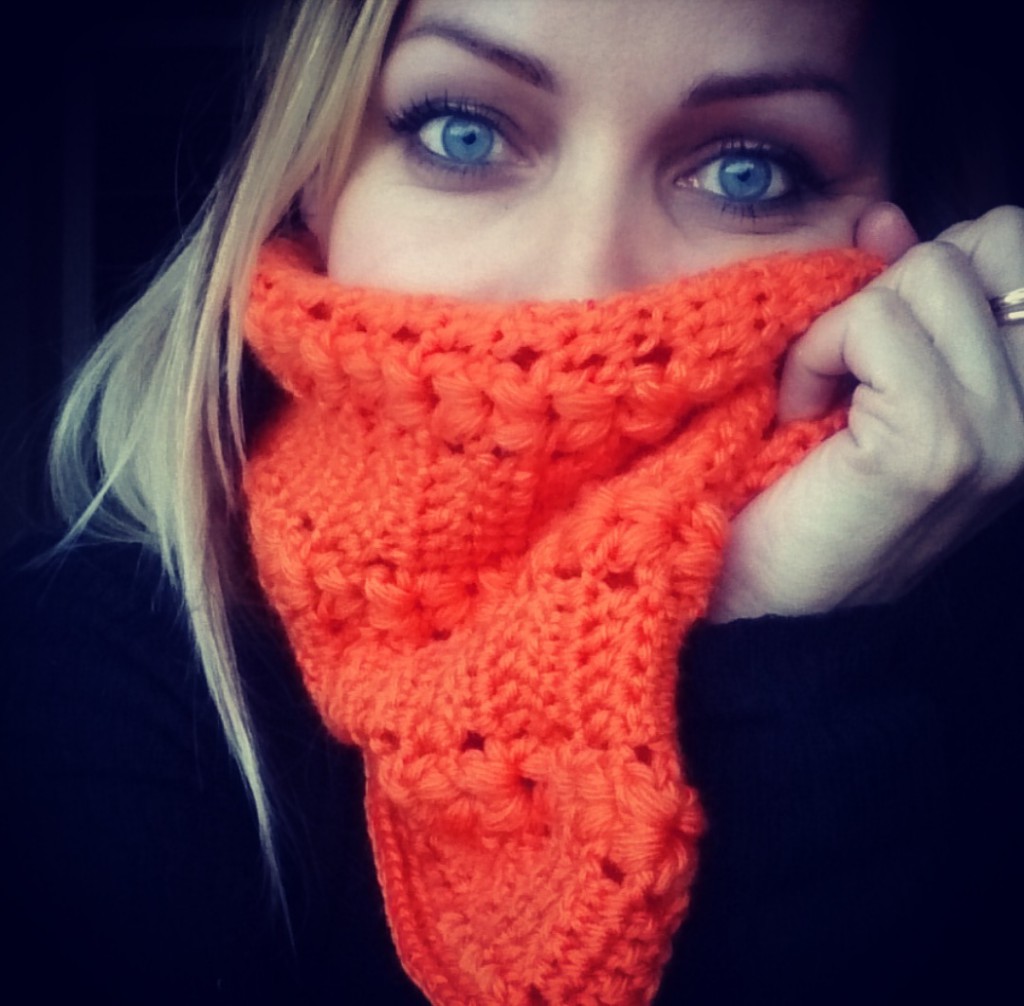
I designed this pattern last year, when I was asked by Tusen Ideer to participate in an annual charity case here in Norway, hosted by Kirkens Bymisjon. Each year thousands of people across our country knit or crochet homemade orange scarves, which are being handed out to homeless people on November 1st.

Use my pattern to make a crochet scarf for someone who really needs it, for someone you care about, for someone you don´t care about or just for yourself. Either way I hope you enjoy it 🙂


DESIGN AND PATTERN:  Hege Espeland Lygre
Please read the Terms of use for my crochet patterns.


What you´ll need

  • Wool yarn – compatible with crochet hook 5 mm (H/8).
  • Crochet Hook – 7 mm (two sizes up to make the scarf softer and looser)

Stitches/Abbreviations (US terms):

  • ch (chain/slip knot) – Watch video
  • sl st (slip stitch) – Watch video
  • sc (single crochet) – Watch video
  • dc (double crochet) – Watch video
  • puff stitch (ps) – step by step photo below
  • YO (yarn over)
  • st (stitch)
  • ch sp (chain space)
  • R (row/round)

Special stitch:

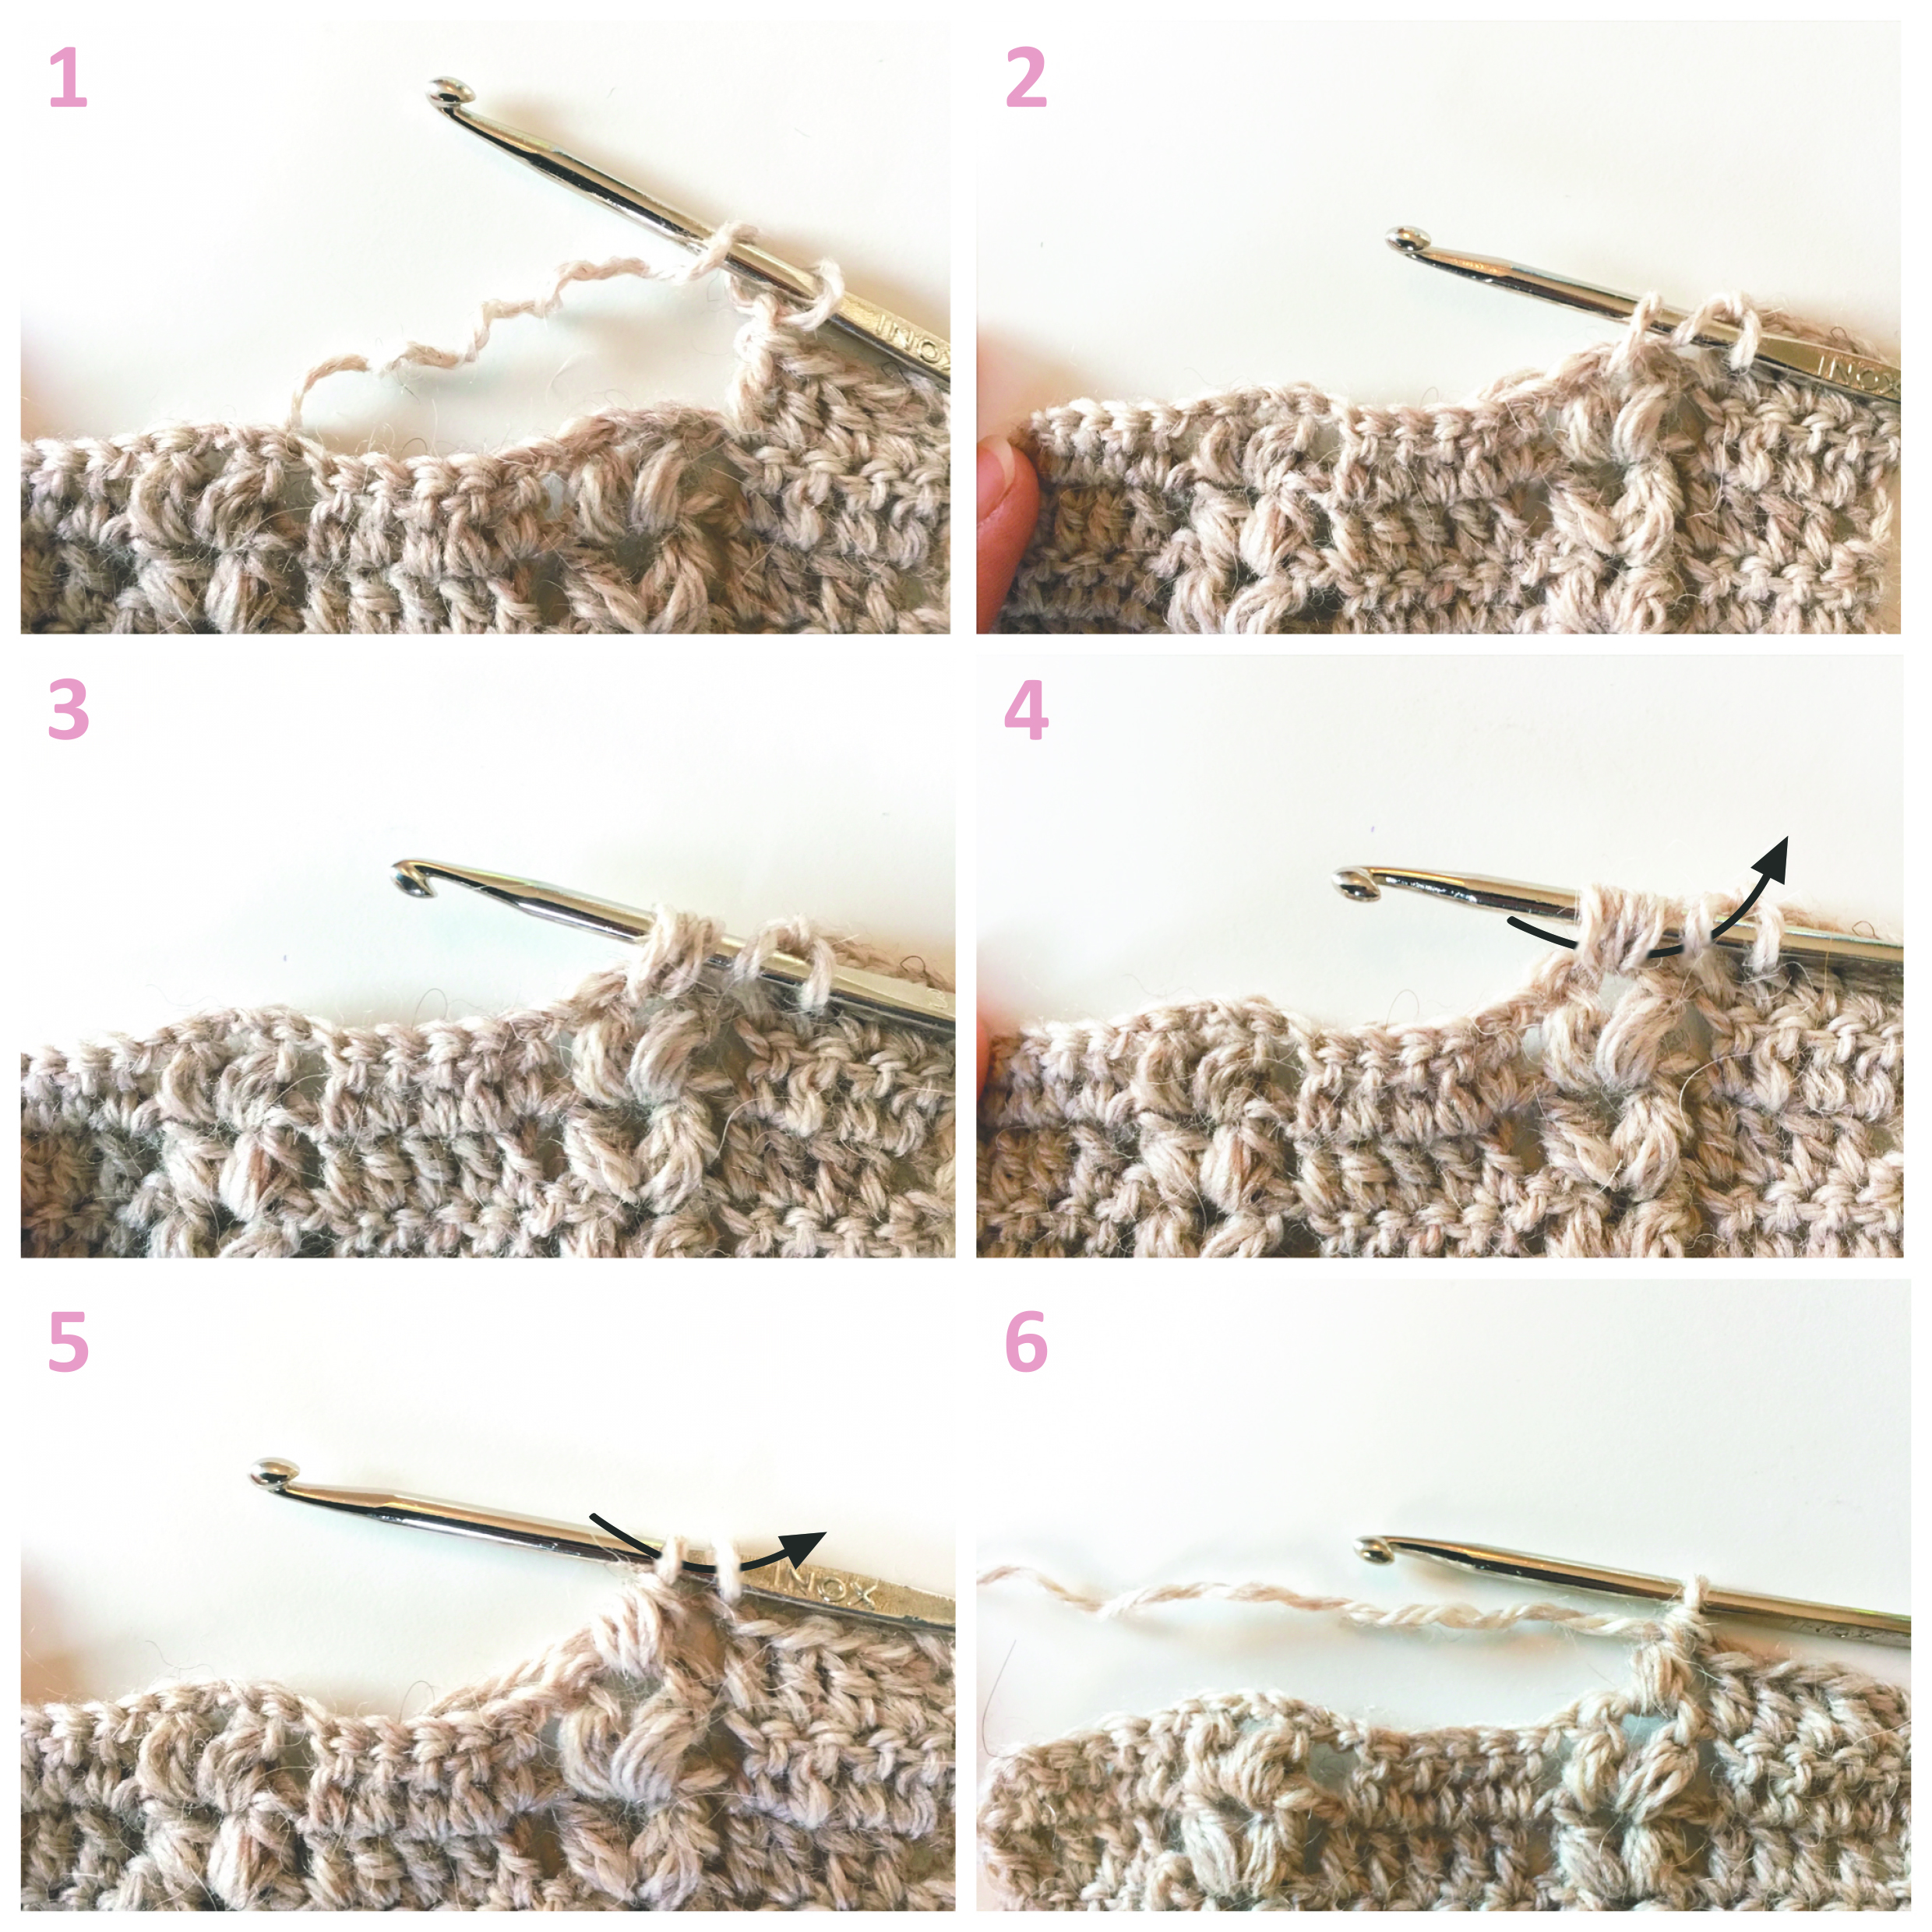
  • Puff stitch: YO (photo 1), insert hook in ch sp and pull up loop (photo 2) = 3 st, YO, insert hook in same ch sp, pull up loop (photo 3) = 5 st. YO, insert hook in same ch sp, pull up loop (3) = 7 st. YO, pull through 6 st on hook (photo 4) = 2 st remaining, YO, pull through last 2 st (photo 5) = 1 puff stitch (photo 6).

Note!

  • Turn your work at the end of each row and start every new row with 3 ch (counts as the first dc).
    Watch video – how to start a new row.

PATTERN

Ch 37

R1: 1 dc in 4th ch from hook, 1 dc in each of next 3 ch, * 1 ch, skip 2 ch, (1 ps, 2 ch, 1 ps) in next ch, 1 ch, skip 2 ch, 1 dc in each of next 5 ch * Repeat from * 2 more times.

R2: 3 ch (counts as first dc), 1 dc in each of next 4 dc, * 1 ch, (1 ps, 2 ch, 1 ps) in ch sp between ps, 1 ch, 1 dc in each of next 5 dc * Repeat from * 2 more times.

R3-99 (or as many rows as you need to get the desired length)Repeat R2.
Fasten off.


Edge

R1: Sc all the way around, with 2 sc in each corner. (On the long sides you make 2 sc in each row of dc and on the short sides you make 1 sc in each dc + 5 sc over each puff stitch group (2 sc in first ch sp, 1 sc in middle ch sp, 2 sc in last ch sp).
R2: Sc in back loop all the way around, with 2 sc in each of the two corner sc from last row.
Fasten off.

Tip1: If you want a longer scarf you just add as many rows as you need to get the desired length.

Tip2: Sew some buttons on one of the short sides to turn the scarf into an infinity scarf.


Good luck! 🙂 

If you use my patterns please link back to www.HELdesign.com.
And if you need any help just leave me a comment in the comment box below or e-mail me at: hege@heldesign.com.


Would you like to learn how to crochet? Visit my YouTube channel, there you´ll find videos of the basic stitches and with time there will also be special stitches, various projects and requests.

Contact me if you have any questions 🙂

CROCHET HEART for Valentine´s Day card – Free crochet pattern (US terms)

CROCHET HEART for Valentine´s Day card – Free crochet pattern (US terms)

Free crochet pattern US - crochet heart - HELdesign

DESIGN AND PATTERN:  Hege Espeland Lygre
Please read the Terms of use for my crochet patterns.


With a crochet hook and some scrap yarn you´ll make these cute, tiny crochet hearts in a few minutes. And with Valentine´s Day right around the corner, they´re perfect as decorations on a homemade card. 

MATERIALS

  • Scrap yarn
  • Crochet hook that goes with your yarn (check the label)

STITCHES / ABBREVIATIONS (US terms)


PATTERN

Make MR. Tighten it until the ring is about 1 cm (about half an inch).
Then you crochet the following stitches in the MR:

(3 ch, 3 tr, 3 dc, 1 ch, 1 tr, 1 ch, 3 dc, 3 tr, 3 ch, 1 sl st)

Tighten the magic ring until the opening is closed. Cut off and sew in the ends.

heklet hjerte2_hegeespelandlygre
heklet hjerte3_hegeespelandlygre

With some thick paper (I used watercolor paper), a pen and some glue you can easily make your own card for your mom on Mother´s Day or for your love on Valentine´s Day.
I recommend using a pencil to sketch out the words before you go over it with a pen/marker. Glue on as many hearts as you want, and voila – you have your own homemade card.

IMG_1078
Crochet Heart by HELdesign

The hearts can also be used to decorate presents. On the photos they´re used on Christmas presents, but they´re just as perfect on birthday gifts and other type of presents.

IMG_1081
julehjerte_hegeespelandlygre

Good luck! 🙂 

If you use my patterns please link back to www.HELdesign.com.
And if you need any help just leave me a comment in the comment box below or e-mail me at: hege@heldesign.com.


Would you like to learn how to crochet? Visit my YouTube channel, there you´ll find videos of the basic stitches and with time there will also be special stitches, various projects and requests.
Contact me if you have any questions 🙂

CROCHET HAT – Free crochet pattern (US terms)

CROCHET HAT – Free crochet pattern (US terms)

The spring is on its way but a hat always comes in handy no matter what time of year it is, wether you´re sitting outside on a chilly spring night, or you´re out on a boat on a cold and windy day, if you´re having a bad hair day or simply just want to wear a hat! I wrote the pattern for this easy crochet hat for my cousin last year and I thought I´d share it with you as well!


DESIGN AND PATTERN:  Hege Espeland Lygre
Please read the Terms of use for my crochet patterns.


The hat is made of only single crochet and half double crochet so hopefully it´s easy enough even for a beginner.


>   


What you´ll need

  • Yarn – Baby wool
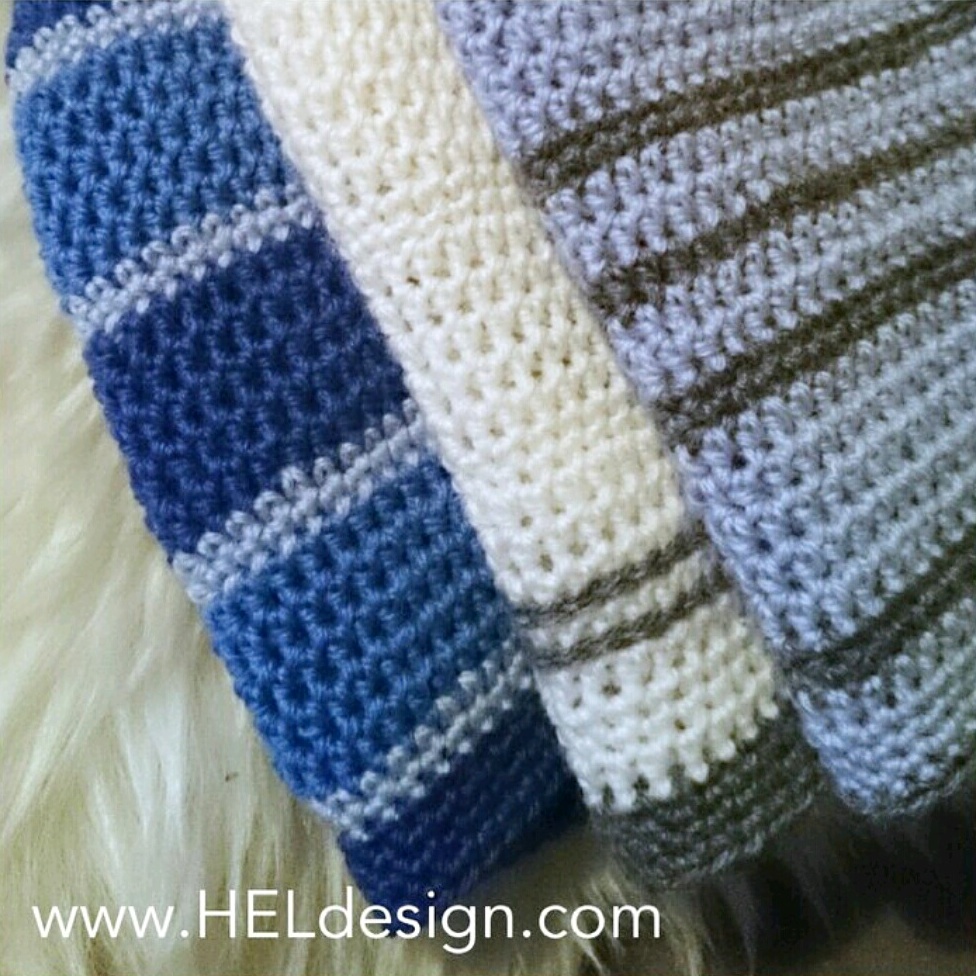
    – Hat #1: cream and scraps of gray
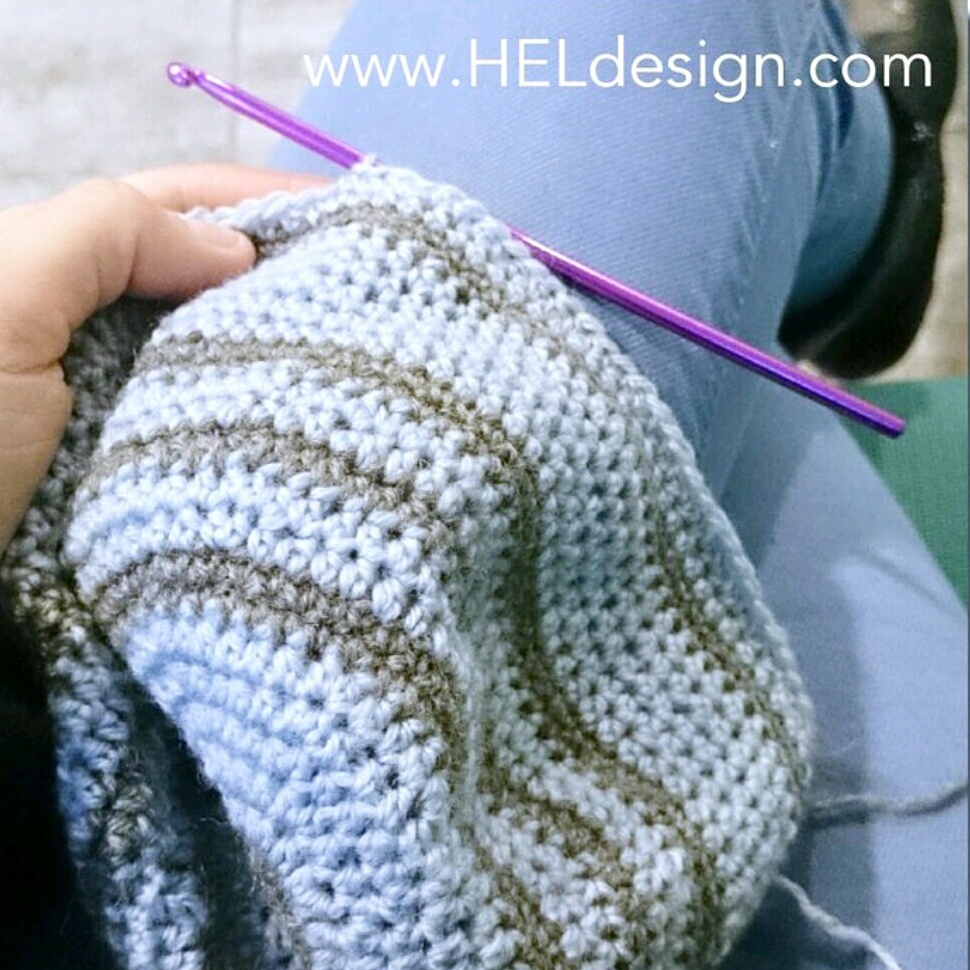
    – Hat #2: light blue and gray
    – Hat #3: light blue, medium blue and dark blue
  • Crochet hook – G

heklet_lue_hegeespelandlygre


Stitches/Abbreviations:

  • ch(s) (chain(s)
  • sl st (slip stitch)
  • sc (single crochet)
  • hdc (half double crochet)
  • st(s) (stitch(es)
  • rnd (round)
  • tog (together)
  • Here you can watch my videos on how to crochet the different stitches

Special stitches

  • Magic ring
    Here
    you can watch my video on how to crochet a magic ring.

Misc

  • Every rnd of hdc starts with 2 chs, they count as the first hdc.
  • Every rnd of hdc joins with a sl st in the topof the 2 chs in the beginning.
  • Every rnd of sc starts with 1 ch, and then sc in the same st.
  • Every rnd of sc joins with a sl st in the first sc.
  • Increase: 2 sc in same stitch.
  • Decrease: 2 sc together: Insert hook into stitch, yarn over hook, pull yarn through one loop, insert hook into next stitch, yarn over hook, pull yarn through one loop, yarn over hook, pull yarn through all three loops on hook.
  • If you want the hat to be tighter or looser you can use a smaller or larger crochet hook, or you can finish off or continue increasing until you have as many stitches as you want. If you want the hat to be longer you can crochet some extra rounds before the edge (on hat # 3 you make the extra rounds before you start decreasing).

heklet_lue_hegeespelandlygre   heklet_lue_hegeespelandlygre

HAT # 1 AND 2

Rnd 1: Make 8 sc in a magic ring. Tip: don´t tighten the ring until you´re done with the second rnd.

Rnd 2: 2 sc in each st all the way around = 16 sc

Rnd 3: Increase: 2 hdc in every 2. st = 24 hdc

Rnd 4: 2 hdc in every 3. st = 32 hdc

Rnd 5: 2 hdc in every 4. st = 40 hdc

Rnd 6: 2 hdc in every 5. st = 48 hdc

Rnd 7: 2 hdc in every 6. st = 56 hdc

Rnd 8: 2 sc in every 7. st = 64 sc

Rnd 9: 1 sc in each st all the way around = 64 sc

Rnd 10: 2 hdc in every 8. st = 72 hdc

Rnd 11: 2 hdc in every 9. st = 80 hdc

Rnd 12: 2 hdc in every 10. st = 88 hdc

Rnd 13: 1 hdc in each st all the way around = 88 hdc

Rnd 14: Same as rnd 13 = 88 hdc

Rnd 15: 1 sc in each st all the way around = 88 sc

Rnd 16: Same as rnd 15 = 88 sc

Rnd 17 – 21: Same as rnd 13 = 88 hdc

Rnd 22 – 23: Same as rnd 15 = 88 sc

Rnd 24 – 28: Same as rnd 13 = 88 hdc

Rnd 29 – 30: Same as rnd 15 = 88 sc

Rnd 31 – 35: Same as rnd 13 = 88 hdc

Rnd 36 – 37: Same as rnd 15 = 88 sc

Rnd 38: Same as rnd 13 = 88 hdc. If you want the hat to be longer you can make some extra rnds here.

Rnd 39 – 42: Same as rnd 15 = 88 sc. Cut off and sew in all the ends.


HAT # 3

(this is slightly more baggy than the first two hats)

Rnd 1 – 12: Same as Hat # 1 and 2 = 88 hdc

Rnd 13: Increase: 2 hdc in every 11. st = 96 hdc

Rnd 14: 2 hdc in every 12. st = 104 hdc

Rnd 15: 1 sc in each st all the way around = 104 sc

Rnd 16: Same as rnd 15 = 104 sc

Rnd 17: 1 hdc in each st all the way around = 104 hdc

Rnd 18 – 21: Same as rnd 17 = 104 hdc

Rnd 22 – 23: Same as rnd 15 = 104 sc

Rnd 24 – 28: Same as rnd 17 = 104 hdc

Rnd 29 – 30: Same as rnd 15 = 104 sc

Rnd 31 – 35: Same as rnd 17 = 104 hdc. If you want the hat to be longer you can make some extra rnds here.

Rnd 36: Decrease: 12. and 13. hdc tog = 96 hdc

Rnd 37: 11. and 12. sc tog = 88 sc

Rnd 38 – 41: Same as rnd 15 = 88 sc. Cut off and sew in all the ends.

heklet_lue_hegeespelandlygre


Good luck! 🙂 

If you use my patterns please link back to www.HELdesign.com.
And if you need any help just leave me a comment in the comment box below or e-mail me at: hege@heldesign.com.


Would you like to learn how to crochet? Visit my YouTube channel, there you´ll find videos of the basic stitches and with time there will also be special stitches, various projects and requests.
Contact me if you have any questions 🙂


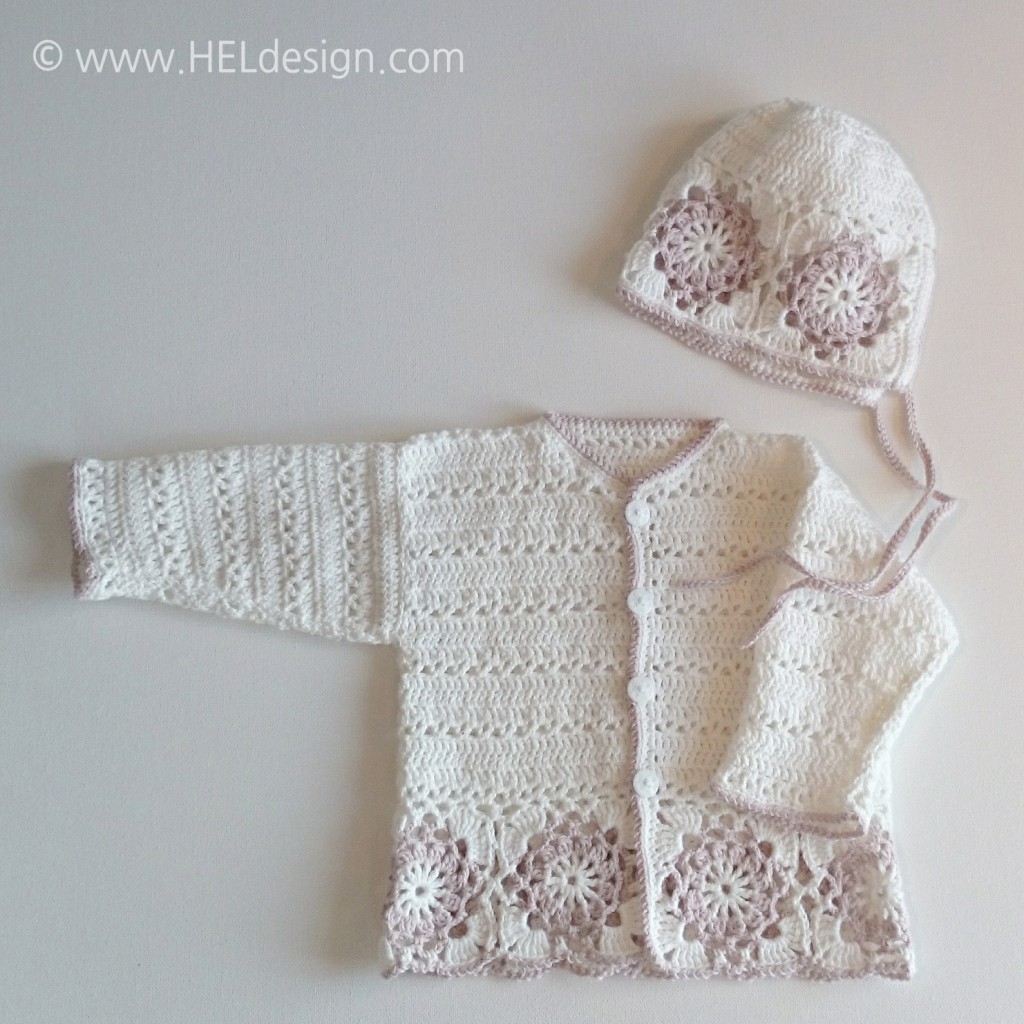
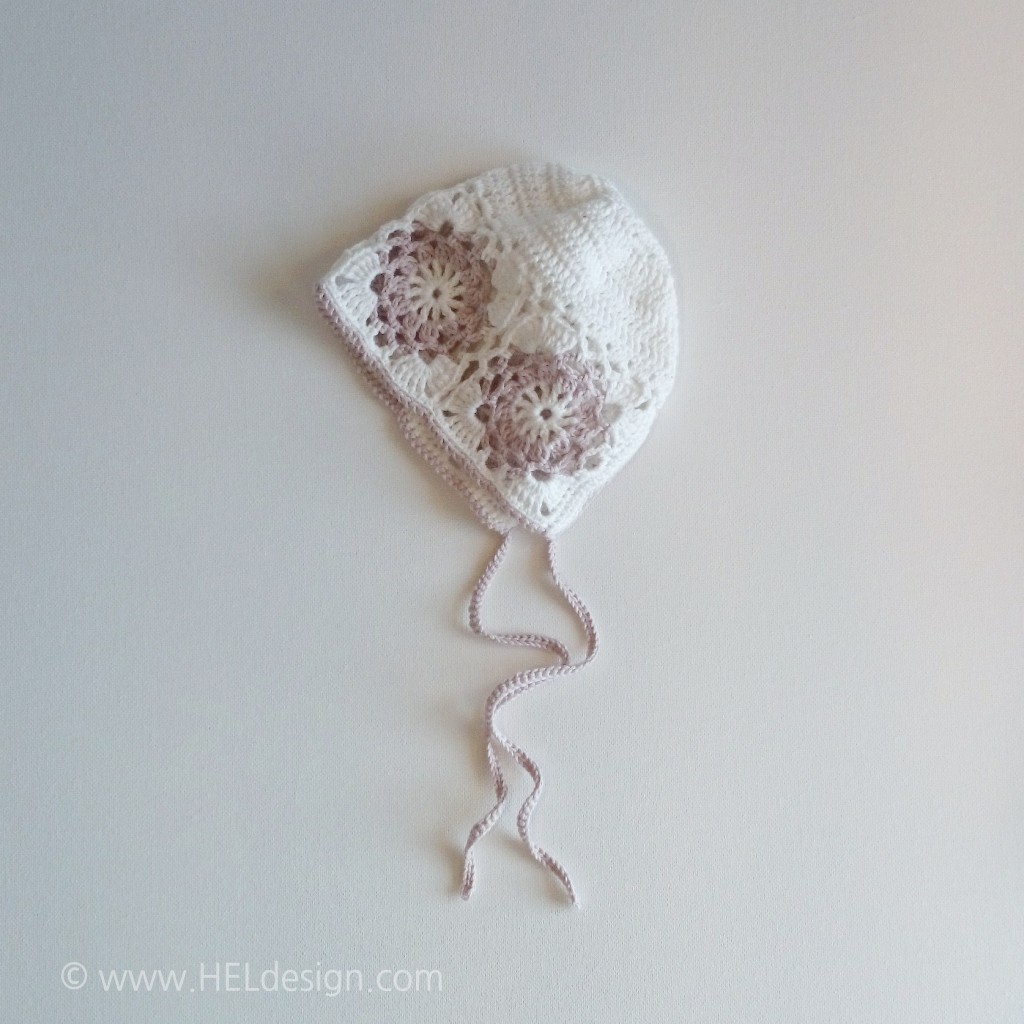
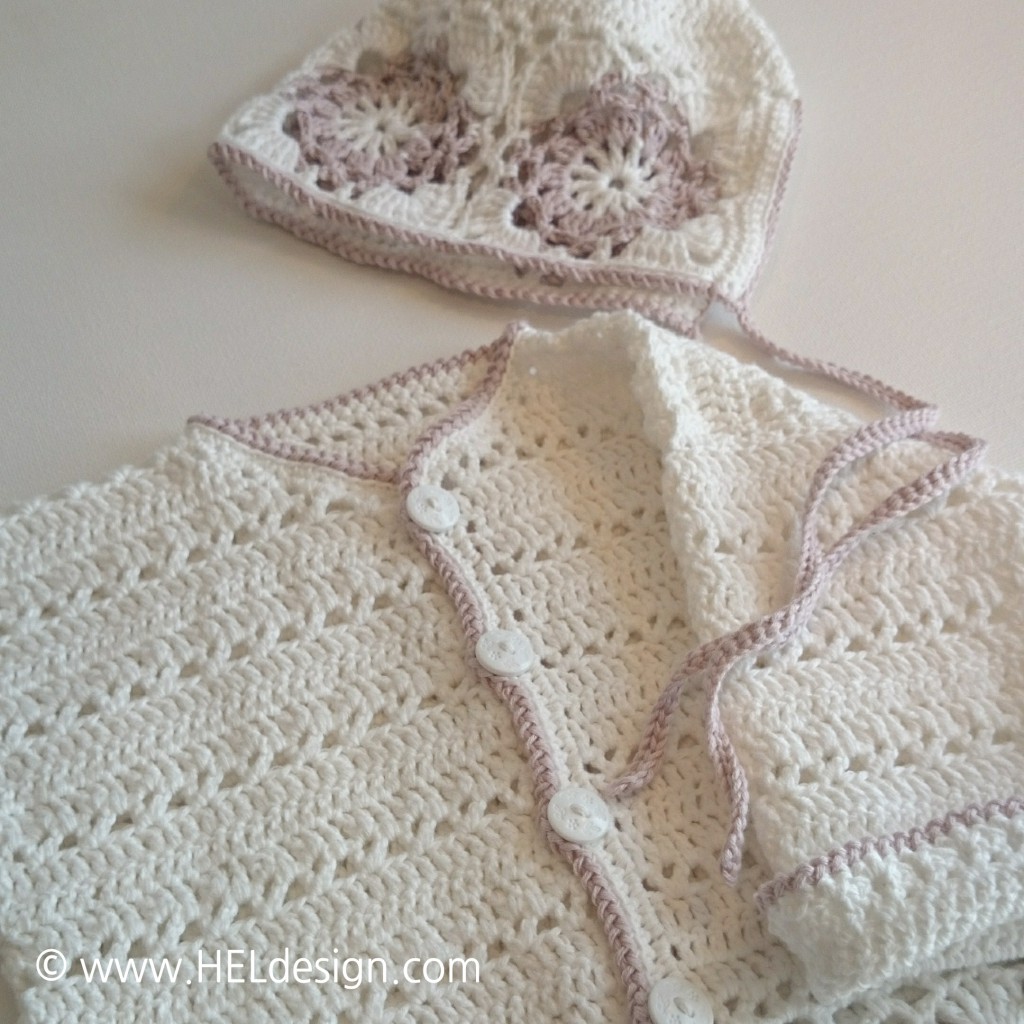
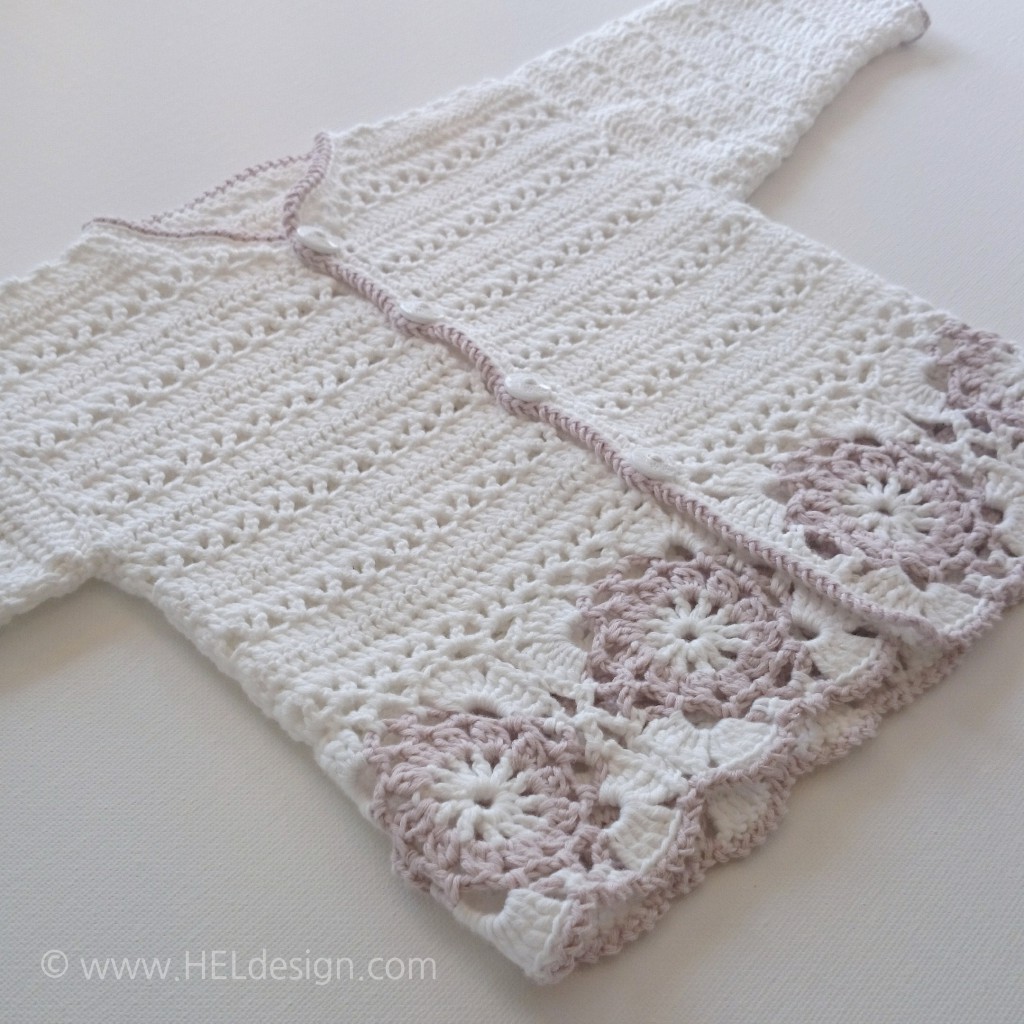
Heklet babyjakke og lue /// Crochet baby jacket and hat

Heklet babyjakke og lue /// Crochet baby jacket and hat

Nydelig babyjakke og lue fra Sandnes Garn /// Beautiful baby jacket and bonnet


DESIGN OG OPPSKRIFT: Ingjerd Thorkildsen – Sandnes Mandarin Petit 0506


IMG_20150414_202605

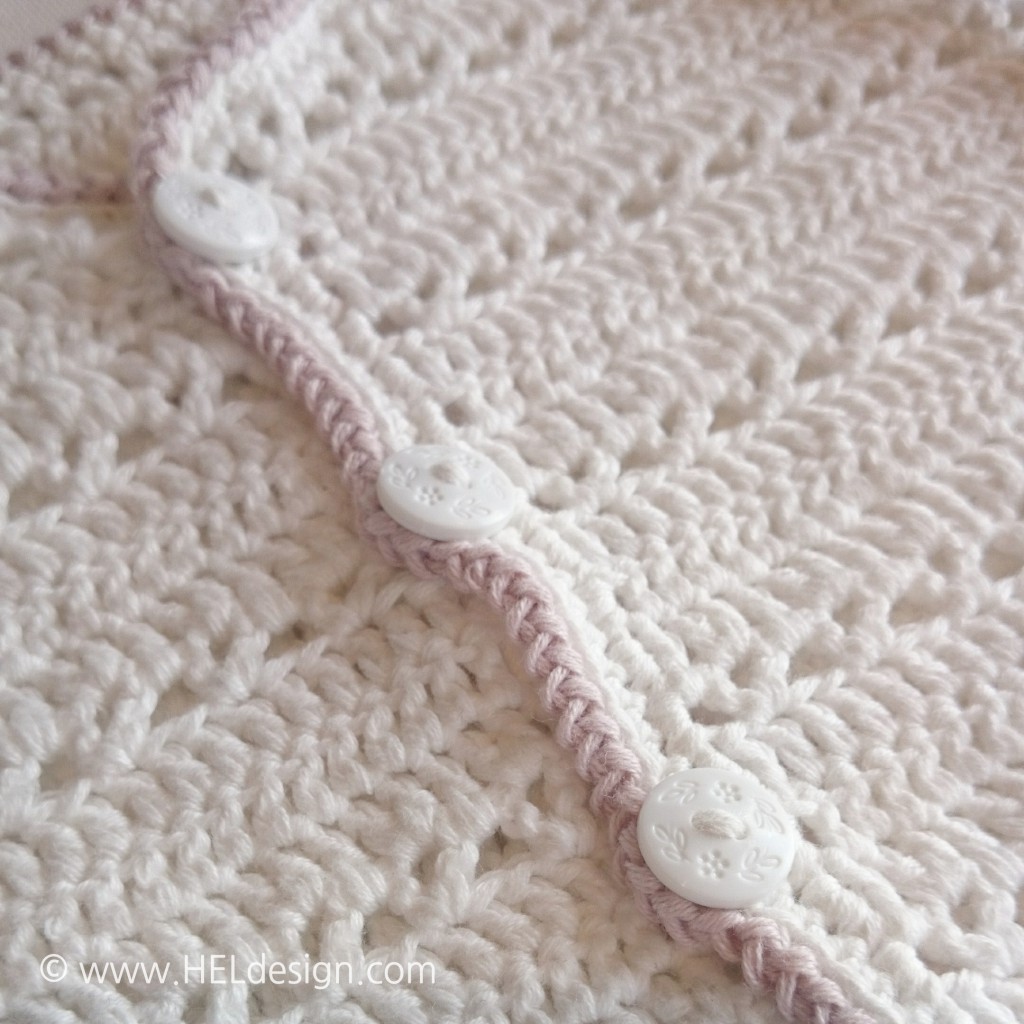
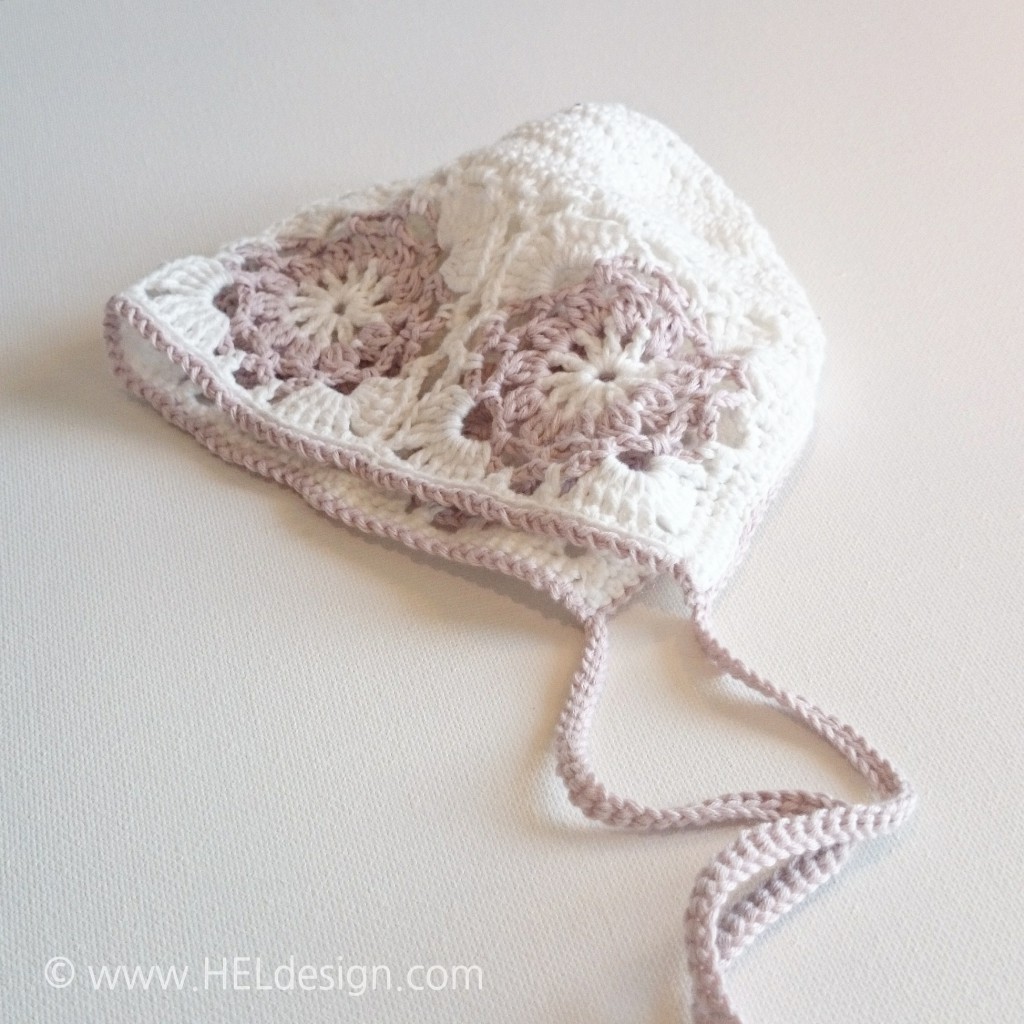
En av mine kjære kusiner fikk sin første datter for noen få uker siden og jeg hadde lyst til å lage noe til den nydelige prinsessen hennes. Jeg hadde ikke tid til å designe en egen oppskrift siden jeg måtte få det klart til påske og den var bare et par dager unna, så jeg bladde gjennom noen gamle oppskriftshefter for å se om jeg fant noe der. Jeg fant en oppskrift på en heklet lue som var ganske lik en jeg designet for noen år siden (aner ikke hvor jeg har gjort av den) med en matchende jakke. Det var også oppskrift på en selebukse men den fikk jeg ikke tid til å hekle.
Jeg lagde min egen vri på kantene rundt luen og jakken og gjorde også et par andre små endringer, men bortsett fra det så fulgte jeg oppskriften.
///
One of my dear cousins had her first daughter a few weeks ago and I wanted to make something for her beautiful little princess. I didn´t have time to design my own pattern since I had to get it done in time for Easter and it was only a couple of days away, so I looked through some old pattern books to see if I found something there. I found a pattern of a crochet hat that looked similar to a design I made a few years ago (don´t know where it is) with a matching jacket.
I made my own border around the edges and also made a few other minor changes, but other than that I followed the original pattern. I searched the internet to see if I could find the pattern for you in English but unfortunately I didn´t have any luck.

IMG_20150410_191050

IMG_20150414_205559

IMG_20150419_114019

IMG_20150404_142127

Oppskriftsheftet er flere år gammelt så jeg tror det er utgått. Tidligere fant jeg en link til et digitalt hefte på svensk, men dette har også forsvunnet. Men man kan jo prøve å ta kontakt med Sandnes Garn og spørre om det er mulig å få tak i 🙂


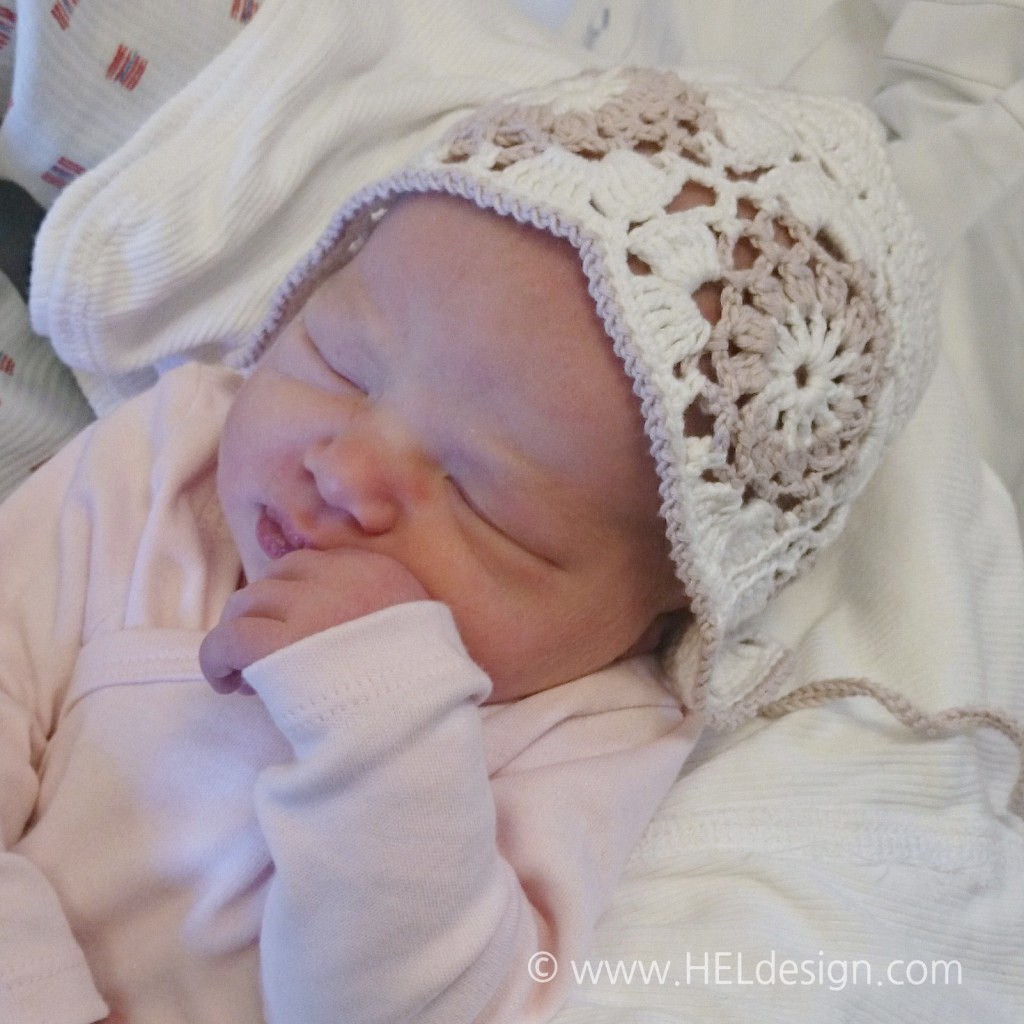
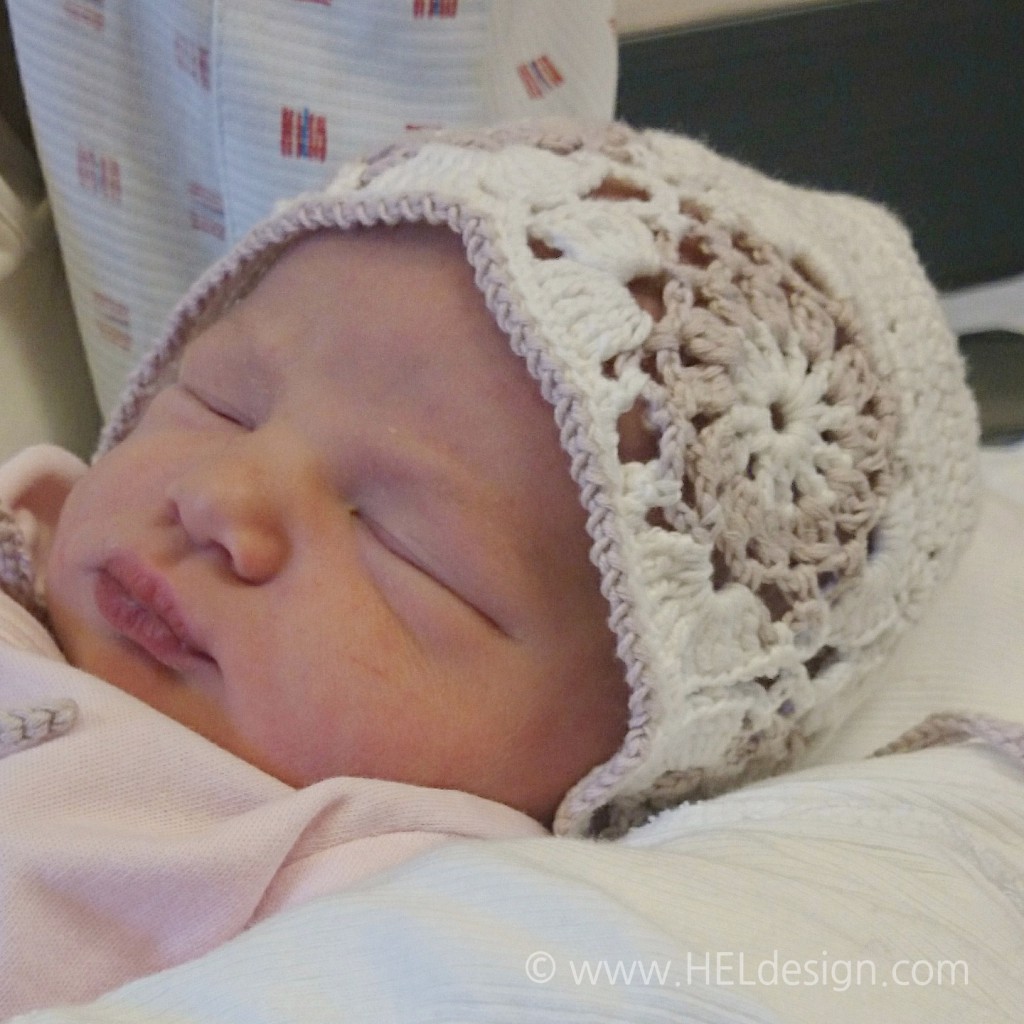
Den 2. april ble jeg tante for andre gang, så jeg måtte bare lage en minilue til min skjønne prinsesse også. Jeg skal lage hele settet til henne også, men i en litt større størrelse.
///
On April 2nd I became an aunt again for the second time, so I had to make a tiny hat for my beautiful princess as well. I´m going to make the whole set to her as well, but in a bigger size.

IMG_20150414_210240

IMG_20150414_210705

IMG_20150414_211007

Er hun ikke nydelig vel? #stolttante <3 /// Isn´t she just adorable? #proudaunt <3

🙂


Vil du lære å hekle? Gå inn på YouTube-kanalen min, der finner du videoer av grunnmaskene og etterhvert vil det også komme spesialmasker, små prosjekter og eventuelle ønsker folk kommer med.

Ta kontakt om det er noe du lurer på 🙂