Skip to content
0 items
- 0,00 kr
menu
Home
Shop
Hekling
Hekleoppskrifter
Gratis hekleoppskrifter
Lær å hekle med Hege
Heklehjelpen
Vilkår for bruk
Hege.HEL
DIY
HELdesign Art
Om meg
Kontakt
COPYRIGHT
English Crochet Patterns
Free patterns – US terms
Free patterns – UK terms
TERMS OF USE
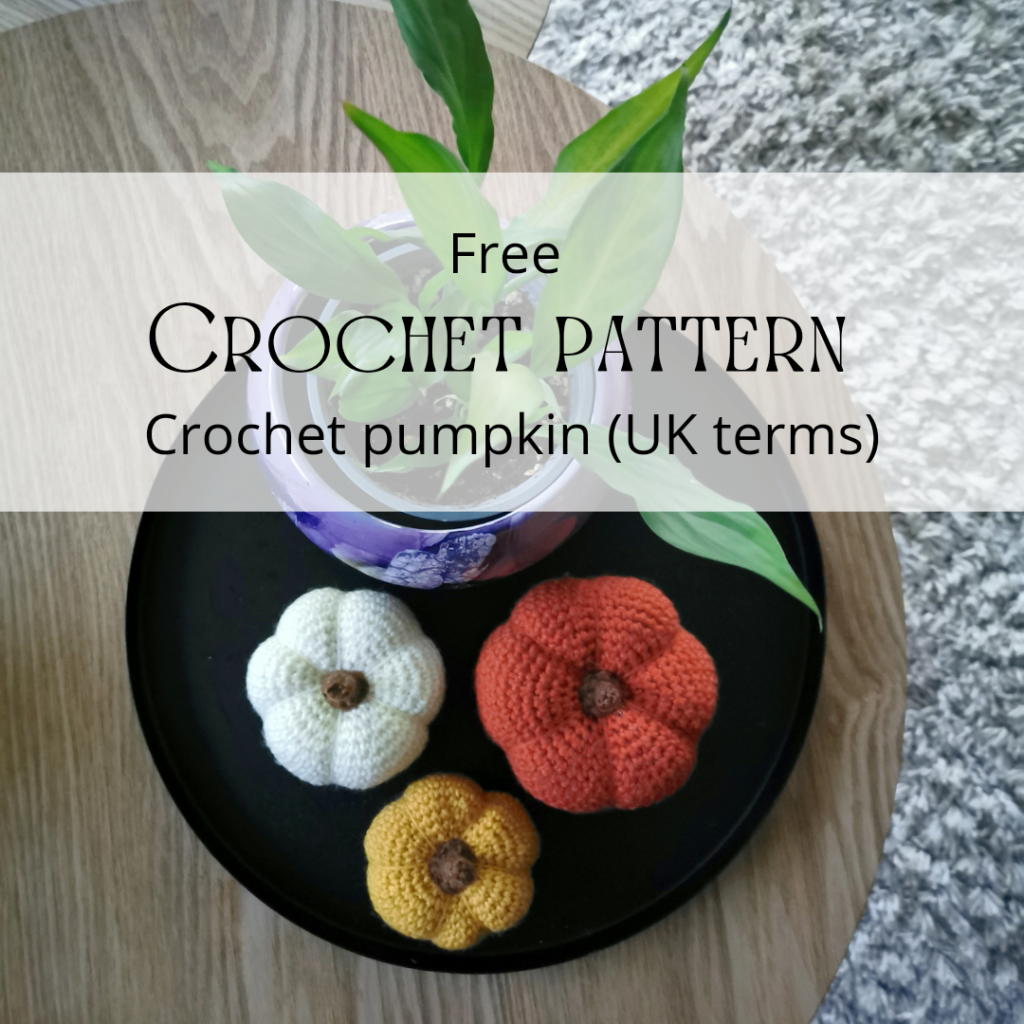
CROCHET PUMPKIN – Free crochet pattern (UK terms)
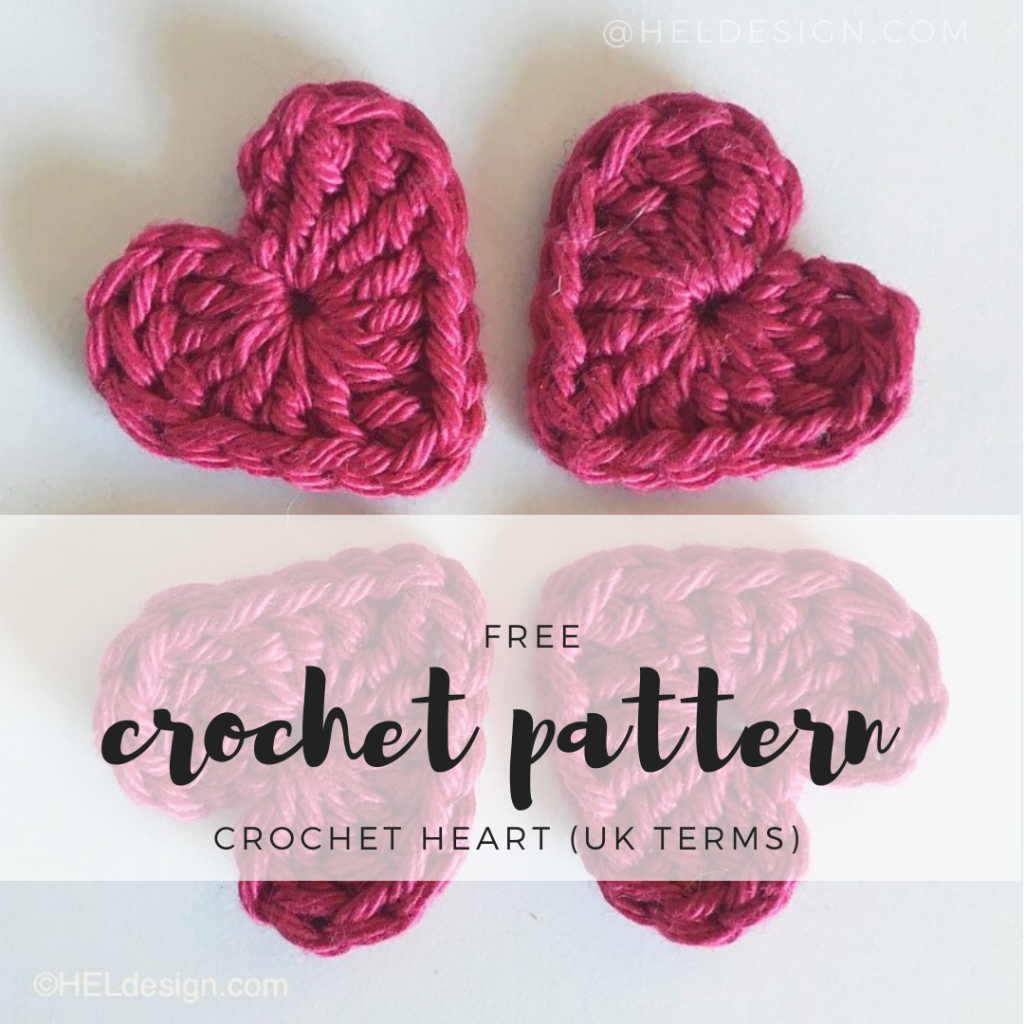
CROCHET HEART for Valentine´s Day card – Free crochet pattern (UK terms)
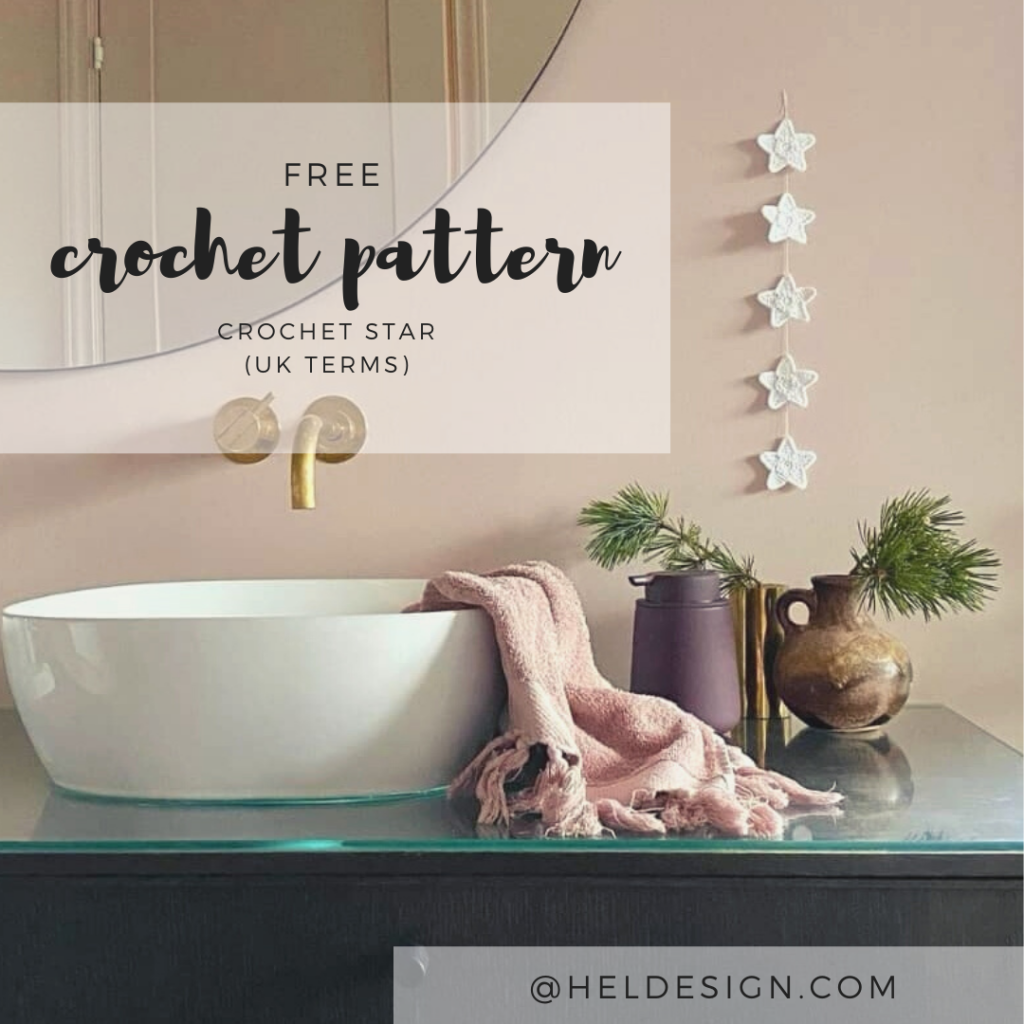
CROCHET STAR – Free crochet pattern (UK terms)
Translate »
Laster inn kommentarer...
Skriv en kommentar...
E-post (nødvendig)
Navn (nødvendig)
Nettsted